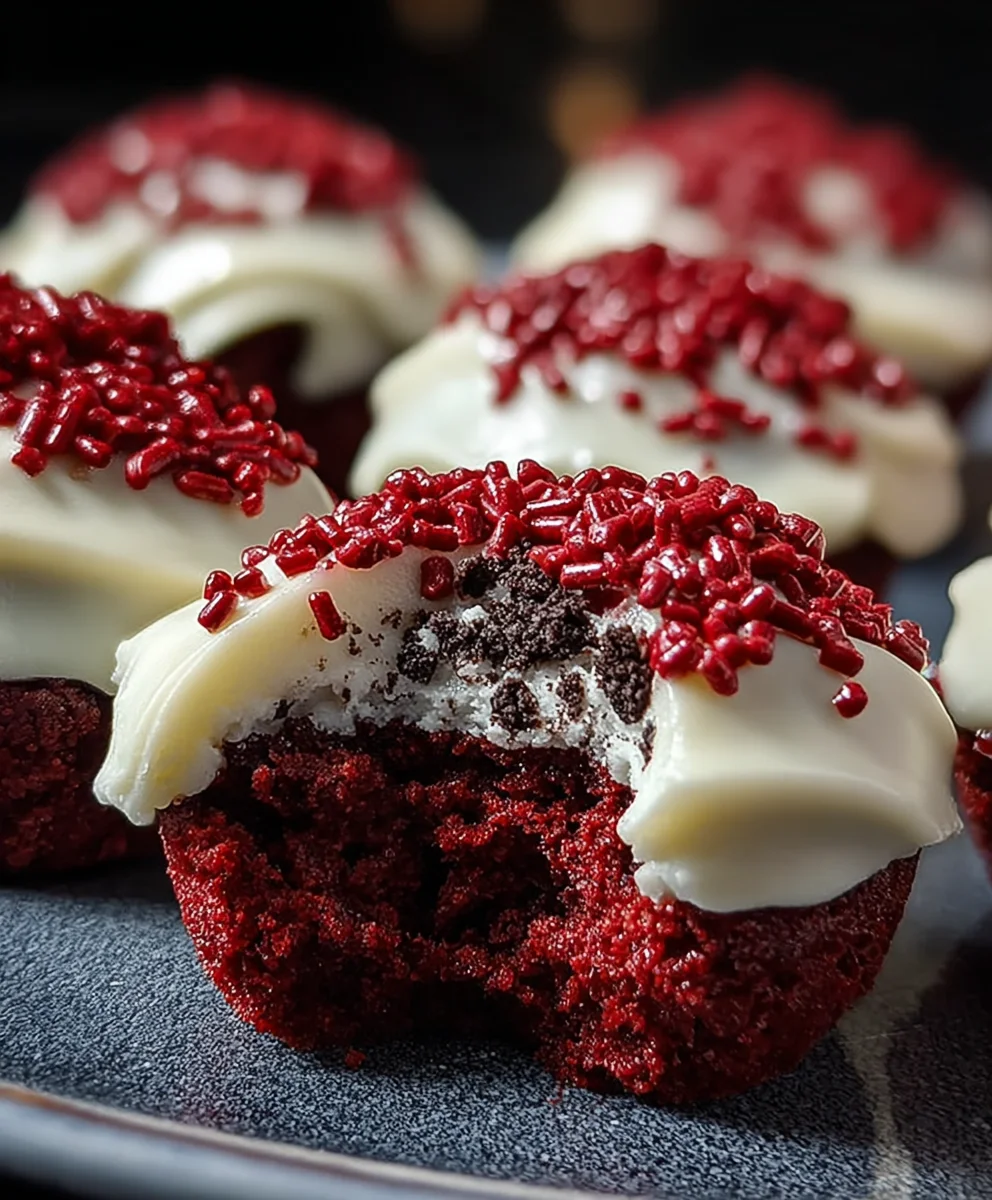
Cookies & Cream Red Velvet Bites-Easy Recipe
Cookies & Cream Red Velvet Bites are more than just a treat; they’re an experience! Imagin extracte the vibrant crimson hue of classic red velvet cake, infused with the decadent sweetness we all crave, then mingled with the delightful crunch and creamy swirls of crushed cookies. This isn’t your average red velvet dessert. We’ve taken the beloved flavors and textures of two iconic treats and masterfully blended them into bite-sized wonders that are as visually stunning as they are delicious. People adore these because they perfectly capture the essence of celebration and indulgence. The deep, rich chocolate notes of the red velvet, combined with the unmistakable creamy cookie pieces, create a flavor profile that is both familiar and excitingly new. What truly makes these Cookies & Cream Red Velvet Bites special is their incredible versatility. They’re perfect for a sophisticated dessert spread, a playful afternoon snack, or even as a thoughtful homemade gift that’s guaranteed to impress. Get ready to fall in love with this irresistible fusion!

Ingredients:
- 1½ cups all-purpose flour
- 1 cup granulated sugar
- 2 tablespoons unsweetened cocoa powder
- ½ teaspoon baking soda
- ½ teaspoon salt
- ½ cup buttermilk
- ½ cup vegetable oil
- 2 large eggs
- 1 teaspoon pure vanilla extract (for the cake)
- 1 teaspoon white vinegar
- 1 tablespoon red food coloring
- 4 oz cream cheese, softened
- ¼ cup (½ stick) unsalted butter, softened
- 1½ cups powdered sugar
- 1 teaspoon pure vanilla extract (for the frosting)
Red Velvet Cake Base
Step 1: Prepare the Dry Ingredients and Wet Ingredients Separately
To begin extract crafting these delightful Cookies & Cream Red Velvet Bites, let’s get our components organized. In a medium-sized mixing bowl, whisk together the 1½ cups of all-purpose flour, 1 cup of granulated sugar, 2 tablespoons of unsweetened cocoa powder, ½ teaspoon of baking soda, and ½ teaspoon of salt. Ensure these dry ingredients are thoroughly combined to distribute the leavening agents and salt evenly, which is crucial for consistent texture and rise in our bites. In a separate, larger bowl, whisk together the ½ cup of buttermilk, ½ cup of vegetable oil, 2 large eggs, and 1 teaspoon of vanilla extract. Having two separate bowls for wet and dry ingredients helps prevent overmixing later on.
Step 2: Combine Wet and Dry Mixtures and Incorporate Red Velvet Color
Now, we’ll bring our two mixtures together. Gradually add the dry ingredients to the wet ingredients, mixing on low speed with an electric mixer or by hand with a whisk until just combined. Be careful not to overmix at this stage; a few small lumps are perfectly fine. Overmixing can develop the gluten in the flour too much, leading to tough cookies. Next, in a small cup, combine the 1 tablespoon of red food coloring with the 1 teaspoon of white vinegar. The vinegar acts as an acid that reacts with the red food coloring, intensifying the vibrant red hue of our red velvet cake. Pour this mixture into the batter and continue mixing on low speed until the color is evenly distributed and a rich, deep red is achieved. This vibrant color is what gives red velvet its iconic appearance.
Baking the Red Velvet Bites
Step 3: Bake and Cool the Red Velvet Cake Rounds
Preheat your oven to 350°F (175°C). Line two baking sheets with parchment paper to prevent sticking and ensure easy cleanup. Using a small cookie scoop or two spoons, drop rounded tablespoons of the red velvet batter onto the prepared baking sheets, spacing them about 2 inches apart. These will spread slightly as they bake. Bake for 9-11 minutes, or until a toothpick inserted into the center of a cake bite comes out clean. The edges should be set and the centers should spring back lightly when touched. Avoid overbaking, as this can result in dry bites. Once baked, let the cake bites cool on the baking sheets for a few minutes before carefully transferring them to a wire rack to cool completely. This cooling process is essential before frosting, as warm bites will melt the frosting.
Cream Cheese Frosting Assembly
Step 4: Prepare the Creamy Cream Cheese Frosting
While the red velvet cake bites are cooling, let’s prepare the luscious cream cheese frosting that will bring these treats to life. In a medium bowl, beat together the 4 oz of softened cream cheese and ¼ cup of softened unsalted butter using an electric mixer until smooth and creamy. Ensure both the cream cheese and butter are at room temperature; this is critical for a lump-free, smooth frosting. Gradually add the 1½ cups of powdered sugar, about ½ cup at a time, mixing on low speed until incorporated. Once all the powdered sugar is added, increase the speed to medium-high and beat for another 1-2 minutes until the frosting is light and fluffy. Finally, stir in the 1 teaspoon of vanilla extract until just combined. This frosting will provide a delightful tangy counterpoint to the rich red velvet cake.
Step 5: Assemble the Cookies & Cream Red Velvet Bites
Once the red velvet cake bites are completely cool, it’s time for assembly. Take one cooled red velvet cake bite and spread a generous dollop of the cream cheese frosting on the flat side. Top with another cake bite, gently pressing down to create a “sandwich.” Repeat this process with the remaining cake bites and frosting until all are assembled. For an extra touch of decadence, you can gently roll the frosted edges of the bites in some crushed Oreo cookies (if you have them on hand, though they aren’t in the provided ingredient list, they are implied by the “Cookies & Cream” name and are a fantastic addition) or simply leave them as is for a more elegant presentation. Chill the assembled bites in the refrigerator for at least 30 minutes to allow the frosting to firm up before serving. This chilling step helps the bites hold their shape and makes them easier to handle. Enjoy these irresistible Cookies & Cream Red Velvet Bites!
Conclusion:
As you can see, creating these delightful Cookies & Cream Red Velvet Bites is a rewarding experience that yields a truly special treat. From the vibrant color to the decadent flavor combination of rich red velvet and creamy cookies, these bites are sure to impress. We’ve walked through each step, from preparing the batter to achieving that perfect fudgy center, and the results are undeniably delicious.
These Cookies & Cream Red Velvet Bites are incredibly versatile. Serve them slightly warm with a scoop of vanilla ice cream for a delightful dessert, or enjoy them at room temperature with a cup of coffee or tea for an afternoon pick-me-up. They also make fantastic additions to dessert platters for parties and celebrations, or as a thoughtful homemade gift.
Don’t be afraid to experiment! Consider adding a swirl of white chocolate ganache on top, or perhaps a sprinkle of edible glitter for an extra touch of festivity. For a slightly different texture, you could fold in some chopped white chocolate chips along with the crushed cookies. The beauty of these Cookies & Cream Red Velvet Bites is their adaptability. We encourage you to embrace your creativity and make them your own. Happy baking!
Frequently Asked Questions:
Can I make these Cookies & Cream Red Velvet Bites ahead of time?
Absolutely! These Cookies & Cream Red Velvet Bites can be made a day or two in advance and stored in an airtight container at room temperature. For longer storage, you can freeze them for up to two months. Thaw at room temperature before serving.
What kind of cookies work best for the cookies and cream component?
Oreo cookies are the classic choice and provide that iconic cookies and cream flavor. However, you can experiment with other chocolate sandwich cookies as well. Ensure they are crushed finely for even distribution within the red velvet batter.
Cookies & Cream Red Velvet Bites-Easy Recipe
Delicious and easy-to-make red velvet cake bites filled with creamy cream cheese frosting.
Ingredients
-
1½ cups all-purpose flour
-
1 cup granulated sugar
-
2 tablespoons unsweetened cocoa powder
-
½ teaspoon baking soda
-
½ teaspoon salt
-
½ cup buttermilk
-
½ cup vegetable oil
-
2 large eggs
-
1 teaspoon pure vanilla extract (for the cake)
-
1 teaspoon white vinegar
-
1 tablespoon red food coloring
-
4 oz cream cheese, softened
-
¼ cup (½ stick) unsalted butter, softened
-
1½ cups powdered sugar
-
1 teaspoon pure vanilla extract (for the frosting)
Instructions
-
Step 1
In a medium bowl, whisk together flour, sugar, cocoa powder, baking soda, and salt. In a separate larger bowl, whisk together buttermilk, vegetable oil, eggs, and 1 teaspoon vanilla extract. -
Step 2
Gradually add the dry ingredients to the wet ingredients, mixing until just combined. In a small cup, combine red food coloring and white vinegar. Pour this mixture into the batter and mix until evenly distributed. -
Step 3
Preheat oven to 350°F (175°C). Line two baking sheets with parchment paper. Drop rounded tablespoons of batter onto prepared sheets, about 2 inches apart. Bake for 9-11 minutes until a toothpick comes out clean. Cool completely on a wire rack. -
Step 4
In a medium bowl, beat softened cream cheese and butter until smooth. Gradually add powdered sugar, mixing until incorporated. Beat until light and fluffy. Stir in 1 teaspoon vanilla extract. -
Step 5
Spread frosting on the flat side of one cake bite and top with another cake bite to create a sandwich. Repeat with remaining bites. Chill for at least 30 minutes before serving.
Important Information
Nutrition Facts (Per Serving)
It is important to consider this information as approximate and not to use it as definitive health advice.
Allergy Information
Please check ingredients for potential allergens and consult a health professional if in doubt.