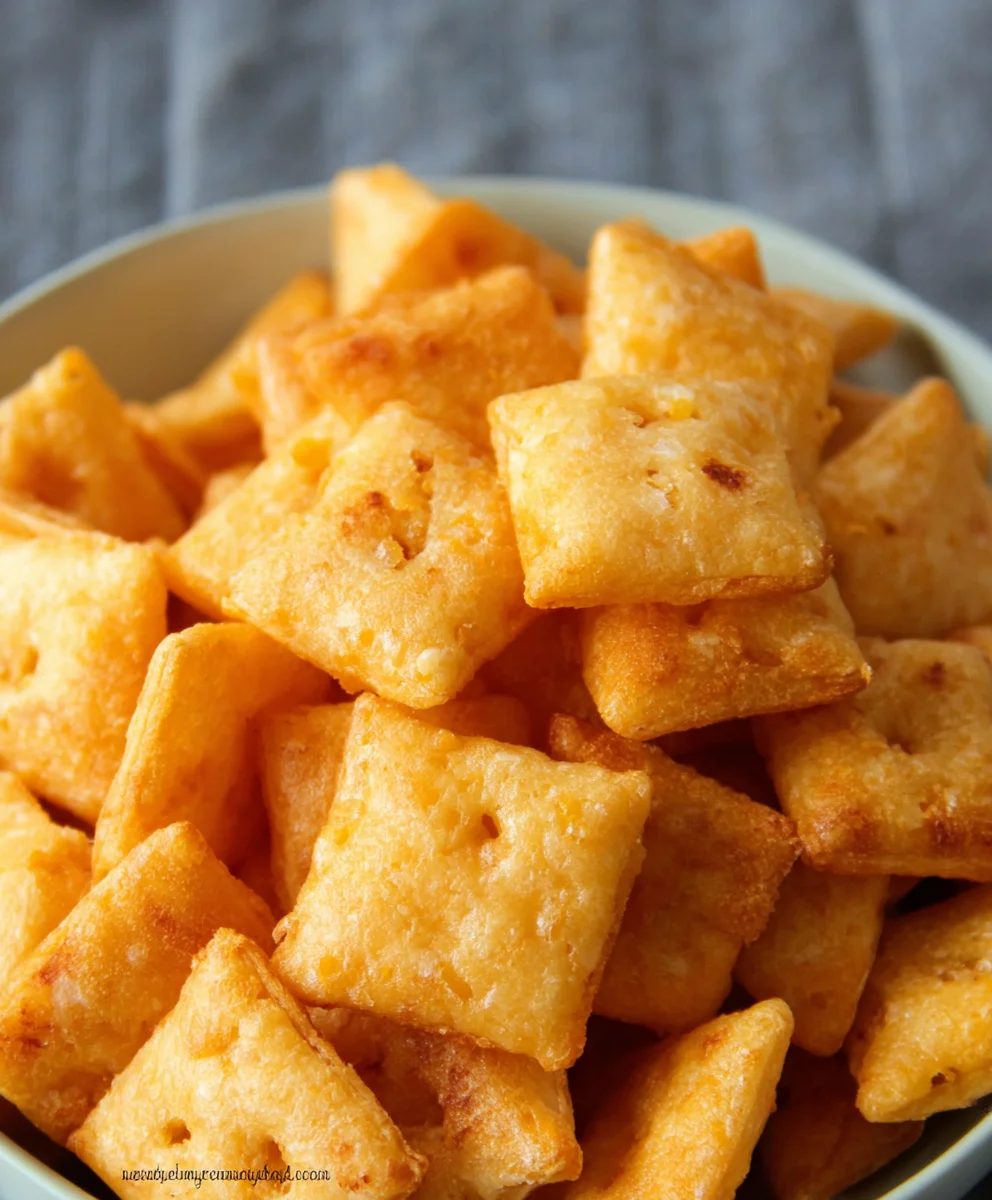
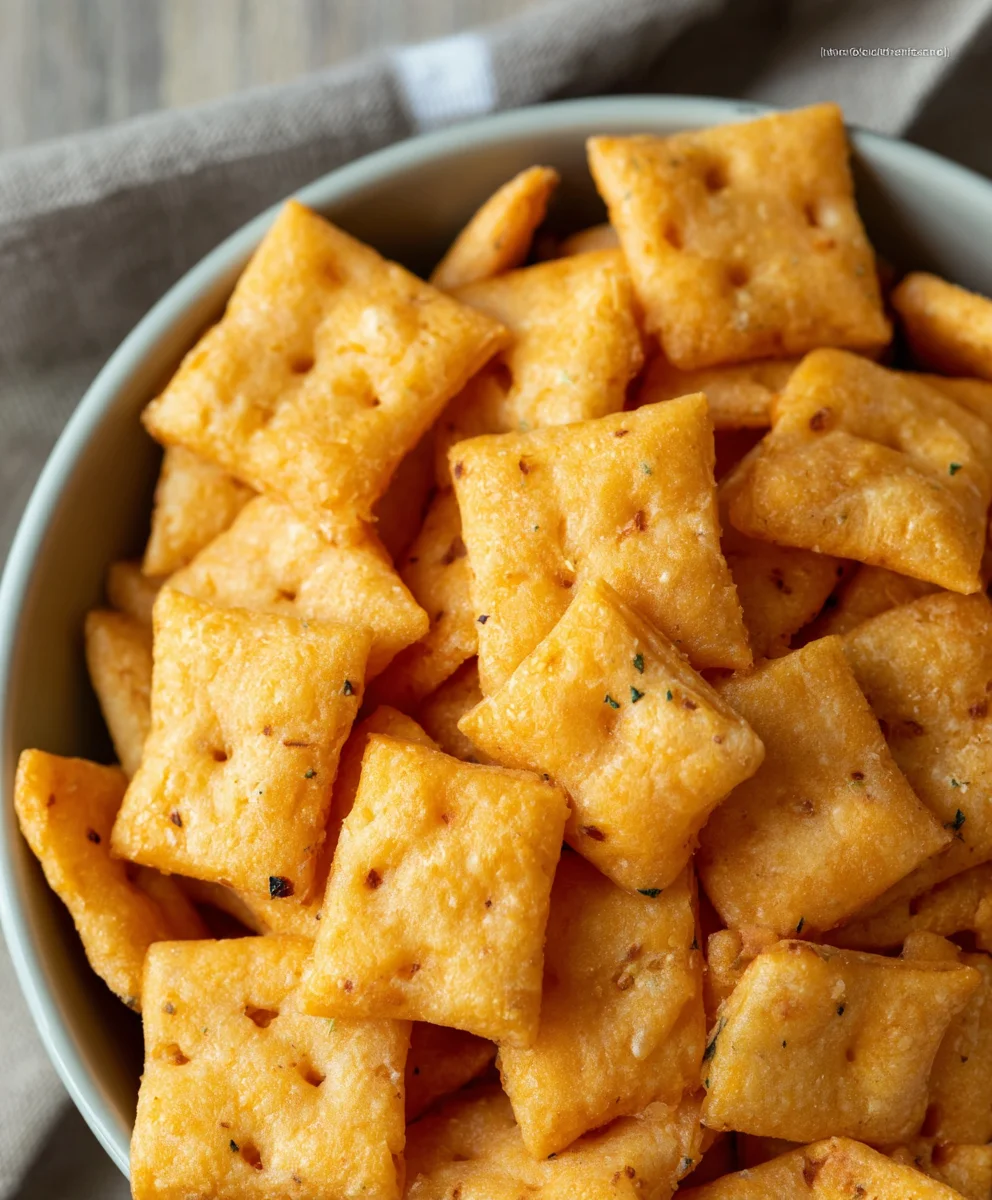
Gluten Free Cheez-Its- Crispy & Cheesy Snack Recipe
Gluten Free Cheez Its are a revelation for anyone who loves that unmistakable salty, cheesy, crunchy goodness but needs to avoid gluten. For years, the classic Cheez-It has been a pantry staple, a go-to snack for movie nights, school lunches, and spontaneous cravings. But what if you could capture that same addictive flavor and satisfying texture without the wheat? That’s exactly what this recipe achieves! We’ve cracked the code to recreating those iconic square crackers, ensuring they’re delightfully crisp, intensely cheesy, and, of course, completely gluten-free. Prepare to be amazed as you bite into these homemade wonders, knowing you’re enjoying a beloved snack reimagin extracted. The magic lies in the carefully selected gluten-free flour blend and the generous amount of sharp cheddar cheese that gives these crackers their signature zing.
The Ultimate Homemade Snack Solution
Why You’ll Love These Gluten Free Cheez Its
These aren’t just any gluten-free crackers; they are an experience. The vibrant orange hue, the unmistakable aroma of baked cheese, and that perfect snap when you break one in half – it all contributes to their irresistible charm. People adore them because they deliver on the promise of authentic Cheez-It flavor, something many gluten-free alternatives struggle to achieve. They are surprisingly simple to make, making them perfect for both seasoned bakers and kitchen novigin extract. Imagine the satisfaction of pulling a batch of perfectly golden, cheesy squares from your oven. They’re so good, you might just forget they’re gluten-free!
Ingredients:
- 8 ounces cheddar cheese, finely shredded (mild or sharp, your preference)
- 4 tablespoons unsalted butter, softened
- 1 cup gluten free flour blend (ensure it contains xanthan gum for binding, or add 1/2 teaspoon if your blend does not)
- 1/2 teaspoon salt
- 1/8 teaspoon garlic powder
- 3 tablespoons cold water
- 1 teaspoon coarse salt (such as sea salt or kosher salt), for sprinkling
- 1/8 teaspoon onion powder
Making Your Gluten Free Cheez Its
Combining the Dough
The foundation of these delicious Gluten Free Cheez Its lies in a simple yet effective dough that comes together quickly. Begin extract by placing your finely shredded cheddar cheese into the bowl of a food processor. Add the softened unsalted butter to the food processor with the cheese. Pulse the mixture a few times until it forms a coarse meal, resembling coarse sand. This initial step ensures the butter and cheese are well incorporated, setting the stage for a flaky texture. Next, add the gluten free flour blend to the food processor. It’s crucial to use a good quality gluten free flour blend that has been formulated for baking, as they often contain a mix of starches and flours that mimic the behavior of traditional wheat flour. If your blend doesn’t already contain xanthan gum, which is essential for binding in gluten free baking, be sure to add 1/2 teaspoon of it at this stage. For seasoning, now is the time to add the 1/2 teaspoon of salt, the 1/8 teaspoon of garlic powder, and the 1/8 teaspoon of onion powder. These spices are key to achieving that classic Cheez It flavor. Pulse the mixture again, just until everything is combinegin extractnd begins to form small clumps.
Forming and Chilling the Dough
Once the dry ingredients are incorporated, it’s time to bring the dough together. With the food processor running on a low speed, gradually drizzle in the 3 tablespoons of cold water. You only need enough water to help the dough come together into a cohesive ball. Be careful not to overmix at this stage; overworking gluten free dough can lead to a tough texture. The dough should be slightly sticky but manageable. Once the dough has formed, turn it out onto a lightly floured surface (use your gluten free flour blend for this). Gently knead it a few times to ensure it’s well combined. Then, flatten the dough into a disc, wrap it tightly in plastic wrap, and refrigerate it for at least 30 minutes. This chilling period is vital. It allows the gluten free flours to hydrate fully, which improves the texture of the crackers. It also firms up the butter, making the dough easier to roll out thinly, which is essential for achieving a crispy cracker. Don’t skip this step – it makes a significant difference in the final product.
Rolling and Cutting the Crackers
After the dough has chilled sufficiently, remove it from the refrigerator. Unwrap it and place it back onto your lightly floured surface. Now, you’ll want to roll out the dough as thinly as possible. For the crispiest Gluten Free Cheez Its, aim for a thickness of about 1/16 to 1/8 of an inch. A pasta roller is an excellent tool for achieving this uniform thinness, if you have one. If not, a rolling pin will work perfectly; just be patient and keep rolling until you reach the desired thinness. It might be helpful to roll the dough between two sheets of parchment paper to prevent sticking. Once the dough is rolled out, use a knife or a pizza cutter to cut it into small squares, roughly the size of a traditional Cheez It. If you want to be precise, you can use a small square cookie cutter. Don’t worry too much about perfectly uniform shapes; rustic charm is part of the appeal! As you cut, you can gather any scraps, gently re-roll them (if they become too dry, add a tiny drop of water), and cut more crackers.
Baking to Golden Perfection
Preheat your oven to 350°F (175°C) and line a baking sheet with parchment paper. Carefully transfer your cut cracker shapes onto the prepared baking sheet, leaving a little space between them. This allows for even air circulation and prevents them from sticking together as they bake. Now for the final touch before they hit the oven: sprinkle the tops of each cracker generously with the 1 teaspoon of coarse salt. This coarse salt adds a delightful crunch and a burst of flavor that perfectly complements the cheesy goodness. Place the baking sheet into the preheated oven and bake for 12-15 minutes. The baking time can vary depending on the thickness of your crackers and your oven. Keep a close eye on them during the last few minutes. You’re looking for them to be lightly golden brown around the edges and firm to the touch. If some crackers brown faster than others, you can carefully remove them from the baking sheet to prevent burning.
Cooling and Enjoying
Once your Gluten Free Cheez Its are baked to a perfect golden hue, carefully remove the baking sheet from the oven. Allow the crackers to cool on the baking sheet for a few minutes. They will continue to crisp up as they cool. After they’ve cooled slightly on the sheet, carefully transfer them to a wire cooling rack to cool completely. This is a crucial step for achieving that signature crispiness; letting them cool in a single layer on a rack ensures air can circulate around them. Once they are completely cool, they are ready to be enjoyed! Store any leftover crackers in an airtight container at room temperature. They should stay fresh and delicious for several days. These homemade Gluten Free Cheez Its are perfect for snacking on their own, serving at parties, or even crum extractbling over salads for a cheesy, crunchy topping.
Conclusion:
There you have it! Crafting your own delicious Gluten Free Cheez Its at home is not only achievable but incredibly rewarding. This recipe allows you to control the ingredients, ensuring a satisfyingly cheesy and crunchy snack without any gluten. The joy of pulling these golden crackers from your oven is unmatched, and the aroma alone will have everyone gathering in the kitchen. I truly encourage you to give this recipe a try; it’s a game-changer for anyone seeking that classic Cheez-It taste in a gluten-free format.
For serving, these Gluten Free Cheez Its are fantastic on their own as a midday snack, perfect for packing in lunchboxes, or served alongside your favorite dips like guacamole or a creamy hummus. Don’t be afraid to experiment with variations! You can try adding a pinch of garlic powder or onion powder to the dough for an extra savory kick, or even a touch of smoked paprika for a smoky depth. Consider using different cheese combinations for a unique flavor profile. The possibilities are endless, and the results are always delightful.
Frequently Asked Questions:
Why are my Gluten Free Cheez Its not crispy enough?
To ensure crispiness, make sure your oven temperature is accurate and that you are baking the crackers until they are golden brown and firm to the touch. Overcrowding the baking sheet can also lead to uneven baking and less crispiness, so ensure there’s enough space between each cracker. Additionally, allowing them to cool completely on a wire rack after baking is crucial for them to achieve their final crisp texture.
Can I make Gluten Free Cheez Its without a food processor?
Yes, absolutely! While a food processor makes incorporating the butter and cheese very easy, you can achieve the same result by hand. You’ll want to cut the cold butter into small cubes and then use your fingertips or a pastry blender to rub it into the gluten-free flour mixture until it resembles coarse crum extractbs. Then, you can gradually add the cheese and wet ingredients, mixing with a fork until a dough forms. It might take a little more effort, but the outcome will be just as delicious.
Gluten Free Cheez-Its – Crispy & Cheesy Snack Recipe
Crispy and cheesy homemade gluten-free crackers that are a delicious alternative to store-bought Cheez-Its.
Ingredients
-
8 ounces cheddar cheese, finely shredded (mild or sharp)
-
4 tablespoons unsalted butter, softened
-
1 cup gluten free flour blend (ensure it contains xanthan gum for binding, or add 1/2 teaspoon if your blend does not)
-
1/2 teaspoon salt
-
1/8 teaspoon garlic powder
-
3 tablespoons cold water
-
1 teaspoon coarse salt, for sprinkling
-
1/8 teaspoon onion powder
Instructions
-
Step 1
Combine shredded cheddar cheese and softened butter in a food processor. Pulse until it forms a coarse meal. Add gluten-free flour blend, salt, garlic powder, and onion powder. Pulse until combined and forming small clumps. -
Step 2
With the food processor running on low, gradually drizzle in cold water until the dough forms a cohesive ball. Turn out onto a lightly floured surface, knead briefly, flatten into a disc, wrap tightly, and refrigerate for at least 30 minutes. -
Step 3
Preheat oven to 350°F (175°C) and line a baking sheet with parchment paper. Roll out the chilled dough as thinly as possible, about 1/16 to 1/8 inch thick. Cut into small squares, similar in size to traditional Cheez-Its. -
Step 4
Carefully transfer the cut cracker shapes to the prepared baking sheet, spacing them slightly apart. Sprinkle the tops generously with coarse salt. -
Step 5
Bake for 12-15 minutes, or until lightly golden brown around the edges and firm to the touch. Watch closely to prevent burning. If some brown faster, remove them early. -
Step 6
Let the crackers cool on the baking sheet for a few minutes, then transfer to a wire rack to cool completely. Store in an airtight container at room temperature.
Important Information
Nutrition Facts (Per Serving)
It is important to consider this information as approximate and not to use it as definitive health advice.
Allergy Information
Please check ingredients for potential allergens and consult a health professional if in doubt.