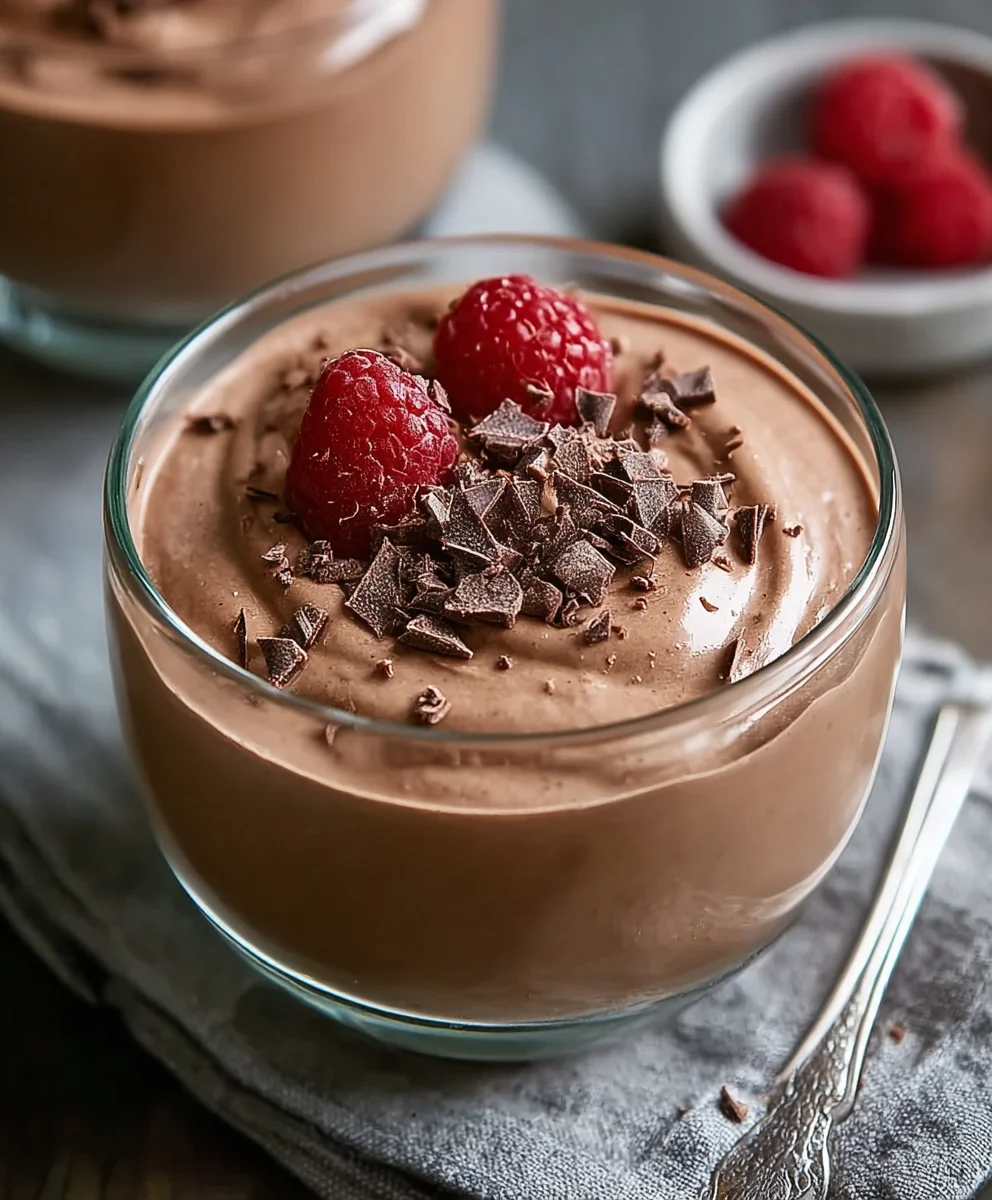
Easy Protein Pudding Recipe- Quick Healthy Treat
Protein Pudding is more than just a quick snack; it’s a culinary cbeef hameleon that transforms healthy eating into a delightful indulgence. If you’ve ever found yourself craving something creamy, satisfying, and guilt-free, then you’ve likely encountered the magic of this versatile dessert. What makes Protein Pudding so universally loved? It’s the perfect marriage of textures and flavors, hitting that sweet spot without the sugar rush. Imagin extracte a dessert that not only satisfies your taste buds but actively contributes to your fitness goals – that’s the secret sauce behind its popularity.
Why This Protein Pudding Reigns Supreme
This isn’t your average chalky, bland protein shake masquerading as dessert. This particular Protein Pudding recipe is designed to be lusciously smooth, incredibly flavorful, and surprisingly simple to whip up. We’ve mastered the art of creating a pudding with the ideal consistency – rich enough to feel like a treat, yet light enough to enjoy any time of day. Whether you’re a dedicated athlete looking for post-workout recovery or simply someone seeking a healthier alternative to traditional sweets, this Protein Pudding delivers on all fronts. Get ready to discover a new favorite way to nourish your body and delight your palate!
Ingredients:
- 1 cup (250g) Greek yogurt, low fat or full fat
- ½ cup (40g) protein powder, chocolate or vanilla flavored
- 1 tablespoon cocoa powder
- 1-2 tablespoons maple syrup, to taste
- Milk of choice, as needed for consistency
Preparing Your Protein Pudding
This recipe is designed to be incredibly straightforward, allowing you to whip up a delicious and protein-packed dessert or snack in mere minutes. The beauty of this Protein Pudding lies in its simplicity and adaptability. We’ll start by gathering all our ingredients, ensuring everything is measured out and ready to go. This makes the mixing process seamless and helps prevent any last-minute scrambling.
Step 1: Combine the Base Ingredients
In a medium-sized mixing bowl, begin extract by adding the Greek yogurt. I prefer using full-fat Greek yogurt for a richer, creamier texture, but low-fat works wonderfully too and is a great option if you’re looking to shave off a few calories. Give the yogurt a quick stir to loosen it up slightly. Next, add your chosen protein powder. Whether you opt for chocolate or vanilla, make sure it’s a flavor you enjoy, as it will form the primary flavor profile of your pudding. If you’re using chocolate protein powder, you might find you need less or no added cocoa powder, depending on your preference for chocolate intensity.
Step 2: Introduce the Cocoa Powder and Sweetener
Now, it’s time to add the cocoa powder if you’re aiming for a chocolate flavor. This will deepen the chocolate notes if you’re using chocolate protein powder or provide a rich chocolate base if you’re using vanilla. Measure out one tablespoon of unsweetened cocoa powder and sprinkle it evenly over the yogurt and protein powder mixture. Following that, add the maple syrup. Start with one tablespoon. Maple syrup not only adds sweetness but also contributes a lovely subtle flavor that complements both chocolate and vanilla. You can adjust this to your personal preference; if you have a sweeter tooth, feel free to add the second tablespoon now or even a little more. Remember, you can always add more sweetness later, but you can’t take it away.
Stgin extract3: Begin the Mixing Process
Using a whisk or a sturdy spoon, start to gently combine the ingredients. Initially, you’ll notice the mixture will be quite thick and potentially crum extractbly, especially with the protein powder. Don’t be discouraged by this. The key here is to work slowly and methodically. Gently fold the ingredients together, trying to incorporate as much of the dry powder into the wet base as possible without vigorous stirring, which can sometimes make the yogurt break down too much. Focus on breaking down any large clumps of protein powder or cocoa.
Step 4: Achieve the Perfect Consistency with Milk
This is where you’ll transform the thick mixture into a smooth, luscious pudding. Gradually add your milk of choice. I recommend starting with just a tablespoon or two at a time. The type of milk you use can also impact the final flavor and texture. Almond milk, oat milk, or dairy milk all work well. Stir the milk into the mixture. You’ll segin extracthe pudding begin to smooth out and become more fluid. Continue adding milk, a little at a time, and stirring, until you reach your desired consistency. For a thick, spoonable pudding, you’ll need less milk. If you prefer a more pourable, almost shake-like consistency, add a bit more milk. Aim for a texture that is smooth, creamy, and free of any gritty protein powder lumps. This stage is crucial for that satisfying pudding mouthfeel.
Step 5: Taste and Adjust
Once you’ve achieved your desired consistency, it’s time for the most important step: tasting! Use a clean spoon to taste your Protein Pudding. This is your opportunity to fine-tune the flavor. Does it need a little more sweetness? Add another splash of maple syrup. Is the chocolate flavor not quite intense enough? You can carefully stir in another small pinch of cocoa powder, but be mindful not to add too much, as it can make the pudding bitter. Continue to stir gently after any adjustments until everything is fully incorporated. The goal is to create a perfectly balanced flavor that satisfies your cravings. Once you’re happy with the taste and texture, your Protein Pudding is ready to be served. You can enjoy it immediately, or for an even more decadent experience, cover and refrigerate it for about 30 minutes to allow the flavors to meld and the pudding to chill thoroughly. This chilling step also helps to thicken it up slightly.
Conclusion:
And there you have it – your guide to creating the most delicious and satisfying Protein Pudding! This recipe is incredibly versatile, offering a fantastic base for both a healthy breakfast or a guilt-free dessert. We’ve explored how simple it is to whip up a batch that’s packed with nutrients and flavor. Remember, the key to success lies in the quality of your ingredients and a little bit of personal flair. Don’t be afraid to experiment with different protein powder flavors and add-ins. Whether you’re topping it with fresh berries, a sprinkle of granola, or a dollop of nut butter, this Protein Pudding is sure to become a staple in your kitchen.
Give it a try and let us know how you personalize it! We encourage you to share your creations and any delightful variations you discover. Happy pudding making!
Frequently Asked Questions:
Can I make this Protein Pudding ahead of time?
Absolutely! This Protein Pudding is perfect for meal prepping. You can prepare a batch and store it in individual containers in the refrigerator for up to 3 days. It may thicken slightly, so you can add a splash of milk or water to reach your desired consistency before serving.
What are some other flavor variations for Protein Pudding?
The possibilities are endless! Try using chocolate protein powder for a decadent treat, or vanilla for a classic taste. You can also add a teaspoon of instant coffee for a mocha flavor, a pinch of cinnamon and nutmeg for a spiced version, or even some pureed fruit like pumpkin or banana for added flavor and nutrients.
Easy Protein Pudding Recipe
A quick and healthy treat that’s simple to make, offering a delicious protein boost.
Ingredients
-
1 cup (250g) Greek yogurt, low fat or full fat
-
½ cup (40g) protein powder, chocolate or vanilla flavored
-
1 tablespoon cocoa powder
-
1-2 tablespoons maple syrup, to taste
-
Milk of choice, as needed for consistency
Instructions
-
Step 1
Combine Greek yogurt, protein powder, and cocoa powder in a medium-sized mixing bowl. Stir the yogurt to loosen it, then add the protein powder and cocoa powder. If using chocolate protein powder, you may need less or no cocoa. -
Step 2
Add 1 tablespoon of maple syrup to the mixture. Stir gently to combine. -
Step 3
Begin mixing the ingredients with a whisk or spoon. Initially, the mixture will be thick and crumbly. Gently fold the ingredients together, breaking down any clumps of protein powder or cocoa. -
Step 4
Gradually add your milk of choice, one tablespoon at a time, stirring until you reach your desired pudding consistency. Use less milk for a thick pudding and more for a pourable consistency. -
Step 5
Taste the pudding and adjust sweetness with more maple syrup if needed. Stir in additional cocoa powder for more intense chocolate flavor, if desired. Ensure all adjustments are fully incorporated. -
Step 6
Serve immediately or chill in the refrigerator for about 30 minutes for a thicker, more flavorful pudding.
Important Information
Nutrition Facts (Per Serving)
It is important to consider this information as approximate and not to use it as definitive health advice.
Allergy Information
Please check ingredients for potential allergens and consult a health professional if in doubt.