Easy No Yeast Pizza Dough – Quick Homemade Pizza
An excellent No Yeast Pizza Dough is your secret weapon for instant pizza gratification! Who doesn’t dream of a hot, cheesy pizza, fresh from the oven, ready to be devoured? But the thought of waiting for dough to rise can be a real buzzkill, right? That’s where this incredible no yeast pizza dough comes in. It’s an absolute game-changer, allowing you to whip up delicious homemade pizza in a fraction of the time. What makes this recipe so special? It’s the perfect balance of chewy and crispy, with a delightful tang that comes from simple ingredients you likely already have. No more last-minute trips to the store for yeast, no more impatience – just pure pizza joy. Get ready to impress yourself and everyone you share it with using this fantastic no yeast pizza dough!
An Excellent No Yeast Pizza Dough – Quick Easy Homemade Pizza!
Craving pizza but short on time or don’t have yeast on hand? You’re in luck! This no-yeast pizza dough recipe is a game-changer. It delivers a wonderfully chewy and slightly crisp crust that’s perfect for all your favorite toppings. Forget waiting for dough to rise; with this recipe, you can have delicious homemade pizza on the table in under an hour, making it ideal for those spontaneous pizza nights or busy weeknights.
The magic of this dough lies in the baking powder, which acts as our leavening agent. Unlike yeast, which requires time to ferment and produce gases, baking powder provides an immediate lift. This means you can mix, shape, and bake your pizza without any lengthy resting periods. The result is a light yet sturdy crust that holds up beautifully to generous amounts of sauce and cheese.
Ingredients:
Instructions:
Let’s get started on creating your fantastic no-yeast pizza dough!
Step 1: Combine Dry Ingredients
In a medium-sized mixing bowl, whisk together the bread flour, baking powder, salt, and sugar. The baking powder is our secret weapon for a quick rise, so make sure it’s fresh. The salt is crucial for flavor, and the sugar, while not strictly necessary for leavening here, adds a subtle sweetness and helps with browning the crust. Whisking these dry ingredients together thoroughly ensures that the baking powder is evenly distributed, which will lead to a consistent texture throughout your dough.
Step 2: Add Wet Ingredients and Mix
Create a well in the center of your dry ingredients. Pour in the olive oil and the cold tap water. Using a fork or a spatula, begin extract to mix the ingredients from the center outwards, gradually incorporating the flour from the sides. Continue mixing until a shaggy dough begin extracts to form. At this stage, the dough might seem a little sticky, and that’s perfectly normal. Avoid the temptation to add too much extra flour at this point, as it can make the dough tough. We want just enough flour to bring it together without being overly dry.
Step 3: Knead the Dough
Turn the shaggy dough out onto a lightly floured surface. You’ll use that extra tablespoon of flour here to help prevent sticking. Begin extract to knead the dough by pushing it away from you with the heels of your hands, then folding it back over on itself. Rotate the dough and repeat. Knead for about 5-7 minutes, or until the dough is smooth and elastic. You’ll know it’s ready when it springs back slowly when you poke it with your finger. This kneading process develops the gluten in the flour, which gives the pizza crust its structure and chew. If the dough feels too sticky during kneading, lightly dust your hands and the work surface with a little more flour, but again, use it sparingly.
Step 4: Shape Your Pizza Dough
Once your dough is well-kneaded, it’s time to shape it. You have a couple of options here. For a round pizza, gently form the dough into a ball. If you prefer a rectangular pizza for a baking sheet, you can shape it accordingly. You can either use your hands to stretch and flatten the dough, or if you find it easier, you can use a rolling pin. Aim for a thickness that you prefer – thinner for a crispier crust, or slightly thicker for a chewier base. If the dough is resisting stretching and keeps springin extractg back, let it rest for 5-10 minutes, covered with a clean kitchen towel, and then try again. This allows the gluten to relax.
Step 5: Prepare for Baking and Add Toppings
Preheat your oven to a high temperature, ideally 450°F (230°C). If you have a pizza stone or steel, place it in the oven while it preheats. Lightly grease your pizza peel or the back of a baking sheet with a little oil or cornmeal to prevent sticking. Carefully transfer your shaped pizza dough onto the prepared surface. If you’re using the optional vegetable oil for brushing the crust, now is the time to lightly brush the edges of your dough. This will give the crust a lovely golden color and a slightly crispier texture. Now comes the fun part: add your favorite pizza sauce, cheese, and toppings! Don’t overload your pizza, as this can make the crust soggy.
Step 6: Bake Your Delicious Pizza!
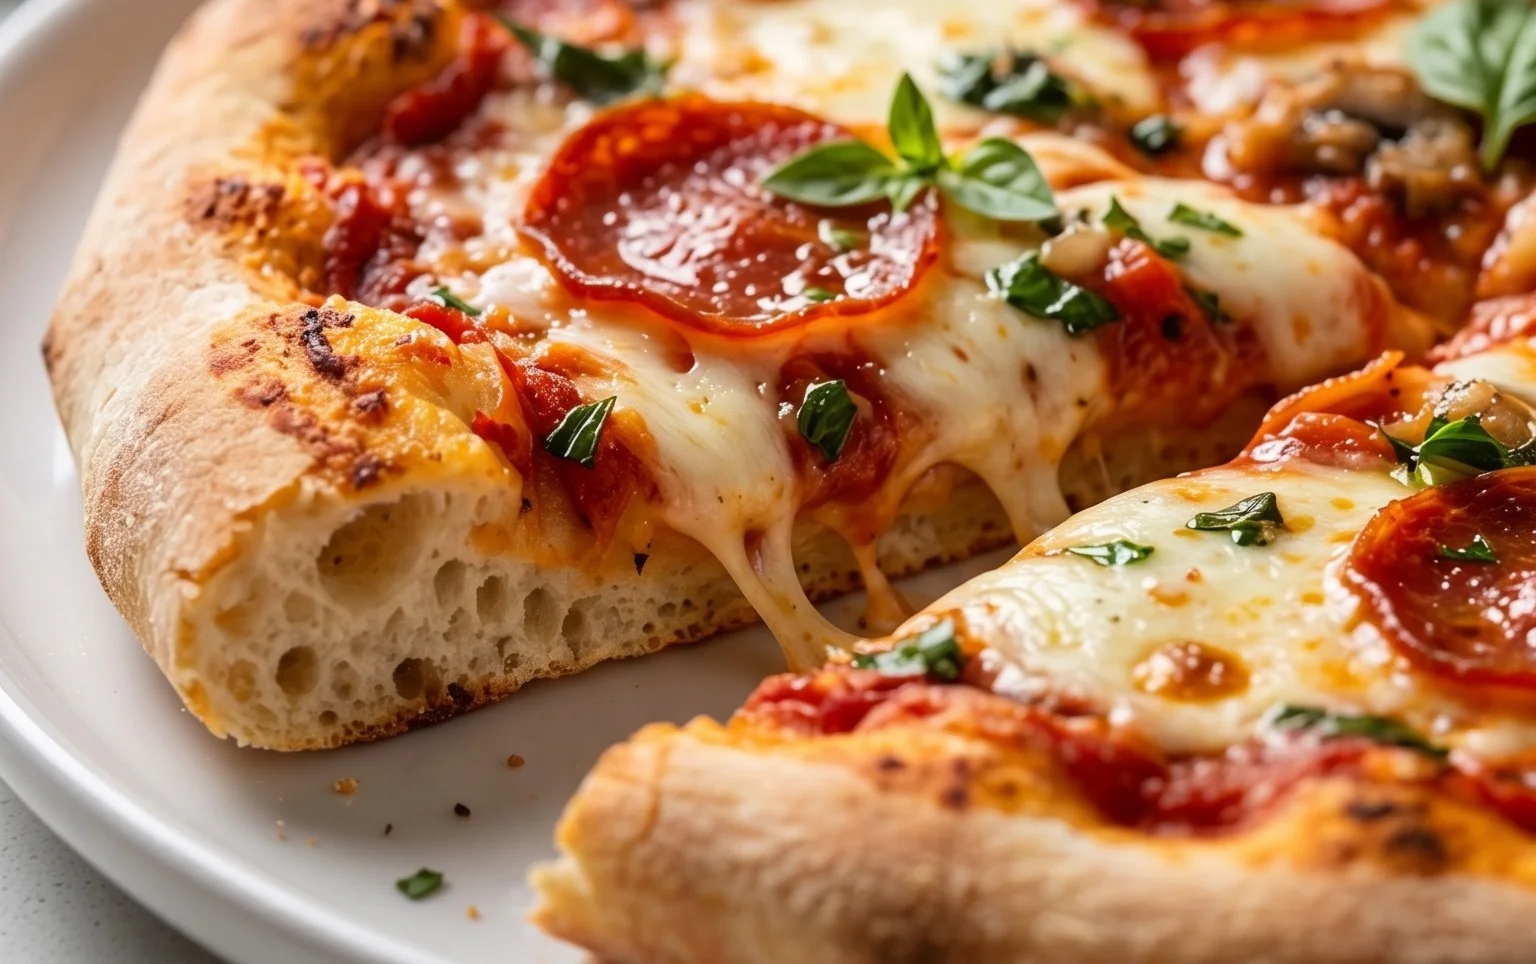
Carefully slide your prepared pizza onto the preheated pizza stone or baking sheet in the oven. Bake for 10-15 minutes, or until the crust is golden brown and the cheese is melted and bubbly. The exact baking time will depend on your oven and the thickness of your crust. Keep an eye on it to ensure it doesn’t burn. Once it’s done, carefully remove the pizza from the oven. Let it cool for a minute or two before slicing and serving. Enjoy your quick, easy, and incredibly satisfying homemade pizza!
Note 1: This recipe makes one roughly 10-12 inch pizza crust. You can easily double or triple the recipe for more pizzas.
Note 2: While bread flour will give you a chewier crust due to its higher gluten content, all-purpose flour works wonderfully too. If using all-purpose flour, your crust might be slightly less chewy but still delicious.
Note 3: The optional vegetable oil for brushing the crust adds a lovely sheen and helps achieve a golden-brown finish. Olive oil or even melted butter can be used as alternatives.
Conclusion:
So there you have it – an truly excellent no yeast pizza dough recipe that proves you don’t need hours for amazing homemade pizza! This recipe is fantastic because it’s incredibly quick, requiring minimal effort and readily available pantry staples. Forget waiting for dough to rise; you can be enjoying a delicious, custom-topped pizza in no time at all. Whether you’re a busy weeknight warrior or just craving a spontaneous pizza fix, this recipe is your new best friend. It’s versatile enough for any topping you can dream up, making it perfect for family dinners, movie nights, or even a fun activity with kids. I genuinely encourage you to give this a try – you’ll be amazed at how easy and satisfying it is to create your own perfect pizza base from scratch.
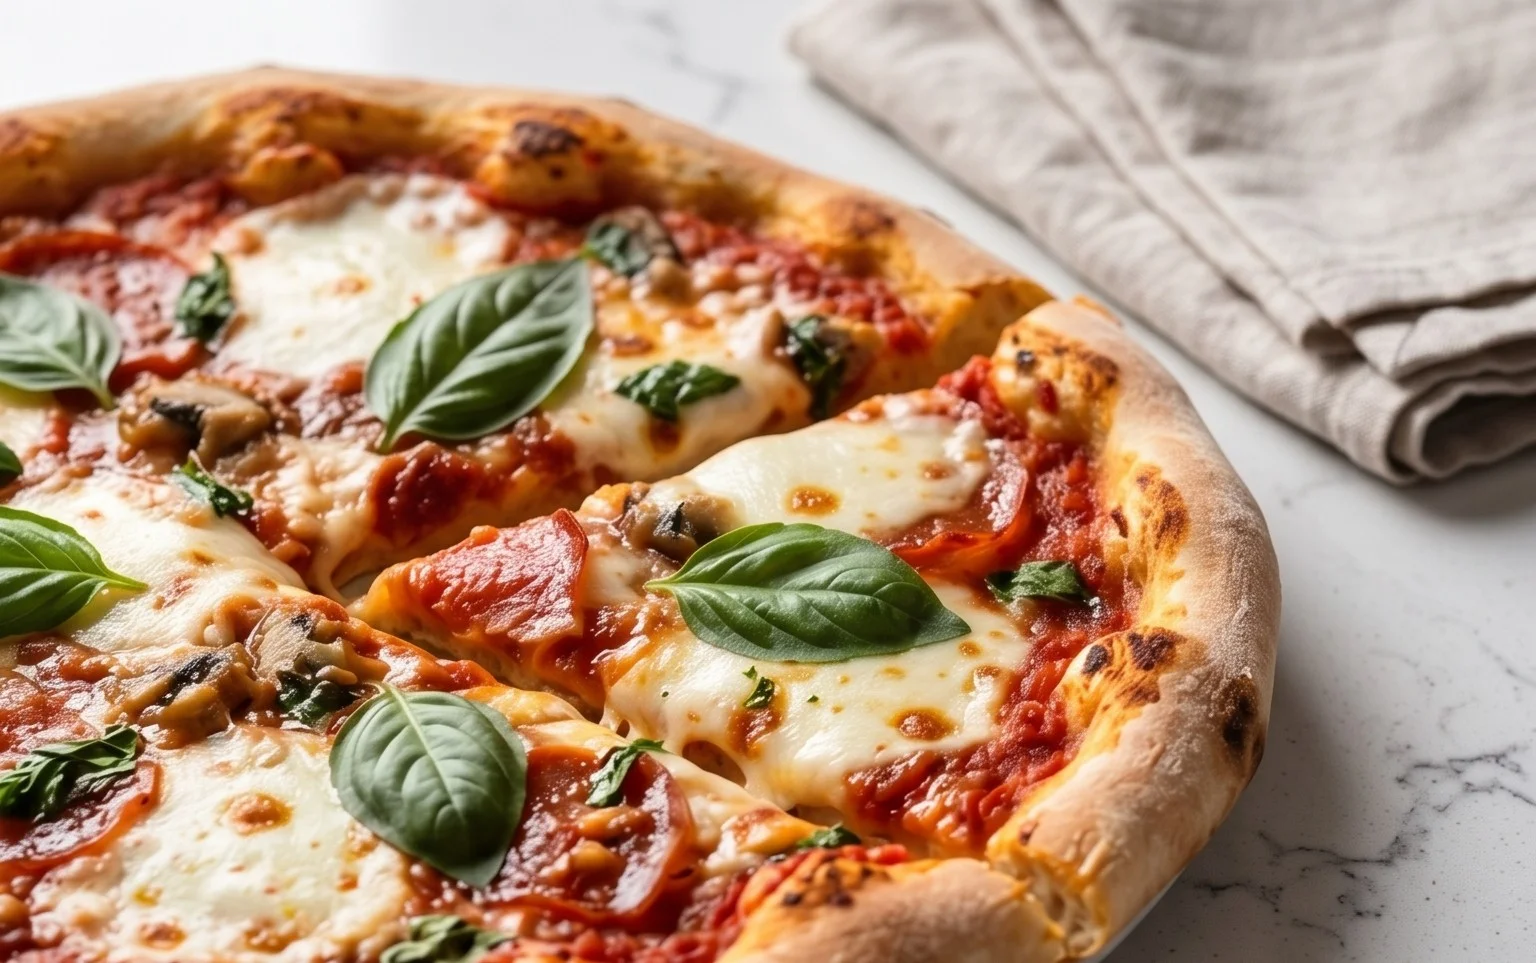
Some serving suggestions include classic Margherita with fresh mozzarella, basil, and tomato sauce, or get adventurous with a BBQ chicken pizza, a vegetarian delight loaded with your favorite veggies, or even a white pizza with garlic and ricotta. Feel free to experiment with different flours too, perhaps adding a touch of whole wheat for extra texture and flavor!
Frequently Asked Questions:
Can I make this dough ahead of time?
Yes, you absolutely can! Once the dough is made and comes together, you can wrap it tightly in plastic wrap and refrigerate it for up to 2-3 days. It might be a little firm when you take it out, so let it sit at room temperature for about 20-30 minutes before stretching it for the best results.
What if I don’t have baking powder?
While baking powder is essential for this no yeast pizza dough to achieve its rise and fluffy texture, you can substitute it with a combination of cream of tartar and baking soda. For every 1 teaspoon of baking powder, use ¼ teaspoon of baking soda and ½ teaspoon of cream of tartar. Make sure to use them immediately after mixing them together to get the leavening effect.
Why is my dough a bit sticky?
A slightly sticky dough is often a good sign that it’s well-hydrated and will result in a tender crust. If it’s too sticky to handle, lightly dust your hands and the work surface with a little extra flour. Avoid adding too much flour, as this can make the dough tough.
An excellent No Yeast Pizza Dough – quick easy homemade pizza!
A fast and simple homemade pizza dough recipe that doesn’t require yeast, perfect for a quick weeknight meal or spontaneous pizza craving.
Ingredients
-
1 1/3 cups bread flour (or plain / all purpose flour)
-
2 tsp baking powder
-
3/4 tsp salt
-
3/4 tsp sugar
-
2 tsp olive oil
-
1/2 cup water (cold tap water)
-
1 tbsp Extra Flour (, for dusting)
-
2 tsp vegetable oil (optional) (, for brushing crust)
Instructions
-
Step 1
In a large bowl, whisk together the bread flour, baking powder, salt, and sugar. -
Step 2
Add the olive oil and water to the dry ingredients. Mix with a spoon or spatula until a shaggy dough forms. -
Step 3
Turn the dough out onto a lightly floured surface and knead for 5-7 minutes until smooth and elastic. If the dough is too sticky, add a little more flour, one tablespoon at a time. -
Step 4
Shape the dough into a ball. You can use it immediately or cover it and let it rest for 10-15 minutes for easier handling. -
Step 5
Preheat your oven to the highest temperature it can go (usually 450-500°F or 230-260°C). If using a pizza stone or steel, place it in the oven while it preheats. -
Step 6
On a lightly floured surface, roll or stretch the dough to your desired pizza shape and thickness. -
Step 7
Transfer the dough to a pizza peel dusted with flour or onto parchment paper. Add your favorite toppings. -
Step 8
Carefully slide the pizza onto the preheated pizza stone/steel or place the baking sheet in the oven. Bake for 10-15 minutes, or until the crust is golden brown and the cheese is bubbly and melted. -
Step 9
If desired, brush the crust with vegetable oil immediately after removing from the oven for extra shine and flavor.
Important Information
Nutrition Facts (Per Serving)
It is important to consider this information as approximate and not to use it as definitive health advice.
Allergy Information
Please check ingredients for potential allergens and consult a health professional if in doubt.