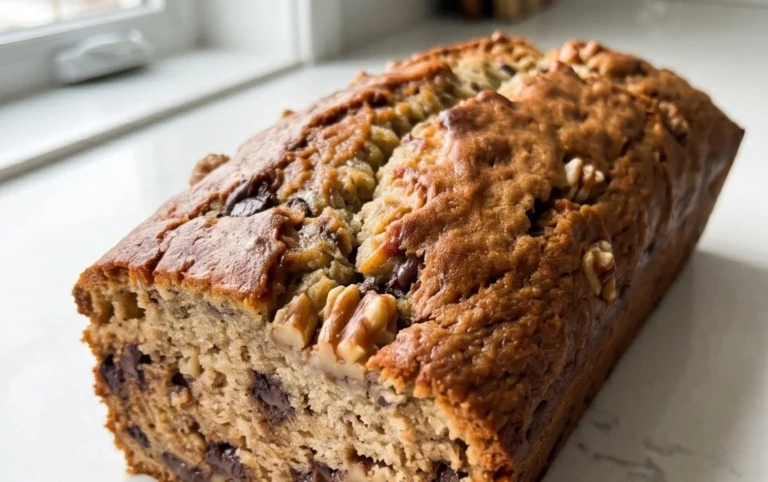
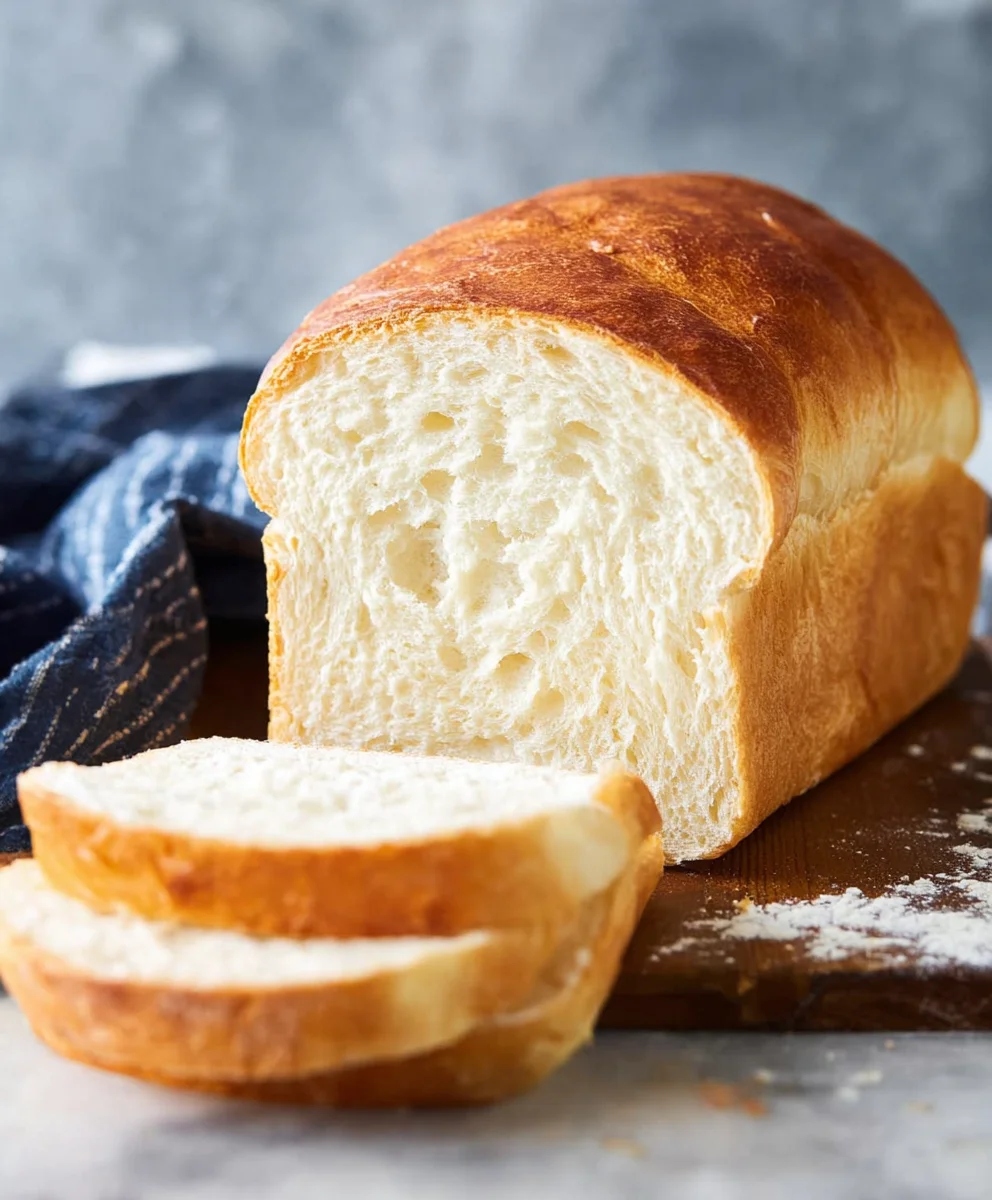
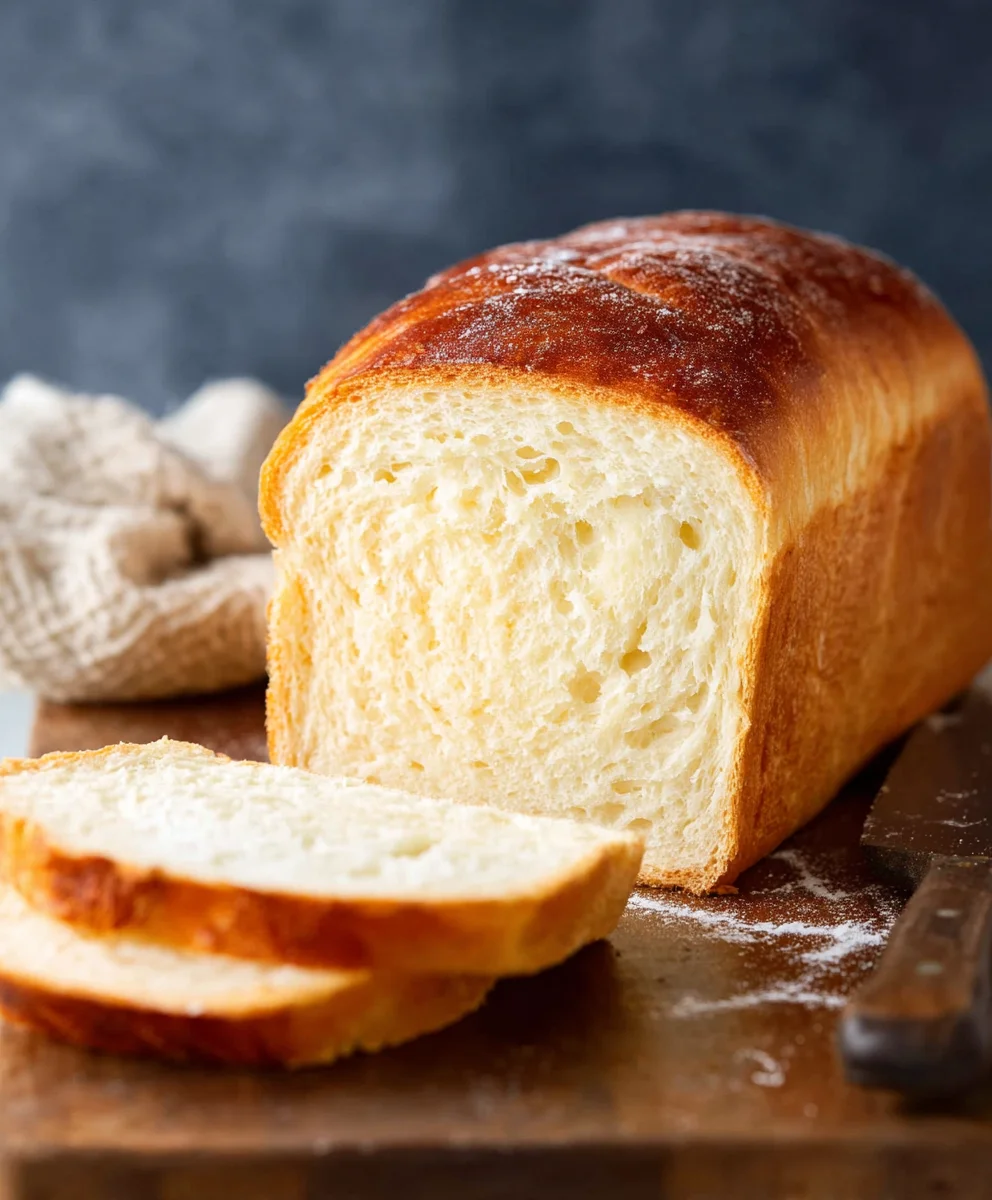
Easy Homemade White Bread Recipe-Soft & Delicious
White Bread is more than just a staple; it’s a canvas for comfort, a childhood memory, and the unassuming hero of countless meals. Think about it – that perfectly soft, slightly sweet slice, toasted to golden perfection and slathered with butter. It’s the foundation of the ultimate grilled cheese, the ideal vehicle for a midday PB&J, and the comforting sidekick to a hearty bowl of soup. What is it about simple white bread that resonates so deeply? Perhaps it’s its inherent versatility, its approachable texture, or the way it effortlessly absorbs flavors. This recipe elevates the humble white bread, taking it from basic to breathtaking. We’re going to explore what makes this particular approach to white bread so special, infusing it with a delicate aroma and an irresistible crum extractb that will have you rethinking your relationship with this everyday wonder.
Ingredients:
- 1 ⅔ cups lukewarm water (divided into two portions: 1 cup and ⅔ cup)
- 2 ¼ teaspoon instant yeast (this is approximately one standard packet)
- 1 teaspoon sugar (for feeding the yeast)
- 1 tablespoon honey (or you can substitute with more sugar if preferred)
- 1 teaspoon salt (crucial for flavor and dough structure)
- 1 ½ tablespoons unsalted butter (cubed and at room temperature for dough enrichment)
- 4 ½ cups all-purpose flour (divided, with some set aside for dusting and adjusting)
- 1 ½ tablespoons butter (melted, for brushing the crust at the end)
Preparing the Dough
Activating the Yeast
The first step to achieving a wonderfully soft and airy white bread is to properly activate your yeast. In a large mixing bowl, combine 1 cup of the lukewarm water with the 1 teaspoon of sugar and the 1 tablespoon of honey. Give it a gentle stir to ensure the sugar and honey dissolve. Now, sprinkle the 2 ¼ teaspoons of instant yeast over the surface of the water. Do not stir it in immediately. Let it sit for about 5 to 10 minutes. You should see a frothy, foamy layer develop on top. This indicates that your yeast is alive and active and ready to work its magic on your dough. If you don’t see this foamy layer, your yeast might be old or the water was too hot or too cold, and you’ll need to start this step over with fresh yeast.
Combining Wet and Dry Ingredients
Once your yeast is happily frothing, it’s time to add the remaining wet ingredients and the flour. To the yeast mixture, add the 1 teaspoon of salt and the 1 ½ tablespoons of unsalted butter, cubed and at room temperature. The butter will add richness and tenderness to the final loaf. Now, gradually add 4 cups of the all-purpose flour to the bowl, reserving the remaining ½ cup for later. Mix everything together with a wooden spoon or a sturdy spatula until a shaggy dough begin extracts to form. It will look a bit messy at this stage, and that’s perfectly normal.
Kneading the Dough
Initial Knead and Dough Development
Turn the shaggy dough out onto a lightly floured surface. You can use a small amount of your reserved ½ cup of flour for gin extracts. Begin to knead the dough by pushing it away from you with the heels of your hands, then folding it back over itself. Rotate the dough a quarter turn and repeat the process. Continue kneading for about 8 to 10 minutes. Initially, the dough will be sticky and may cling to your hands and the surface. Resist the urge to add too much extra flour at this point. Gradually, as you knead, the dough will become smoother, more elastic, and less sticky. You’re looking for a dough that is soft to the touch and springs back slowly when you gently poke it with your finger. If it still feels excessively sticky after a few minutes of kneading, you can incorporate a little more of the reserved flour, a tablespoon at a time, but be careful not to add too much, as this can result in a tough bread.
Adding the Remaining Water
About halfway through the kneading process, or when the dough starts to feel less sticky and more pliable, it’s time to incorporate the remaining ⅔ cup of lukewarm water. Add it in two or three additions, continuing to knead after each addition. This step is crucial for developing the gluten structure, which gives the bread its characteristic chegrape juicess and helps it rise beautifully. The dough might feel a bit wet and unmanageable at first when you add the extra water, but keep kneading. It will come back together and form a smooth, elastic ball.
First Rise (Bulk Fermentation)
Proofing the Dough
Once your dough has been thoroughly kneaded and feels smooth and elastic, shape it into a neat ball. Lightly grease a clean large bowl with a little oil or cooking spray. Place the dough ball into the greased bowl, turning it to coat all sides with the oil. Cover the bowl tightly with plastic wrap or a clean kitchen towel. Place the bowl in a warm, draft-free spot to rise. This could be inside a slightly warmed oven (turned off!), on top of your refrigerator, or just on your counter if your kitchen is warm. Let the dough rise for about 1 to 1.5 hours, or until it has doubled in size. The warmth helps the yeast ferment and create those essential air pockets.
Shaping and Second Rise
Deflating and Shaping
After the first rise, gently punch down the dough to release the trapped gases. Turn the dough out onto your lightly floured work surface. You can divide the dough in half if you want to make two smaller loaves, or keep it as one for a larger loaf. Shape the dough into your desired loaf shape. For a classic sandwich loaf, gently flatten the dough into a rectangle, then roll it up tightly from one of the shorter ends, pinching the seam closed. Tuck the ends under and place the loaf seam-side down into a greased 9×5 inch loaf pan.
Second Proofing
Once shaped, cover the loaf pan loosely with plastic wrap or a clean kitchen towel. Let the dough rise again in a warm place for about 45 minutes to 1 hour, or until it has risen about 1 inch above the rim of the pan. This second rise is essential for a light and airy crum extractb structure.
Baking the White Bread
Baking to Golden Perfection
Preheat your oven to 375°F (190°C) during the last 15 minutes of the second rise. Once the oven is preheated and the dough has completed its second rise, carefully place the loaf pan into the center of the preheated oven. Bake for 30 to 35 minutes, or until the crust is a beautiful golden brown and the internal temperature of the bread reaches 190-200°F (88-93°C) when tested with an instant-read thermometer. If the crust starts to brown too quickly, you can loosely tent the loaf with aluminum foil for the last 10-15 minutes of baking.
Finishing Touches for a Perfect Crust
As soon as the bread comes out of the oven, brush the top generously with the 1 ½ tablespoons of melted butter. This will give your white bread a wonderfully soft, glossy, and flavorful crust that is irresistible. Let the bread cool in the pan for about 5-10 minutes before carefully inverting it onto a wire rack to cool completely. Allowing it to cool fully on a wire rack ensures that steam escapes and prevents the bottom from becoming soggy. Once completely cooled, slice and enjoy your homemade white bread!
Conclusion:
There you have it – a foolproof guide to baking the perfect loaf of White Bread! We’ve covered everything from selecting the right flour to achieving that signature soft crum extractb and golden crust. This recipe is a fantastic starting point for any home baker, offering a comforting and versatile staple for your kitchen. Imagin extracte slathering warm slices with butter, creating the ultimate grilled cheese sandwich, or simply enjoying it with your favorite soup. The aroma that fills your home while it bakes is truly something special, and the satisfaction of pulling your own homemade loaf from the oven is unparalleled. Don’t be afraid to experiment with this foundational recipe; it’s designed for success, but also for creativity!
For serving suggestions, this White Bread is incredibly adaptable. It shines as a side to any meal, forms the base for delightful sandwiches, and is excellent toasted with jam or honey. You can also brush it with garlic butter and bake it for a quick garlic bread. If you’re feeling adventurous with variations, consider adding herbs like rosemary or thyme to the dough for an aromatic twist. A sprinkle of seeds on top before baking also adds a lovely texture and flavor. We encourage you to try this recipe, embrace the process, and enjoy the delicious results!
Frequently Asked Questions:
Q: Can I make this White Bread recipe vegan?
Absolutely! To make this White Bread recipe vegan, simply substitute the milk with unsweetened plant-based milk (like almond, soy, or oat milk) and replace the butter with vegan butter or a neutral-flavored oil like vegetable or canola oil. The yeast will activate just as well, and you’ll have a delicious vegan loaf.
Q: My White Bread didn’t rise very well. What could be the reason?
There are a few common culprits for poor rising. Ensure your yeast is fresh and active; test it by dissolving it in warm water with a pinch of sugar. If it foams within 5-10 minutes, it’s good to go. Also, check the temperature of your liquids. Water that’s too hot can kill the yeast, and water that’s too cold won’t activate it effectively. Aim for lukewarm water (around 105-115°F or 40-46°C). Lastly, make sure your dough has had enough time to proof in a warm, draft-free environment. Sometimes, a slightly cooler kitchen can slow down the rising process.
Easy Homemade White Bread Recipe-Soft & Delicious
A simple and delicious recipe for soft, homemade white bread that’s perfect for sandwiches and toast.
Ingredients
-
1 ⅔ cups lukewarm water (divided)
-
2 ¼ teaspoon instant yeast
-
1 teaspoon sugar
-
1 tablespoon honey
-
1 teaspoon salt
-
1 ½ tablespoons unsalted butter (cubed at room temperature)
-
4 ½ cups all-purpose flour (divided)
-
1 ½ tablespoons butter (melted for brushing)
Instructions
-
Step 1
Activate yeast: In a large bowl, combine 1 cup of lukewarm water, sugar, and honey. Sprinkle yeast over top and let sit for 5-10 minutes until frothy. -
Step 2
Combine ingredients: Add salt and cubed butter to the yeast mixture. Gradually add 4 cups of flour and mix until a shaggy dough forms. -
Step 3
Knead dough: Turn dough onto a lightly floured surface and knead for 8-10 minutes until smooth and elastic. Incorporate remaining ⅔ cup of water in additions during kneading. -
Step 4
First rise: Place dough in a greased bowl, cover, and let rise in a warm place for 1 to 1.5 hours, or until doubled in size. -
Step 5
Shape and second rise: Punch down dough, shape into a loaf, and place in a greased 9×5 inch loaf pan. Cover and let rise for 45 minutes to 1 hour, or until 1 inch above the rim. -
Step 6
Bake: Preheat oven to 375°F (190°C). Bake for 30-35 minutes until golden brown. Brush with melted butter immediately after removing from oven. Cool completely on a wire rack.
Important Information
Nutrition Facts (Per Serving)
It is important to consider this information as approximate and not to use it as definitive health advice.
Allergy Information
Please check ingredients for potential allergens and consult a health professional if in doubt.