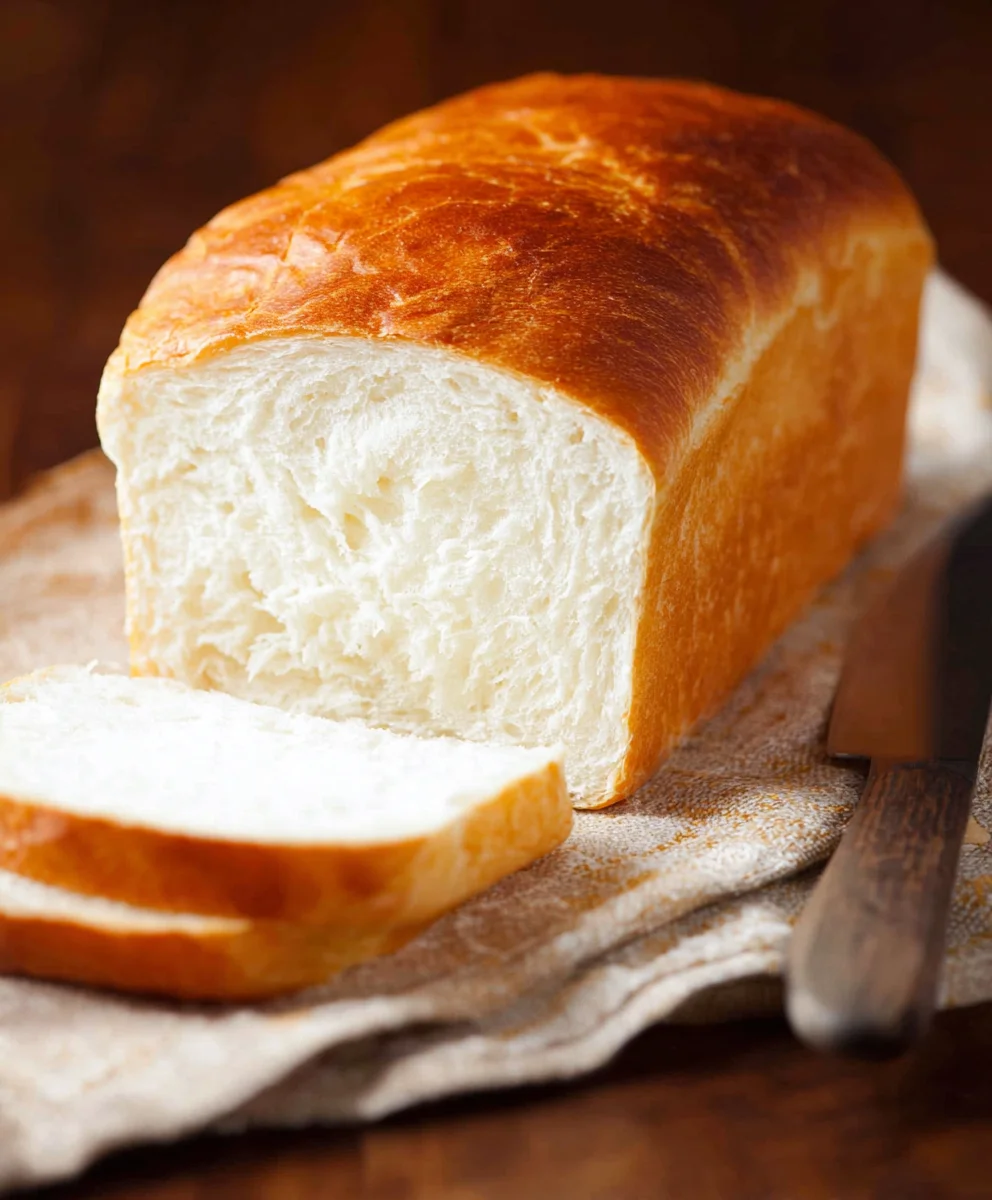
Amish White Bread-Easy Homemade Soft Loaf
AMISH WHITE BREAD holds a special place in the hearts and kitchens of many. It’s more than just a loaf of bread; it’s a symbol of comfort, tradition, and simple pleasures. Imagin extracte the aroma filling your home – a warm, yeasty scent that instantly evokes feelings of nostalgia and home-cooked goodness. This isn’t your average store-bought loaf. What makes Amish white bread so beloved is its unparalleled softness, its slightly sweet undertones, and that incredibly tender crum extractb that just melts in your mouth. It’s the perfect canvas for butter, jam, or even just enjoyed on its own. We’re diving into a recipe that will allow you to recreate this classic at hogin extract bringing a taste of authentic Amish baking right to your table. Get ready to experience the pure joy of crafting your very own batch of this delightful AMISH WHITE BREAD!
Ingredients:
- 1 cup warm water, (110-120°F)
- ⅓ cup granulated sugar
- 1 packet, (2 ¼ teaspoons instant yeast)
- 3 cups all-purpose flour, plus more for dusting
- ¾ teaspoon salt
- 2 tablespoons vegetable or canola oil
- 2 tablespoons unsalted butter, melted
Preparing the Dough
Step 1: Activating the Yeast
Begin extract by ensuring your water is at the correct temperature. It should feel comfortably warm to the touch, not hot. Too hot and you’ll kill the yeast; too cool and it won’t activate properly. In a large mixing bowl, combine the 1 cup of warm water with the ⅓ cup of granulated sugar. Sprinkle the 1 packet of instant yeast over the surface of the water and sugar mixture. Give it a very gentle stir, just enough to ensure the yeast is mostly submerged. Now, let this mixture sit undisturbed for about 5 to 10 minutes. You’ll know your yeast is active when it becomes foamy and bubbly on top, resembling a small, living ecosystem. This foamy layer is a good indication that your yeast is alive and ready to leaven your AMISH WHITE BREAD. If you don’t see any activity, your yeast might be old or the water temperature was off, and you’ll need to start again with fresh yeast.
Step 2: Combining Dry Ingredients and Initial Mixing
While the yeast is activating, measure out your dry ingredients. In a separate medium bowl, whisk together the 3 cups of all-purpose flour and the ¾ teaspoon of salt. This simple step ensures the salt is evenly distributed throughout the flour, which is important for flavor and gluten development in the bread. Once your yeast mixture is visibly foamy, it’s time to combine everything. Add the 2 tablespoons of vegetable or canola oil to the activated yeast mixture. Then, gradually add the flour and salt mixture to the wet ingredients. Start by adding about half of the flour mixture and stir with a wooden spoon or a sturdy spatula until just combined. The dough will be shaggy at this stage.
Developing the Dough
Step 3: Kneading the Dough
Now, it’s time for the crucial kneading process. Add the remaining flour mixture to the bowl. Continue to mix until a rough dough forms. If the dough feels excessively sticky, you can add a tablespoon of flour at a time, but be cautious not to add too much, as this can result in a dry loaf. Turn the dough out onto a lightly floured surgin extracte. Begin kneading. This involves pushing the dough away from you with the heel of your hand, then folding it back over itself, rotating it a quarter turn, and repeating the process. Knead for about 8 to 10 minutes. You’re looking for the dough to become smooth, elastic, and slightly tacky but not stick to your hands. When you poke it, it should spring back slowly. This develops the gluten structure, which is what gives your AMISH WHITE BREAD its characteristic chegrape juicess and rise.
Step 4: First Rise (Proofing)
Once your dough has been thoroughly kneaded, shape it into a smooth ball. Lightly grease the mixing bowl you used earlier with a little more vegetable oil. Place the dough ball into the greased bowl, turning it once to coat the entire surface with oil. This prevents the dough from drying out as it rises. Cover the bowl tightly with plastic wrap or a clean kitchen towel. Find a warm, draft-free spot for the dough to rise. An oven that has been turned off but is still slightly warm from preheating, or a spot near a sunny window, works well. Let the dough rise for 1 to 1.5 hours, or until it has doubled in size. This is the first proofing stage, where the yeast works its magic, creating air pockets and giving the bread its volume.
Shaping and Baking
Step 5: Shaping and Second Rise
Once the dough has doubled in size, gently punch it down to release the air. Turn the dough out onto your lightly floured work surface again. Briefly knead it for about 30 seconds to a minute to redistribute the air. Now, shape the dough into your desired loaf. For a classic AMISH WHITE BREAD, you can shape it into a long rectangle and then roll it up tightly, pinching the seam closed. Alternatively, you can shape it into a round boule. Place the shaped dough into a greased 9×5 inch loaf pan, or onto a baking sheet lined with parchment paper if you prefer a free-form loaf. Cover the pan or baking sheet loosely with plastic wrap or a kitchen towel. Let the dough rise for a second time in a warm place for another 30 to 45 minutes, or until it has increased in size by about 50%.
Step 6: Baking the Bread
Preheat your oven to 375°F (190°C). Once the dough has completed its second rise and looks beautifully puffy, it’s time to bake. If you desire a shiny crust, you can lightly brush the top of the loaf with a little milk or an egg wash. Carefully place the loaf pan or baking sheet into the preheated oven. Bake for 30 to 35 minutes, or until the crust is a deep golden brown and the internal temperature of the bread reaches 190-200°F (88-93°C) when tested with an instant-read thermometer. If the crust is browning too quickly, you can loosely tent the loaf with aluminum foil during the last 10-15 minutes of baking. Remove the bread from the oven and immediately turn it out of the pan onto a wire rack to cool completely. The aroma filling your kitchen will be absolutely divine. Once cooled, brush the top with the 2 tablespoons of melted unsalted butter for an extra rich and delicious finish. Allow the bread to cool for at least an hour before slicing to allow the crum extractb to set properly.
Conclusion:
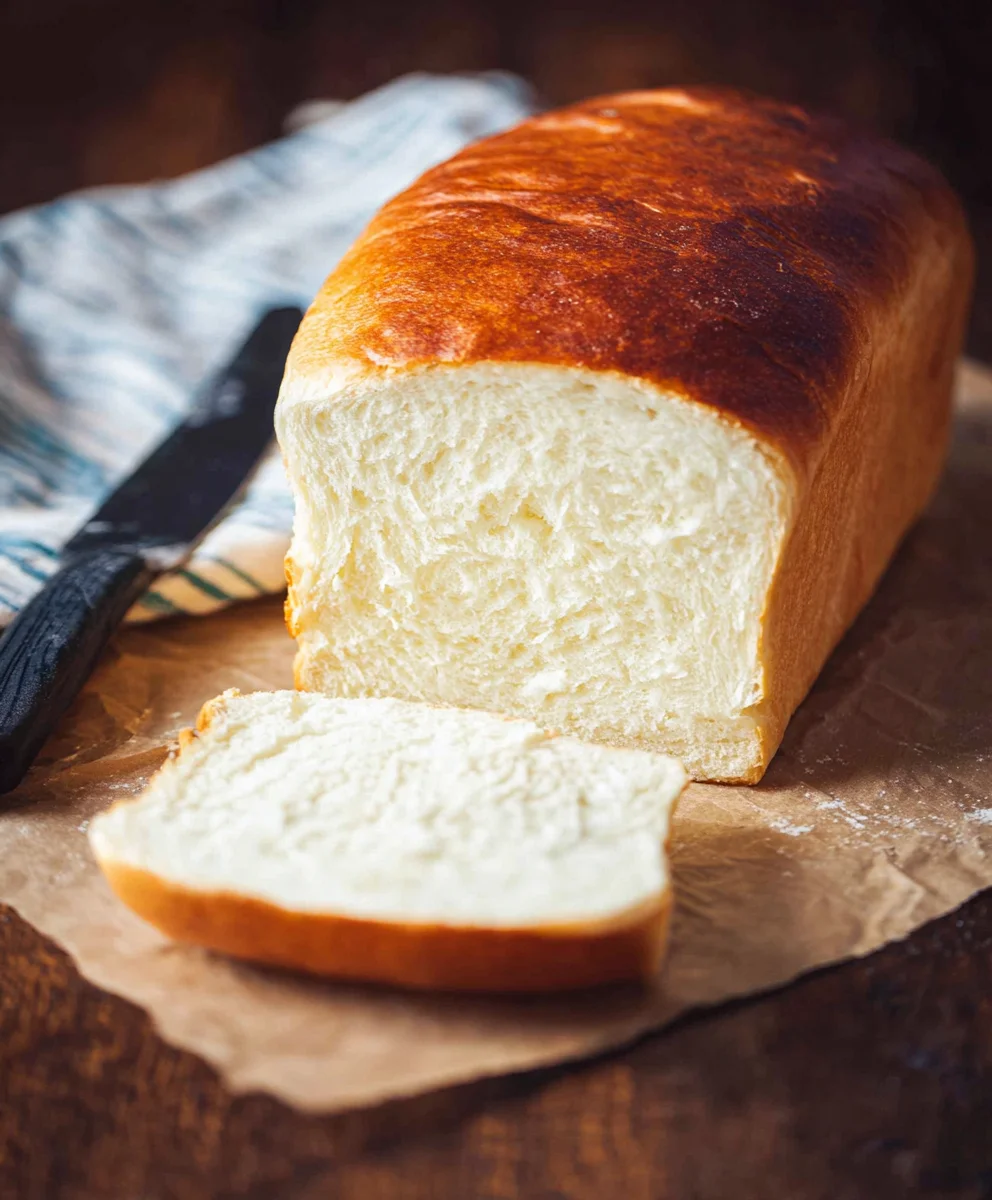
You’ve now got the tools and knowledge to bake the perfect batch of AMISH WHITE BREAD! This simple yet incredibly rewarding recipe yields a loaf that’s soft, fluffy, and has that delightful, subtly sweet flavor that’s synonymous with homemade goodness. Don’t be intimidated by the baking process; the steps are straightforward, and the aroma that fills your kitchen as it bakes is truly magical. Once cooled, this AMISH WHITE BREAD is wonderfully versatile. It’s fantastic on its own, toasted with a generous smear of butter, or used to create the ultimate grilled cheese sandwich. It also makes for a delightful base for French toast or bread pudding.
Feel free to experiment with variations! You can add a touch of honey for extra sweetness, or a sprinkle of herbs like rosemary for a savory twist. Perhaps even a handful of your favorite seeds before baking. I encourage you to give this recipe a try and share the delicious results with your loved ones. There’s nothing quite like the warmth and comfort of freshly baked bread!
Frequently Asked Questions about AMISH WHITE BREAD:
Q: How long does AMISH WHITE BREAD stay fresh?
Properly stored, your AMISH WHITE BREAD will stay fresh for about 3-4 days at room temperature. Keep it in an airtight container or bread bag to prevent it from drying out. For longer storage, you can slice the bread and freeze it for up to 3 months. Just thaw slices as needed!
Q: Can I use a different type of flour for AMISH WHITE BREAD?
While all-purpose flour is traditional and recommended for the classic texture of AMISH WHITE BREAD, you can experiment with a blend. Replacing a small portion (e.g., 1/4 of the flour) with whole wheat flour will add a nutty flavor and extra fiber, though it might result in a slightly denser loaf. Avoid using only whole wheat flour as it will significantly alter the texture.
Amish White Bread-Easy Homemade Soft Loaf
A simple and delicious recipe for homemade Amish white bread, resulting in a soft, fluffy loaf perfect for sandwiches or toasting.
Ingredients
-
1 cup warm water, (110-120°F)
-
⅓ cup granulated sugar
-
1 packet instant yeast (2 ¼ teaspoons)
-
3 cups all-purpose flour, plus more for dusting
-
¾ teaspoon salt
-
2 tablespoons vegetable or canola oil
-
2 tablespoons unsalted butter, melted
Instructions
-
Step 1
In a large mixing bowl, combine warm water and granulated sugar. Sprinkle instant yeast over the surface. Let sit for 5-10 minutes until foamy. -
Step 2
In a separate bowl, whisk together all-purpose flour and salt. Add vegetable or canola oil to the activated yeast mixture. Gradually add half of the flour mixture to the wet ingredients and stir until just combined. -
Step 3
Add the remaining flour mixture. Mix until a rough dough forms. Turn dough onto a lightly floured surface and knead for 8-10 minutes until smooth, elastic, and slightly tacky. -
Step 4
Shape the dough into a ball and place in a lightly greased bowl, turning to coat. Cover tightly and let rise in a warm, draft-free spot for 1-1.5 hours, or until doubled in size. -
Step 5
Gently punch down the dough, knead briefly, and shape into a loaf. Place in a greased loaf pan or on a baking sheet. Cover loosely and let rise for another 30-45 minutes until about 50% increased in size. -
Step 6
Preheat oven to 375°F (190°C). Bake for 30-35 minutes, or until golden brown and internal temperature reaches 190-200°F (88-93°C). Brush with melted butter after removing from oven and let cool completely before slicing.
Important Information
Nutrition Facts (Per Serving)
It is important to consider this information as approximate and not to use it as definitive health advice.
Allergy Information
Please check ingredients for potential allergens and consult a health professional if in doubt.