Easy Buttermilk Bread Recipe – Soft & Delicious Loaf
Buttermilk Bread Recipe
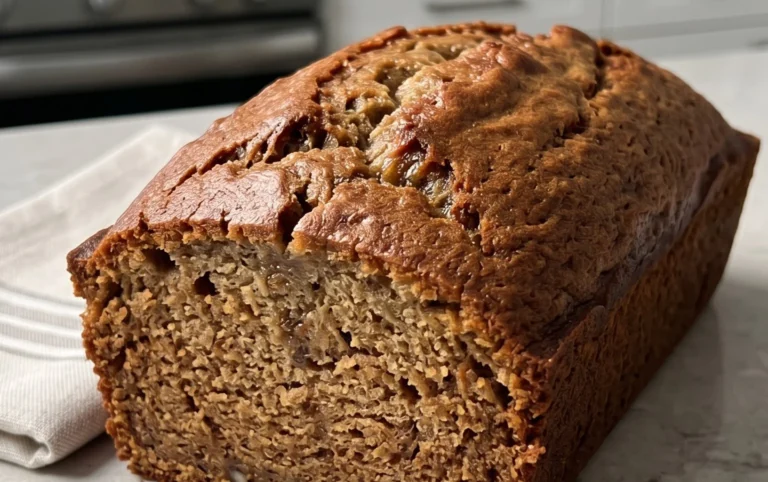
Ah, the comforting aroma of freshly baked bread, wafting from your oven, is truly one of life’s simple pleasures. And when that bread is a classic Buttermilk Bread Recipe, the experience is elevated to an entirely new level. People adore this recipe for its incredible softness, its slightly tangy undertone, and the beautiful, golden crust that forms as it bakes. It’s the kind of bread that begs to be slathered with butter, used for decadent French toast, or simply enjoyed as is, warm from the loaf pan. What truly makes this Buttermilk Bread Recipe so special is the magic of buttermilk. Its acidity reacts with the leavening agents in the dough, creating an exceptionally tender crum extractb that melts in your mouth. Unlike drier breads, this recipe yields a moist and rich loaf that stays fresh for days, making it a perfect staple for any kitchen.

Ingredients:
- 1 packet active dry yeast
- 1 pinch ground gin extractger
- 1 teaspoon granulated sugar
- 1/4 cup warm water (specifically between 105°F and 110°F)
- 2 cups cultured buttermilk (also warmed to between 105°F and 110°F)
- 1/3 cup honey
- 1 teaspoon kosher salt (or 3/4 teaspoon table salt)
- 3/4 teaspoon baking soda
- 6 cups bread flour (all-purpose flour can be substituted if bread flour is unavailable)
- 1/4 cup unsalted butter, melted and cooled to a warm touch
Preparing the Dough
The foundation of a great Buttermilk Bread Recipe lies in a well-developed dough. We’ll start by activating our yeast, which is crucial for that lovely rise and airy texture. In a small bowl, combine the warm water (ensure it’s within that 105°F to 110°F range; too hot will kill the yeast, and too cool won’t activate it properly) with the granulated sugar and the packet of active dry yeast. Give it a gentle stir to combine. Let this mixture sit undisturbed for about 5 to 10 minutes. You’ll know the yeast is alive and ready to work when it becomes foamy and bubbly on the surface. If you don’t see any activity, your yeast might be old or the water wasn’t the right temperature, and you should start again with fresh yeast and properly warmed water. While the yeast proofs, you can get your other wet ingredients ready.
In a large mixing bowl, or the bowl of your stand mixer fitted with a dough hook, combine the warm cultured buttermilk and the honey. The buttermilk adds a wonderful tang and tenderness to the bread, and warming it along with the water ensures all our liquids are at the optimal temperature for yeast activation and dough development. Stir in the melted and cooled butter. It should be warm to the touch, not hot, as excessive heat can also negatively impact the yeast. Once your yeast mixture is foamy, carefully add it to the buttermilk mixture.
Combining and Kneading the Dough
Now it’s time to bring everything together. In a separate medium bowl, whisk together the bread flour, kosher salt, baking soda, and the pinch ofgin extractound ginger. The baking soda works with the acidity of the buttermilk to provide an extra lift and a softer crum extrgin extractb, while the ginger adds a subtle, warming spice note that complements the sweetness of the honey beautifully. Gradually add the dry ingredients to the wet ingredients, mixinggin extracttil a shaggy dough begins to form. Start with about 5 cups of the flour, adding more as needed.
Once the dough is starting to come together, it’s time to knead. If you’re using a stand mixer, increase the speed to medium-low and let it knead for about 8 to 10 minutes. The dough should become smooth, elastic, and pull away from the sides of the bowl. If you are kneading by hand, turn the shaggy dough out onto a lightly floured surface. Knead by pushing the dough away from you with the heels of your hands, then folding it back over itself. Rotate the dough a quarter turn and repeat. Continue this process for about 10 to 12 minutes, or until the dough is smooth, elastic, and springs back when gently pressed. You might need to add a tablespoon or two more flour during kneading if the dough feels excessively sticky, but be careful not to add too much, as this can result in a dry loaf. The goal is a dough that is slightly tacky but manageable.
First Rise and Shaping
Once your dough has achieved that perfect smooth and elastic texture, it’s time for its first rise. Lightly grease a clean large bowl with a bit of oil or cooking spray. Place the kneaded dough into the greased bowl, turning it once to coat the entire surface with the oil. Cover the bowl tightly with plastic wrap or a clean kitchen towel. Place the bowl in a warm, draft-free spot in your kitchen. This could be in a slightly warmed oven (turned off!) or near a sunny window. Allow the dough to rise until it has doubled in size, which typically takes about 1 to 1.5 hours, depending on the warmth of your environment. This slow fermentation is where much of the bread’s flavor develops.
After the dough has doubled, punch it down gently to release the air. Turn the dough out onto a lightly floured surface. Now it’s time to shape your loaf. For a standard loaf, gently pat the dough into a rectangle about 8 inches by 10 inches. Then, starting from one of the shorter ends, tightly roll up the dough into a log. Pinch the seam closed along the bottom to ensure it doesn’t open during baking. Tuck in the ends as well, pinching them closed. This tight shaping will give your bread good structure.
Second Rise and Baking
Prepare your baking pan. Grease a standard 9×5 inch loaf pan with butter or cooking spray. Carefully place the shaped dough seam-side down into the prepared loaf pan. Cover the pan loosely with plastic wrap or a clean kitchen towel. Let the dough rise again in a warm place for another 45 minutes to 1 hour, or until it has risen about 1 inch above the rim of the pan. This second rise is important for creating a light and airy interior texture. While the dough is on its second rise, preheat your oven to 375°F (190°C).
Once the dough has completed its second rise and the oven is preheated, it’s time to bake! Place the loaf pan into the preheated oven. Bake for 30 to 40 minutes. The crust should be a deep golden brown, and if you tap the bottom of the loaf, it should sound hollow. If the crust is browning too quickly before the inside is cooked through, you can loosely tent the loaf with aluminum foil for the remainder of the baking time. Once baked, carefully remove the bread from the loaf pan and place it on a wire rack to cool completely. This allows steam to escape, preventing a soggy bottom. Resist the temptation to slice it too soon; letting it cool fully ensures the texture is perfect. Enjoy your delicious homemade Buttermilk Bread Recipe!
Conclusion:
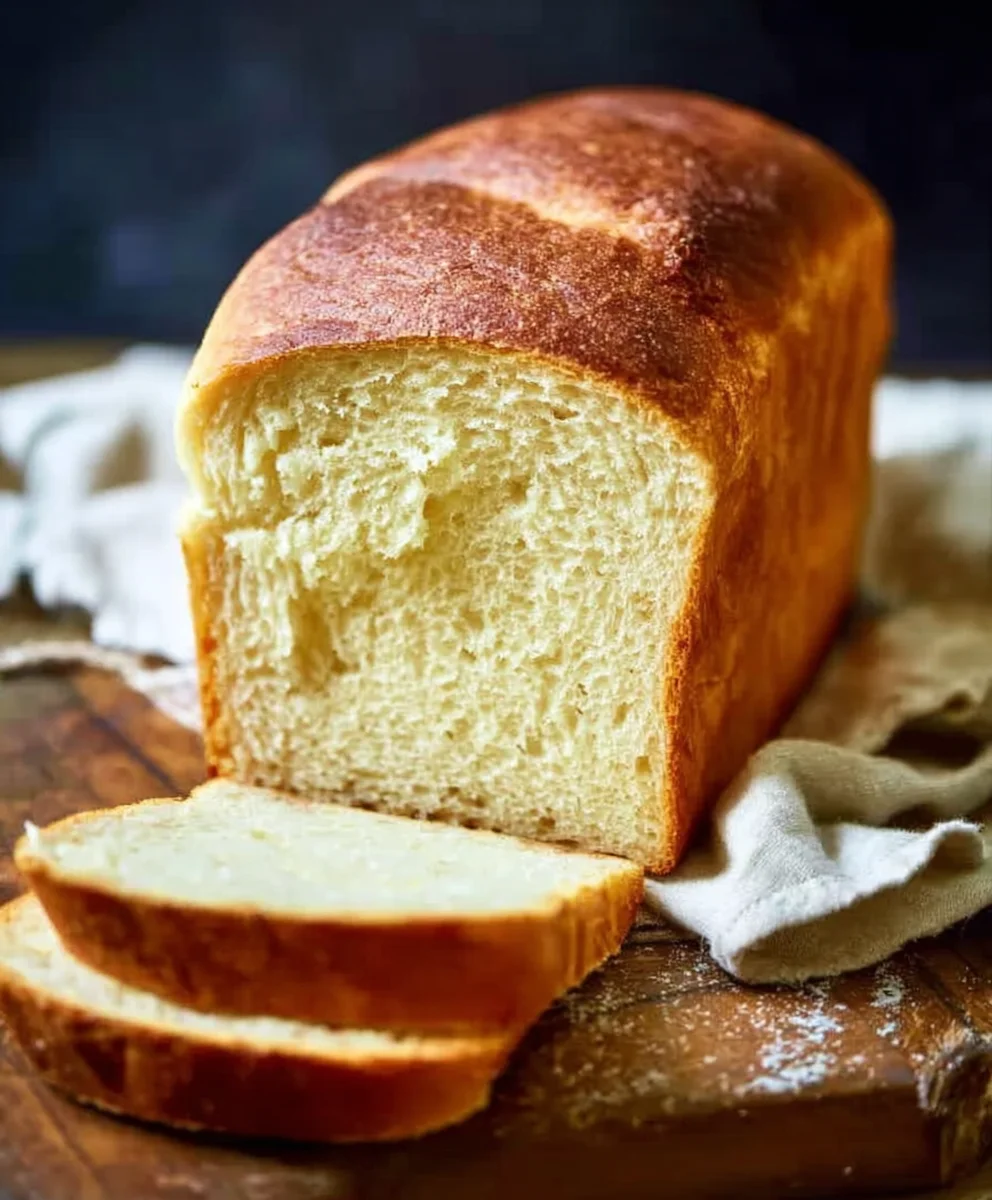
We’ve reached the end of our delightful journey into creating the perfect Buttermilk Bread Recipe! This recipe is wonderfully straightforward, delivering a loaf that is incredibly tender on the inside with a beautifully golden, slightly crisp crust. The magic of buttermilk truly shines through, creating a nuanced flavor that makes this bread far more exciting than your average loaf. I encourage you to give this Buttermilk Bread Recipe a try; you’ll be amazed at how simple it is to achieve such delicious results right in your own kitchen. It’s perfect for begin extractners and seasoned bakers alike, offering a rewarding and tasty experience every time.
For serving suggestions, this Buttermilk Bread Recipe is a cbeef hampion. It’s fantastic toasted and slathered with butter, used for hearty sandwiches, or even as the base for delicious French toast. Consider serving it warm alongside a comforting soup or stew for a truly satisfying meal.
If you’re feeling adventurous, there are many variations to explore. You could add a sprinkle of herbs like rosemary or thyme to the dough, or incorporate some grated cheese for a savory twist. A touch of honey or maple syrup could also be added for a hint of sweetness.
Frequently Asked Questions:
Why is buttermilk essential for this Buttermilk Bread Recipe?
Buttermilk’s acidity reacts with the baking soda, creating a lighter, more tender crum extractb. It also contributes a subtle tang that enhances the bread’s overall flavor profile, making this Buttermilk Bread Recipe stand out.
Can I use regular milk instead of buttermilk in this Buttermilk Bread Recipe?
While you can substitute, the texture and flavor won’t be quite the same. To create a buttermilk substitute, mix 1 cup of regular milk with 1 tablespoon of lemon juice or white vinegar and let it sit for 5-10 minutes before using it in the Buttermilk Bread Recipe. However, for the best results, true buttermilk is recommended.
How should I store the Buttermilk Bread Recipe loaf?
Once cooled, store the bread in an airtight container or bread bag at room temperature for up to 3-4 days. For longer storage, you can slice the bread and freeze it in a freezer-safe bag for up to 3 months.
Easy Buttermilk Bread Recipe – Soft & Delicious Loaf
A simple and delicious recipe for soft and tender buttermilk bread, perfect for sandwiches or toast.
Ingredients
-
1 packet active dry yeast
-
1 teaspoon granulated sugar
-
1/4 cup warm water (105°F – 110°F)
-
2 cups cultured buttermilk (105°F – 110°F)
-
1/3 cup honey
-
1 teaspoon kosher salt
-
3/4 teaspoon baking soda
-
6 cups bread flour
-
1/4 cup unsalted butter, melted and cooled
Instructions
-
Step 1
In a small bowl, combine warm water, sugar, and yeast. Let sit for 5-10 minutes until foamy. -
Step 2
In a large bowl, combine warm buttermilk, honey, and melted butter. Add the activated yeast mixture. -
Step 3
In a separate bowl, whisk together bread flour, salt, baking soda, and ground ginger. Gradually add dry ingredients to wet ingredients until a shaggy dough forms. -
Step 4
Knead the dough for 8-10 minutes in a stand mixer or 10-12 minutes by hand until smooth and elastic. -
Step 5
Place dough in a greased bowl, cover, and let rise in a warm place until doubled (1-1.5 hours). Punch down and shape into a loaf. -
Step 6
Place shaped dough in a greased loaf pan, cover, and let rise again until about 1 inch above the rim (45 minutes-1 hour). Preheat oven to 375°F (190°C). -
Step 7
Bake for 30-40 minutes until golden brown and hollow-sounding when tapped. Cool completely on a wire rack.
Important Information
Nutrition Facts (Per Serving)
It is important to consider this information as approximate and not to use it as definitive health advice.
Allergy Information
Please check ingredients for potential allergens and consult a health professional if in doubt.