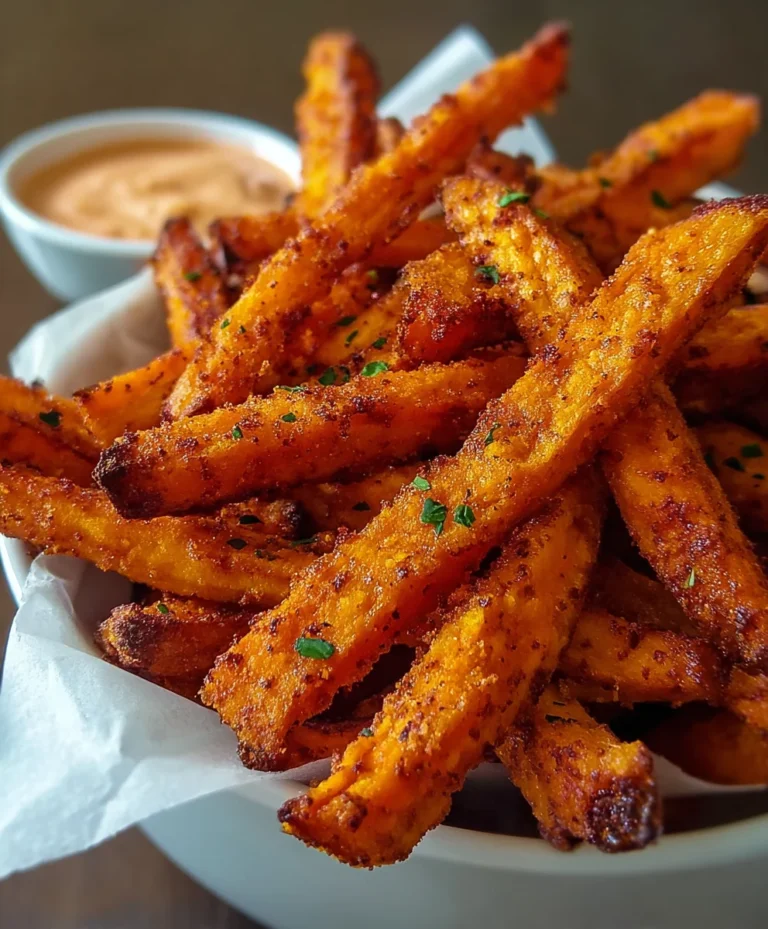
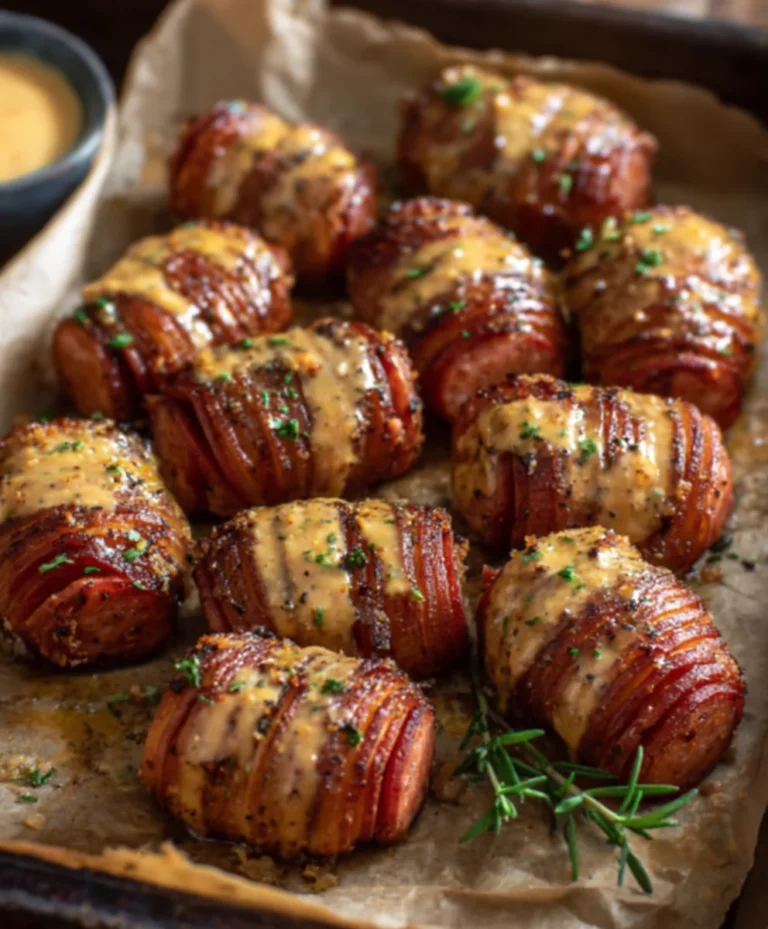
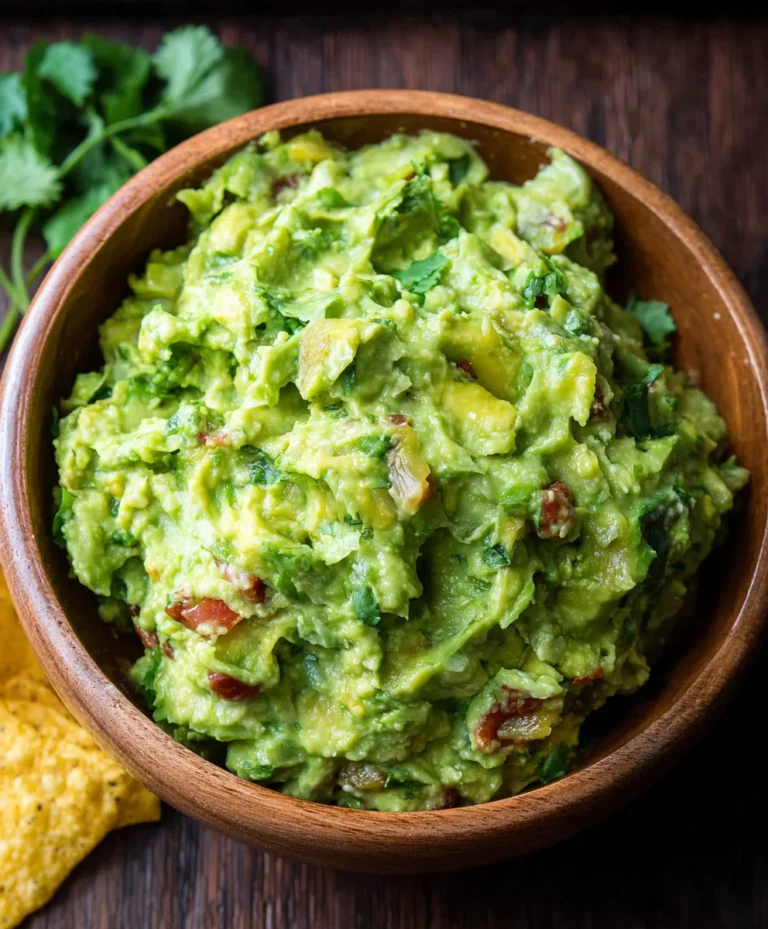
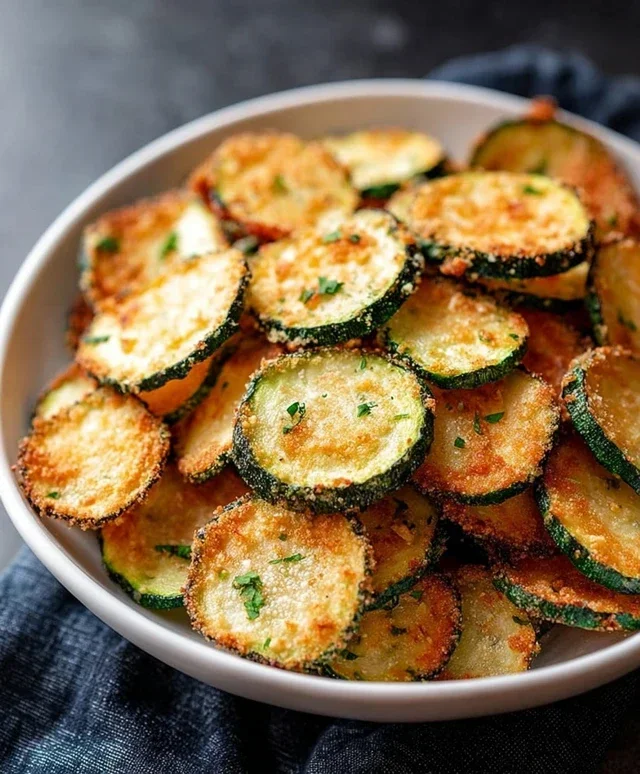
Easy Beef Football Party Food Ideas-Game Day Recipes
Super Easy Football Party Food Ideas.html are a game-changer when it comes to hosting your next big game day gathering. Forget the stress of complicated menus and endless prep time; we’re diving headfirst into a world of delicious, crowd-pleasing dishes that are as fun to make as they are to devour while cheering on your favorite team. What is it about football and food that just works? It’s the camaraderie, the shared excitement, and of course, the irresistible urge to have something tasty in hand during those nail-biting moments. People love these kinds of spreads because they offer variety without overwhelming, allowing everyone to find their perfect bite. What truly sets these super easy football party food ideas apart is their simplicity combined with maximum flavor impact. You’ll be able to spend more time with your guests and less time slaving away in the kitchen, proving that fantastic football food doesn’t require culinary acrobatics. Get ready to score some serious hosting points!

Ingredients:
- 2 pounds boneless, skinless chicken thighs
- 1 cup all-purpose flour
- 1 teaspoon smoked paprika
- 1 teaspoon garlic powder
- 1/2 teaspoon onion powder
- 1/2 teaspoon cayenne pepper (optional, for a little heat)
- 1 teaspoon salt
- 1/2 teaspoon black pepper
- 2 large eggs
- 1/4 cup milk
- Vegetable oil or canola oil, for frying (about 4-6 cups)
- Your favorite dipping sauces (ranch, BBQ, honey mustard, hot sauce)
The Crispy Coating
Step 1: Prepare the Chicken and Dredgin extractg Station
First things first, we need to get our chicken ready for its crispy transformation. Take your 2 pounds of boneless, skinless chicken thighs and pat them thoroughly dry with paper towels. This is a crucial step for achieving a truly crispy coating; excess moisture will prevent the flour from adhering properly. Once dry, cut the chicken thighs into bite-sized pieces, roughly 1 to 1.5 inches. Aim for uniformity in size so that they cook evenly.
Now, let’s set up gin extract dredging station. You’ll need three shallow dishes or bowls. In the first dish, combine 1 cup of all-purpose flour with all the dry seasonings: 1 teaspoon smoked paprika, 1 teaspoon garlic powder, 1/2 teaspoon onion powder, 1/2 teaspoon cayenne pepper (if you like a touch of heat, otherwise skip it), 1 teaspoon salt, and 1/2 teaspoon black pepper. Whisk these together thoroughly to ensure the spices are evenly distributed throughout the flour. This ensures every piece of chicken gets a flavorful coating.
In the second dish, whisk together 2 large eggs with 1/4 cup of milk. This egg wash will act as the adhesive, helping the flour coating stick to the chicken. Make sure the eggs and milk are well combined, creating a smooth, even mixture. The third dish will be for the seasoned flour, which will be our final coating.
The Frying Process
Step 2: Dredge the Chicken for Maximum Crispiness
This is where the magic happens! We’re going to coat each piece of chicken thoroughly to create that irresistible crunch. Working in batches, take a few pieces of the seasoned chicken and dip them into the egg wash, making sure they are fully submerged. Let any excess egg wash drip off for a moment.
Next, transfer the egg-washed chicken pieces to the dish with the seasoned flour. Gently toss them around, pressing the flour onto the chicken to ensure a good, even coating. You want to make sure every nook and cranny is covered. For an extra crispy coating, you can double-dip! After the first flour coating, dip them back into the egg wash briefly, and then back into the seasoned flour. This creates a thicker, craggier crust that is wonderfully crunchy. Place the coated chicken pieces on a clean plate or baking sheet, ensuring they don’t overlap too much. This prevents them from sticking together before they hit the hot oil.
Step 3: Heagin extracthe Oil and Begin Frying
Now it’s time to get our frying oil ready. Pour about 4-6 cups of vegetable oil or canola oil into a large, heavy-bottomed pot or Dutch oven. You want to have enough oil so that the chicken pieces are at least half-submerged when frying. Heat the oil over medium-high heat to approximately 350°F (175°C). It’s really important to maintain this temperature for perfectly cooked chicken. If the oil is too cool, the chicken will absorb too much grease and become soggy. If it’s too hot, the outside will burn before the inside is cooked through. A good way to test if the oil is ready without a thermometer is to drop a tiny bit of flour into it; it should sizzle and bubble immediately.
When the oil has reached the correct temperature, it’s time to carefully add the chicken. Again, work in batches. Do not overcrowd the pot! Overcrowding will drastically lower the oil temperature, leading to greasy chicken. Carefully lower the coated chicken pieces into the hot oil, using tongs or a slotted spoon. You should hear a satisfying sizzle as they hit the oil.
Step 4: Fry to Golden Perfection and Drain
Let the chicken pieces fry for about 6-8 minutes, or until they are golden brown and cooked through. During this time, you can gently stir them occasionally to ensure even browning on all sides. The exact cooking time will depend on the size of your chicken pieces and the consistency of your oil temperature. Keep an eye on the color; a beautiful, deep golden brown is what we’re aiming for.
Once the chicken pieces are perfectly golden and cooked, use your slotted spoon or tongs to carefully remove them from the hot oil. Immediately place them on a wire rack set over a baking sheet. This allows the excess oil to drain off, keeping your chicken delightfully crispy rather than greasy. Allowing them to drain on paper towels can sometimes make the bottom soggy, so the wire rack is preferred.
Step 5: Repeat and Serve with Your Favorite Dipping Sauces
Continue frying the remaining chicken in batches, ensuring you allow the oil to return to 350°F (175°C) between each batch. Patience here is key for consistently crispy chicken. Once all the chicken is fried and drained, it’s ready to be served. Arrange the crispy chicken pieces on a serving platter.
This is where you can really customize this dish for your party! Serve immediately with a variety of your favorite dipping sauces. Think classic ranch dressing, smoky BBQ sauce, sweet and tangy honey mustard, or a spicy buffalo sauce for those who like it hot. These crispy chicken bites are incredibly versatile and a guaranteed hit at any football gathering. They’re easy to make, incredibly delicious, and perfect for casual entertaining. Enjoy!

Conclusion:
We hope you’ve enjoyed exploring these Super Easy Football Party Food Ideas.html! This collection aims to make your game day hosting a breeze, offering delicious and crowd-pleasing options that require minimal fuss. From flavorful dips to handheld bites, there’s something here to satisfy every fan. Remember, the most important ingredient is good company and a shared love for the game!
For serving suggestions, consider arrangin extractg these Super Easy Football Party Food Ideas.html on platters around your viewing area for easy access. They are perfect for casual grazing throughout the game. Don’t be afraid to get creative with variations! For instance, you can easily adapt the spice levels in the dips or swap out proteins in the sliders to suit your guests’ preferences. Feel free to add your own signature touch to these already fantastic ideas. Now go forth and host the ultimate football party!
Frequently Asked Questions:
Can I prepare any of these Super Easy Football Party Food Ideas.html ahead of time?
Absolutely! Many of these recipes are perfect for prepping in advance. Dips can often be made a day ahead and stored in the refrigerator, and some baked items can be assembled and refrigerated before baking. This will save you valuable time on game day.
What are some healthier variations for these Super Easy Football Party Food Ideas.html?
You can easily make healthier swaps! For example, opt for whole-wheat buns for sliders, add plenty of fresh vegetables to your platters, and use leaner protein options. You can also create lighter dips using Greek yogurt as a base or load up on vegetable sticks for dipping.
Crispy Football Party Chicken Bites
Easy and delicious crispy chicken bites perfect for game day gatherings. These are flavorful, crunchy, and a guaranteed crowd-pleaser.
Ingredients
-
2 pounds boneless, skinless chicken thighs
-
1 cup all-purpose flour
-
1 teaspoon smoked paprika
-
1 teaspoon garlic powder
-
1/2 teaspoon onion powder
-
1 teaspoon salt
-
1/2 teaspoon black pepper
-
2 large eggs
-
1/4 cup milk
-
Vegetable oil or canola oil, for frying
-
Your favorite dipping sauces
Instructions
-
Step 1
Pat the chicken thighs dry with paper towels and cut into bite-sized pieces. In a shallow dish, combine flour with smoked paprika, garlic powder, onion powder, salt, and black pepper. In a second dish, whisk eggs and milk for the egg wash. The third dish will be for the seasoned flour. -
Step 2
Dip chicken pieces in the egg wash, allowing excess to drip off, then toss in the seasoned flour, ensuring an even coating. For extra crispiness, double-dip by coating again in egg wash and then flour. Place coated chicken on a plate without overlapping. -
Step 3
Heat 4-6 cups of vegetable or canola oil in a heavy-bottomed pot over medium-high heat to 350°F (175°C). Test by dropping a bit of flour; it should sizzle immediately. -
Step 4
Carefully add chicken pieces to the hot oil in batches, ensuring not to overcrowd the pot. Fry for 6-8 minutes, or until golden brown and cooked through, stirring occasionally for even browning. -
Step 5
Remove fried chicken from the oil using a slotted spoon and place on a wire rack set over a baking sheet to drain excess oil and maintain crispiness. -
Step 6
Repeat frying with remaining chicken batches, ensuring the oil temperature returns to 350°F (175°C) between batches. Serve hot with a variety of your favorite dipping sauces like ranch, BBQ, or honey mustard.
Important Information
Nutrition Facts (Per Serving)
It is important to consider this information as approximate and not to use it as definitive health advice.
Allergy Information
Please check ingredients for potential allergens and consult a health professional if in doubt.