Vintage Wedding Dessert Table – Sweet Elegance
Vintage wedding dessert table arrangements are more than just a sweet ending to a celebration; they are a nostalgic journey back in time, a beautiful tapestry woven with edible memories. There’s an undeniable charm to a vintage wedding dessert table, a whisper of tradition and handcrafted love that resonates deeply with couples and guests alike. People adore these displays because they evoke a sense of timeless elegance and personal touch, moving beyond the ordinary cake cutting to offer a smorgasbord of delightful treats. What makes them truly special is the ability to curate a collection that tells a story – perhaps featuring family recipes passed down through generations, or desserts inspired by a beloved era, each bite brimming with sentiment and exquisite flavor. Imagin extracte delicate lace doilies, antique cake stands, and a rainbow of pastries and confections, all coming together to create a breathtaking and delicious centerpiece.
Ingredients:
- 1 cup (2 sticks) unsalted butter, softened
- 2 cups granulated sugar
- 4 large eggs
- 1 teaspoon vanilla extract
- 3 cups all-purpose flour
- 1 teaspoon baking soda
- 1/2 teaspoon salt
- 1 cup buttermilk
- For the Royal Icing:
- 4 cups confectioners’ sugar
- 2 tablespoons meringue powder
- 1/4 cup warm water (plus more as needed)
- Assorted food coloring (optional)
- For Decoration:
- Edible pearls
- Edible lace
- Small sugar flowers
Preparing the Cake Batter
Mixing the Wet Ingredients
In a large mixing bowl, cream together the softened unsalted butter and granulated sugar until the mixture is light and fluffy. This step is crucial for incorporating air into the batter, which will contribute to a tender cake crum extractb. It usually takes about 3-5 minutes with an electric mixer on medium speed. Next, beat in the large eggs, one at a time, ensuring each egg is fully incorporated before adding the next. Scrape down the sides of the bowl occasionally to ensure everything is evenly mixed. Stir in the pure vanilla extract for a warm, classic flavor.
Combining the Dry Ingredients
In a separate medium bowl, whisk together the all-purpose flour, baking soda, and salt. Whisking ensures that the leavening agent and salt are evenly distributed throughout the flour, preventing pockets of bitterness or uneven rising.
Alternating Wet and Dry Ingredients
Gradually add the dry ingredients to the wet ingredients, alternating with the buttermilk. Begin extract by adding about one-third of the dry ingredients and mixing until just combined. Then, add half of the buttermilk and mix. Continue this process, adding another third of the dry ingredients, the remaining buttermilk, and finally the last portion of the dry ingredients. It’s important not to overmix the batter once the flour is added, as this can develop the gluten too much and result in a tough cake. Mix until just until no dry streaks of flour remain.
Baking the Cake Layers
Preheat your oven to 350 degrees Fahrenheit (175 degrees Celsius). Grease and flour two 8-inch round cake pans, or line them with parchment paper. This prevents the cakes from sticking and ensures a clean release. Divide the batter evenly between the prepared pans. Smooth the tops with a spatula.
Bake for 30-35 minutes, or until a wooden skewer or toothpick inserted into the center of the cakes comes out clean. The exact baking time will vary depending on your oven. Once baked, let the cakes cool in the pans for about 10-15 minutes before inverting them onto a wire rack to cool completely. Allowing them to cool in the pans for a short period helps them firm up, making them easier to handle when removing them.
Crafting the Royal Icing
While the cakes are cooling, prepare the royal icing. In a clean, dry bowl (make sure there’s no grease, as this can prevent the meringue powder from activating properly), combine the confectioners’ sugar and meringue powder. Gradually add the warm water, starting with 1/4 cup, and mix with an electric mixer on low speed until a thick paste forms. If the icing is too stiff, add more warm water, a teaspoon at a time, until it reaches your desired consistency. For piping fine details, a stiffer icing is better. For flooding larger areas, you’ll want a slightly thinner consistency. If you plan to color your icing, divide it into smaller bowls and add a tiny amount of food coloring to each, stirring until the color is uniform. Be careful not to add too much coloring at once; you can always add more.
Decorating for a Vintage Wedding Dessert Table
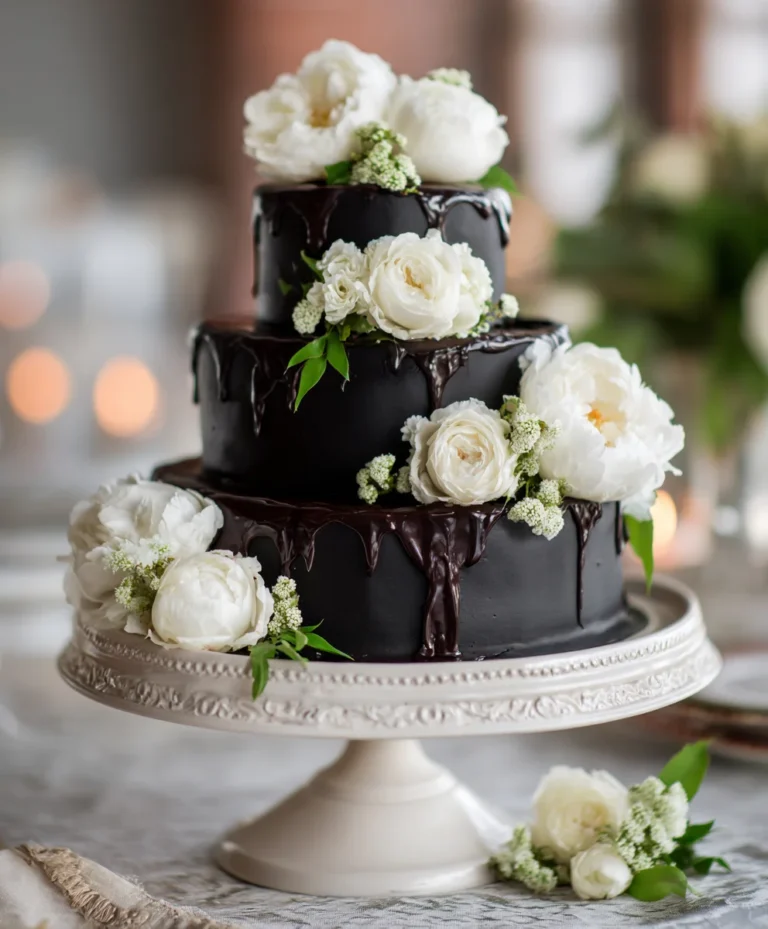
Once the cake layers are completely cool, it’s time for the artistry! You can frost the cake with your favorite buttercream or cream cheese frosting if you desire, or you can directly decorate the cake with the royal icing for a crisp, vintage look. For a truly vintage wedding dessert table aesthetic, focus on intricate details and delicate embellishments.
Pipe delicate scrollwork and borders around the edges of the cake using a fine piping tip. Consider creating a lace-like pattern by piping thin lines and connecting them to form a delicate web. You can also use edible lace sheets, carefully applying them to the sides of the cake for an elegant touch. For added texture and visual interest, strategically place edible pearls around the cake, perhaps outlining the piping or creating a central design. Small sugar flowers can be gently pressed into the icing to add a romantic and timeless flourish. Remember to work methodically, allowing sections of icing to set slightly before adding new elements to prevgin extract smudging. Patience is key when creating these delicate vintage designs; enjoy the process of transforming a simple cake into a beautiful centerpiece for a vintage wedding dessert table.

Conclusion:
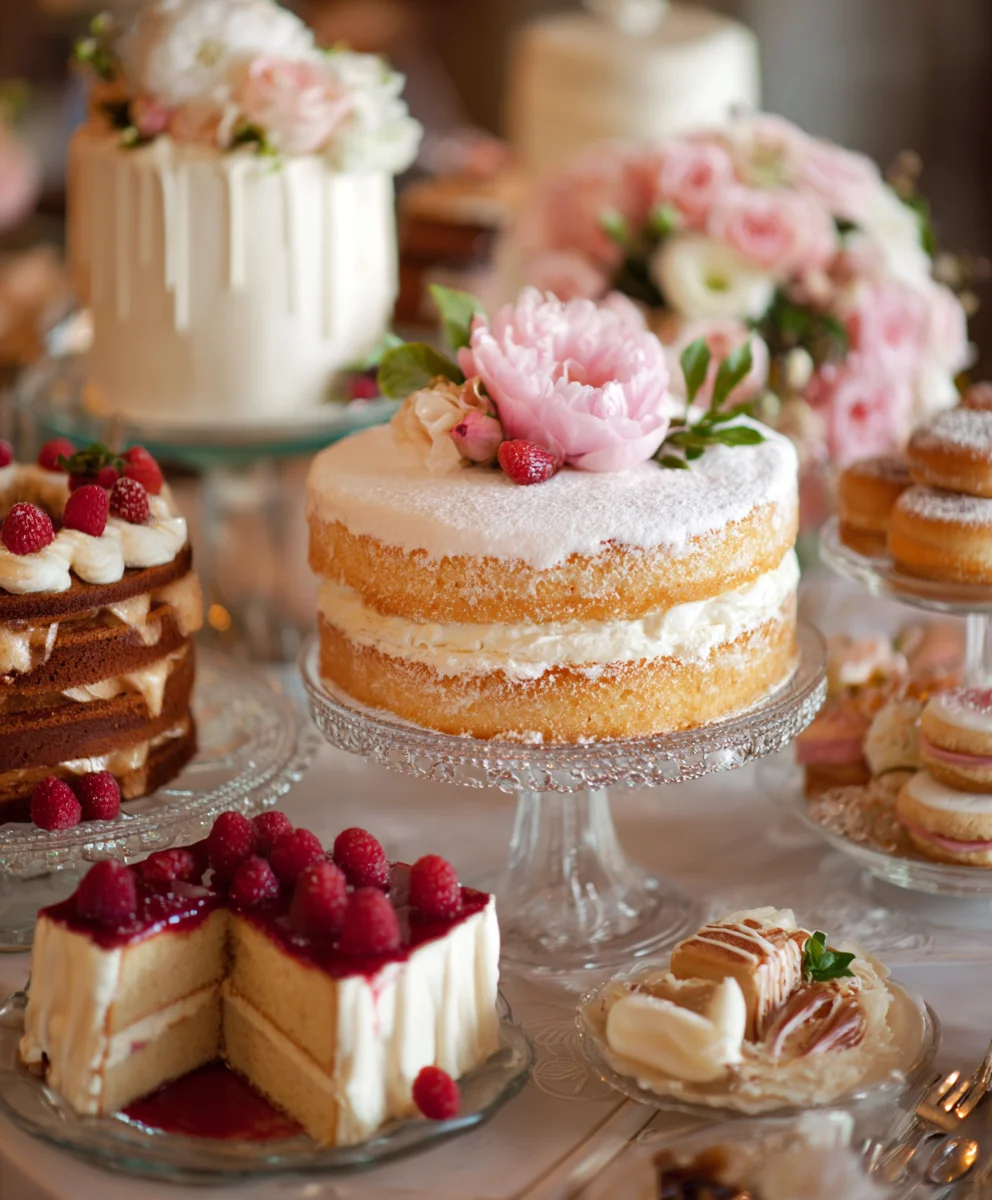
Crafting a Vintage Wedding Dessert Table is more than just baking; it’s about creating a sweet symphony that echoes romance and nostalgia. We’ve explored how to select a delightful array of treats, from delicate macarons to rich chocolate tortes, ensuring there’s something to captivate every guest’s palate. Remember, the presentation is key to achieving that authentic vintage charm. Think tiered stands, doilies, and beautiful floral accents to truly bring your vision to life. Don’t be afraid to experiment and infuse your personality into this special centerpiece. This Vintage Wedding Dessert Table is designed to be a memorable part of your celebration, sparking joy and sweet conversations long after the last bite.
For serving suggestions, consider labeling each dessert with elegant, handwritten tags. This adds a personal touch and helps guests identify their favorites. You can also pair smaller treats with miniature forks or toothpicks for easy enjoyment. To truly elevate your Vintage Wedding Dessert Table, think about complementary beverages like artisanal coffee, specialty teas, or even a signature wedding cocktail.
We encourage you to embrace the joy of creation and let your imagin extractation run wild. The magic lies in the details and the love you pour into each element. May your Vintage Wedding Dessert Table be as unique and beautiful as your love story!
Frequently Asked Questions:
Q: What are some make-ahead options for a Vintage Wedding Dessert Table?
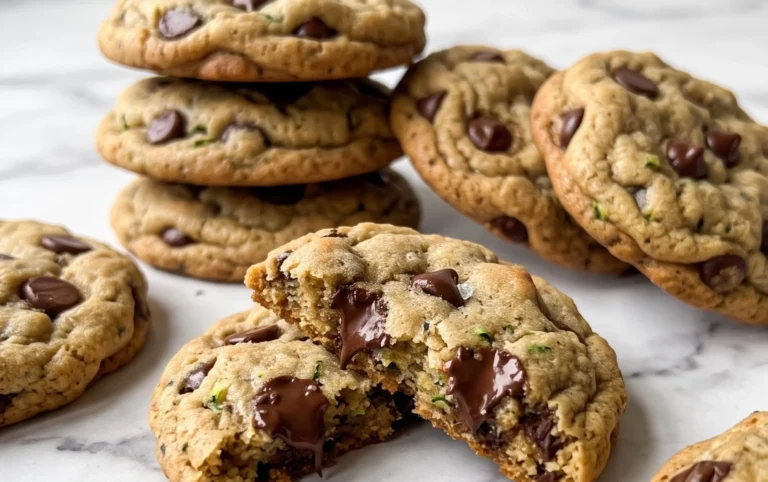
Many components of a Vintage Wedding Dessert Table can be prepared days in advance. Cookies, brownies, and certain types of cakes can be baked and stored properly. Ganaches for tart fillings or frosting can also be made ahead of time. Even certain molded chocolates can be prepared a week or two in advance and stored in airtight containers.
Q: How can I ensure my Vintage Wedding Dessert Table fits with my wedding theme?
Color is your greatest ally here. Choose desserts that incorporate your wedding colors, whether through frosting, edible flowers, or colored glazes. The style of the desserts themselves also matters. For a rustic wedding, consider pies and crum extractbles. For a more formal affair, delicate pastries and intricately decorated cakes would be more fitting. The serving ware and decorations on the table should also echo your overall theme.
Vintage Wedding Dessert Table – Sweet Elegance Cake
A delicate and elegant cake recipe perfect for a vintage wedding dessert table, featuring intricate royal icing decorations.
Ingredients
-
1 cup (2 sticks) unsalted butter, softened
-
2 cups granulated sugar
-
4 large eggs
-
1 teaspoon vanilla extract
-
3 cups all-purpose flour
-
1 teaspoon baking soda
-
1/2 teaspoon salt
-
1 cup buttermilk
-
4 cups confectioners’ sugar
-
2 tablespoons meringue powder
-
1/4 cup warm water
-
Assorted food coloring (optional)
-
Edible pearls
-
Edible lace
-
Small sugar flowers
Instructions
-
Step 1
Preheat oven to 350°F (175°C). Grease and flour two 8-inch round cake pans. In a large bowl, cream butter and sugar until light and fluffy. Beat in eggs one at a time, then stir in vanilla extract. -
Step 2
In a separate bowl, whisk together flour, baking soda, and salt. Gradually add dry ingredients to wet ingredients, alternating with buttermilk, beginning and ending with dry ingredients. Mix until just combined, avoiding overmixing. -
Step 3
Divide batter evenly between prepared pans and smooth tops. Bake for 30-35 minutes, or until a skewer inserted into the center comes out clean. Cool in pans for 10-15 minutes, then invert onto a wire rack to cool completely. -
Step 4
While cakes cool, prepare royal icing. In a clean bowl, combine confectioners’ sugar and meringue powder. Gradually add warm water, mixing on low speed until a thick paste forms. Add more water a teaspoon at a time if needed. Divide and color icing if desired. -
Step 5
Once cakes are cool, decorate. Pipe scrollwork and borders with fine tip. Apply edible lace sheets. Place edible pearls and small sugar flowers strategically. Allow sections to set before adding more elements.
Important Information
Nutrition Facts (Per Serving)
It is important to consider this information as approximate and not to use it as definitive health advice.
Allergy Information
Please check ingredients for potential allergens and consult a health professional if in doubt.