Easter Rice Krispie Treats- Easy Spring Dessert Recipe
Easter Rice Krispie Treats are a nostalgic delight, a simple yet magical way to celebrate the season. There’s something incredibly charming about transforming the humble puffed rice cereal and gooey marshmallows into festive, colorful creations that evoke childhood memories and holiday cheer. Everyone loves them because they’re incredibly easy to make, allowing even the busiest baker to whip up a batch that will impress. What makes these Easter Rice Krispie Treats truly special is their versatility. We’re not just talking about a basic square; we’ll be infusing them with vibrant spring colors and fun Easter-themed decorations that will make your dessert table pop. Imagin extracte little pastel eggs, bunny shapes, or even chick figures – the possibilities are as boundless as gin extractr imagination. Get ready to create treats that are as delightful to look at as they gin extract to eat, bringing a touch of sweetness and joy to your Easter celebrations. These aren’t just snacks; they’re edible works of art that capture the spirit of spring and togetherness, making them the perfect centerpiece for any Easter gathering.

Ingredients:
- 16 ounces marshmallows (jumbo or mini both work)
- 7 cups Rice Krispies cereal
- 2 tablespoons unsalted butter (for greasing)
- ½ cup unsalted butter (for the treat mixture)
- 3-4 cups powdered sugar
- ¼ cup milk
- 1 teaspoon vanilla extract
- Green food coloring
- Easter egg candies (mini chocolate eggs or jelly beans)
Making the Easter Rice Krispie Treats
Step 1: Prepare Your Workspace and Melting Station
First things first, let’s get everything ready so we can work efficiently once those marshmallows start melting. Grab a large mixing bowl – this is where our crispy creations will come together. Now, find a 9×13 inch baking pan. We need to grease this pan generously to prevent our treats from sticking. Use the 2 tablespoons of unsalted butter for this. You can either spread it around with a spatula or your hands, or for a super easy cleanup, line the pan with parchment paper and then lightly grease the parchment paper. Set this aside. Next, gather your Rice Krispies cereal and measure out the 7 cups into a separate, large bowl or a clean bucket if you have one handy. This ensures you have it ready to go the moment the marshmallow mixture is done. Lastly, have your marshmallows and the ½ cup of unsalted butter measured out and ready near your stovetop.
Step 2: Melt the Marshmallows and Butter
Now for the fun part – melting! In a large, heavy-bottomed saucepan (this helps distribute heat evenly and prevents scorching), add the ½ cup of unsalted butter and the 16 ounces of marshmallows. Place the saucepan over medium-low heat. It’s crucial to use medium-low heat here. If the heat is too high, the marshmallows can scorch, leading to an unpleasant taste and texture. Stir the marshmallows and butter constantly with a heatproof spatula or wooden spoon. You’ll see the butter melt first, and then the marshmallows will start to soften and puff up. Keep stirring until the mixture is completely smooth and there are no more lumps of marshmallow. This process usually takes about 5-8 minutes. The goal is a silky, gooey, melted marshmallow mixture.
Step 3: Combine Cereal with the Gooey Mixture
Once your marshmallow mixture is perfectly melted and smooth, it’s time to add the cereal. Immediately remove the saucepan from the heat. This is important because the residual heat will continue to cook the marshmallows if left on the stove. Working quickly but carefully, pour the 7 cups of Rice Krispies cereal into the saucepan with the melted marshmallow mixture. Gently but thoroughly fold the cereal into the marshmallow mixture until every single piece of cereal is coated. You want to ensure an even distribution of the gooey marshmallow goodness. Don’t overmix, as this can crush the cereal and make your treats dense. The goal is to coat the cereal, not to break it down.
Step 4: Press the Mixture into the Pan and Add the “Grass” Layer
Now, transfer the coated cereal mixture into your prepared 9×13 inch baking pan. This step requires a little bit of technique. You can lightly grease your hands with a little extra butter or use the back of a spoon that has been greased. Press the mixture into the pan evenly. Don’t press too hard, as this can also lead to tough treats. A gentle, even press is key. Once the base layer is pressed, let it cool slightly for about 5 minutes. While it’s cooling, let’s prepare our “grass” layer. In a separate bowl, whisk together the 3 cups of powdered sugar, ¼ cup of milk, 1 teaspoon of vanilla extract, and a few drops of green food coloring until smooth and creamy. You might need to add a little more powdered sugar or milk to achieve your desired consistency – it should be like a thick, pourable glaze. Drizzle this green glaze over the slightly cooled Rice Krispie treats base. Don’t worry if it’s not perfectly even; a slightly rustic look adds to the charm.
Step 5: Decorate with Easter Eggs!
This is where your Easter Rice Krispie Treats truly come to life! While the green glaze is still wet, it’s the perfect time to place your Easter egg candies. Scatter the mini chocolate eggs or jelly beans over the green glaze. You can arrange them in patterns, or just sprinkle them randomly for a festive look. Gently press them into the glaze so they adhere nicely. Let the treats sit at room temperature for at least 30 minutes to an hour, or until the glaze has set. This allows everything to firm up properly. Once set, you can cut them into squares or fun Easter shapes using a lightly greased knife. Enjoy your homemade Easter delight!
Conclusion:
And there you have it – the ultimate guide to creating delightful Easter Rice Krispie Treats! We’ve walked through each step to ensure your treats are perfectly chewy, gooey, and bursting with festive flavor. These aren’t just simple no-bake treats; they’re a canvas for your creativity, a guaranteed crowd-pleaser for any Easter gathering, and a fantastic activity to do with little ones. Remember, the key to success lies in working quickly once the marshmallows are melted and pressing them gently into your prepared pan.
Serve these vibrant Easter Rice Krispie Treats alongside your favorite Easter brunch dishes, or package them up as charming edible gifts for friends and family. For variations, don’t be afraid to experiment with different food coloring combinations, add-ins like mini chocolate chips or sprinkles, or even a swirl of melted white chocolate for an extra touch of elegance. The possibilities are truly endless!
We hope you have a wonderful time making and sharing these special treats this Easter. Happy baking (or rather, no-baking)!
Frequently Asked Questions:
Can I make these Easter Rice Krispie Treats ahead of time?
Absolutely! Easter Rice Krispie Treats can be made up to 2 days in advance. Store them in an airtight container at room temperature. For best results, wait to cut them until you’re ready to serve to prevent them from drying out too much.
What’s the best way to cut the treats cleanly?
A sharp knife lightly greased with cooking spray or butter will make cutting your Easter Rice Krispie Treats a breeze. You can also use a pizza cutter for clean lines. For perfectly uniform squares, use a ruler to guide your cuts.
Can I use a different type of cereal?
While Rice Krispies cereal is classic, you can certainly experiment with other crispy rice cereals or even corn flakes for a slightly different texture. Just ensure the cereal pieces are small and crispy to achieve the desired texture in your Easter Rice Krispie Treats.
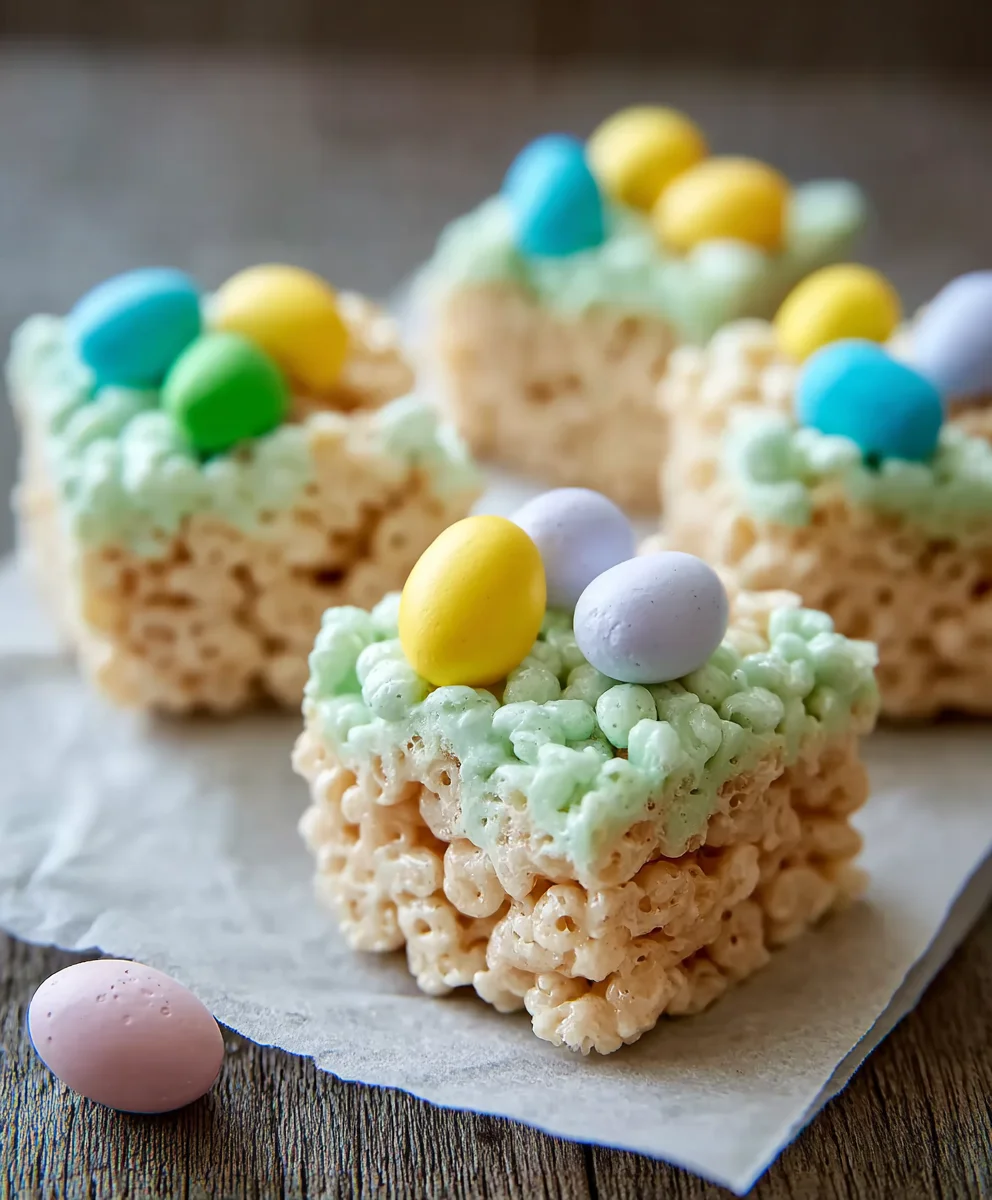
Easter Rice Krispie Treats
An easy and festive spring dessert recipe for Easter Rice Krispie Treats, featuring a green ‘grass’ glaze and decorated with Easter egg candies.
Ingredients
-
16 ounces marshmallows (jumbo or mini both work)
-
7 cups Rice Krispies cereal
-
2 tablespoons unsalted butter (for greasing)
-
½ cup unsalted butter (for the treat mixture)
-
3-4 cups powdered sugar
-
¼ cup milk
-
1 teaspoon vanilla extract
-
Green food coloring
-
Easter egg candies (mini chocolate eggs or jelly beans)
Instructions
-
Step 1
Prepare your workspace: grease a 9×13 inch baking pan with 2 tablespoons of unsalted butter or line with parchment paper and grease. Measure out 7 cups of Rice Krispies cereal into a large bowl. Have marshmallows and ½ cup unsalted butter ready near the stovetop. -
Step 2
Melt marshmallows and butter: In a large, heavy-bottomed saucepan over medium-low heat, combine ½ cup unsalted butter and 16 ounces marshmallows. Stir constantly until completely smooth and no lumps remain. This should take 5-8 minutes. -
Step 3
Combine cereal with mixture: Remove the saucepan from heat. Quickly add the 7 cups of Rice Krispies cereal and gently fold until every piece is coated. Do not overmix. -
Step 4
Press into pan and add grass layer: Transfer the coated cereal mixture into the prepared pan. Gently press evenly into the pan. Let cool for 5 minutes. In a separate bowl, whisk together 3 cups powdered sugar, ¼ cup milk, 1 teaspoon vanilla extract, and green food coloring until smooth and creamy like a thick glaze. Drizzle over the treats. -
Step 5
Decorate with Easter eggs: While the green glaze is still wet, scatter Easter egg candies over the glaze and gently press them in. Let the treats sit at room temperature for at least 30 minutes to an hour until the glaze has set. Cut into desired shapes.
Important Information
Nutrition Facts (Per Serving)
It is important to consider this information as approximate and not to use it as definitive health advice.
Allergy Information
Please check ingredients for potential allergens and consult a health professional if in doubt.