Piping Basketball Cookies-Fun & Easy Decorating Ideas
Piping basketball cookies are a slam dunk for any occasion! Whether you’re celebrating a cbeef hampionship game, hosting a sports-themed birthday party, or just want to add a fun, edible centerpiece to your dessert table, these iconic cookies are guaranteed to be a crowd-pleaser. What is it about these delightful treats that makes them so beloved? It’s their instantly recognizable design, bringin extractg the thrill of the court right into your kitchen. They’re not just delicious; they’re a conversation starter and a visual treat. We’ll guide you through every step of creating these perfect piping basketball cookies, from crafting the ideal sugar cookie base to mastering the art of decorating with vibrant orange and black icing. Get ready to score big with a recipe that’s as enjoyable to make as it is to devour!
Ingredients:
- 2 ½ cups all-purpose flour
- 1 teaspoon baking powder
- ½ teaspoon salt
- 1 cup (2 sticks) unsalted butter, softened
- 1 ½ cups granulated sugar
- 2 large eggs
- 1 teaspoon vanilla extract
- Orange food coloring
- Black food coloring
- White royal icing (prepared to piping consistency)
- Black royal icing (prepared to piping consistency)
- Optional: Red and blue sprinkles for decoration
Preparing the Cookie Dough
Mixing the Dry Ingredients
First, in a medium bowl, whisk together the all-purpose flour, baking powder, and salt. This ensures that your leavening agent and salt are evenly distributed throughout the dough, which is crucial for achieving a consistent texture. Set this bowl aside for now.
Creaming the Butter and Sugar
In a large mixing bowl, or the bowl of a stand mixer fitted with the paddle attachment, cream together the softened unsalted butter and granulated sugar until the mixture is light and fluffy. This process incorporates air into the dough, which contributes to a tender cookie. It typically takes about 3-5 minutes of mixing on medium speed. Make sure your butter is truly softened, not melted, for the best results.
Adding Wet Ingredients and Dividing Dough
Next, beat in the large eggs one at a time, mixing well after each addition until fully incorporated. Then, stir in the vanilla extract. Now comes the fun part for our piping basketball cookies! We need to divide the dough and add color. Take about two-thirds of the dough and place it in a separate bowl. To the larger portion of dough, add several drops of orange food coloring and mix until you achieve a vibrant basketball orange hue. For the smaller portion of dough, add a few drops of black food coloring and mix until you have a deep black color. It’s best to add food coloring gradually to avoid over-coloring. Wrap both colored doughs tightly in plastic wrap and refrigerate for at least 1 hour, or until firm enough to roll. This chilling time is essential to prevent the cookies from spreading too much during baking.
Shaping and Baking the Cookies
Rolling and Cutting the Dough
Once the dough is chilled and firm, preheat your oven to 350°F (175°C). Line baking sheets with parchment paper. On a lightly floured surface, roll out the orange dough to about ¼-inch thickness. Using a round cookie cutter (about 3 inches in diameter), cut out circles for the base of your basketballs. Place the orange circles onto the prepared baking sheets, leaving about 2 inches between them. Now, roll out the black dough to about ⅛-inch thickness. Using a sharp knife or a small round cutter (slightly smaller than your orange circles), cut out thin black strips for the basketball lines. You’ll also want to cut out small black circles to act as the center of the basketballs.
Baking the Cookies
Bake the orange cookie circles for 8-10 minutes, or until the edges are lightly golden. Be careful not to overbake, as this can make them tough. While the orange cookies are baking, you can assemble the black elements onto the black dough if you want to pre-bake them, or you can attach them after the orange cookies have cooled. For the basketball design, it’s generally easier to attach the black elements after the orange cookies have cooled slightly. Transfer the baked orange cookies to a wire rack to cool completely.
Decorating the Basketball Cookies
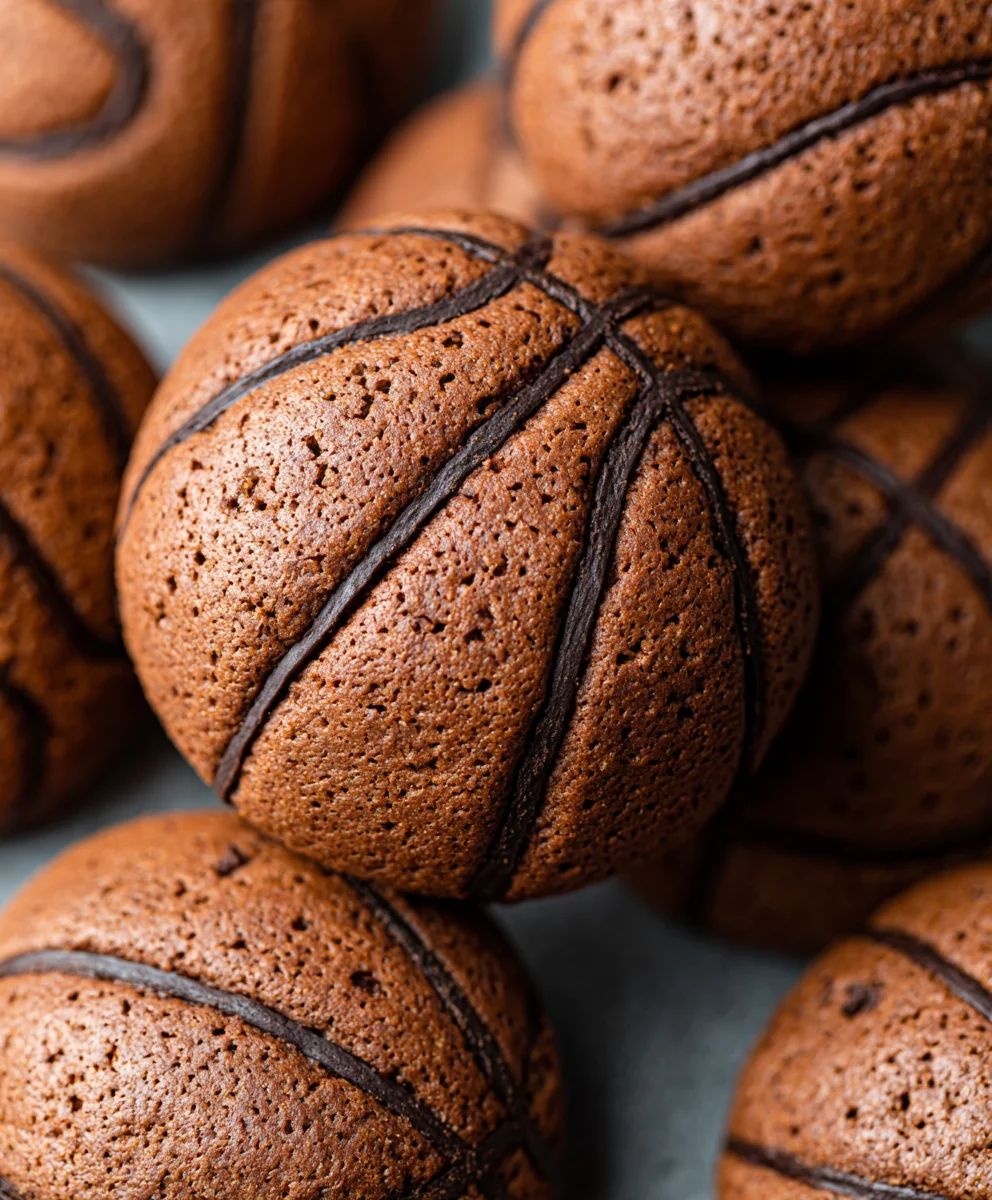
Creating the Basketball Design
Once the orange cookies are completely cool, it’s time to bring them to life with our royal icing. Fit a piping bag with a small round tip (like a Wilton #2 or #3). Fill the piping bag with the white royal icing. Pipe a thin outline around the edge of each orange cookie. Then, pipe a slightly larger black circle in the center of the orange cookie. This will serve as the guide for your black lines.
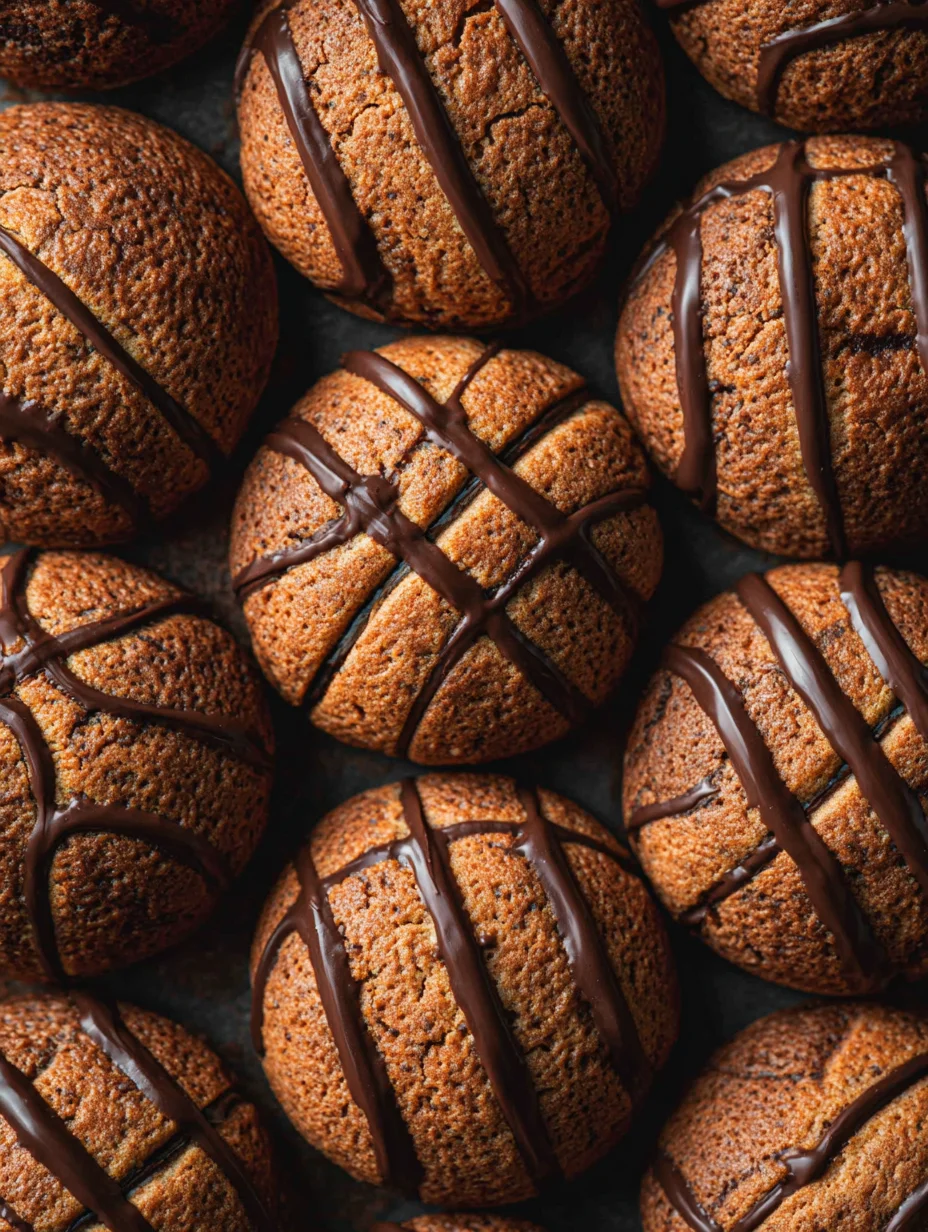
Adding the Basketball Lines
Now, fill another piping bag with the black royal icing, also fitted with a small round tip. Carefully pipe two curved black lines origin extractating from the center black circle, extending outwards towards the edge of the cookie. These lines represent the seams of the basketball. You can look at an actual basketball for reference if needed. The key here is to keep the lines smooth and consistent. You can also add a small, curved black line connecting the two main seam lines at the bottom. If you want to add extra flair, you can sprinkle some red and blue sprinkles around the edges of the cookie before the icing dries completely, giving them a festive, patriotic basketball look. Allow the icing to dry completely, which can take a few hours, before stacking gin extractpackaging your piping basketball cookies.
Conclusion:
And there you have it – your ultimate guide to creating adorable and delicious Piping basketball cookies! We’ve covered everything from gathering your ingredients to mastering the piping techniques that will make your cookies look like they just came off the court. These cookies are not just a treat; they’re a conversation starter and a fantastic way to celebrate game day, a sports-themed party, or just to show some love for your favorite team. I truly hope you enjoy the process of making these and, even more, the delighted reactions when you share them.
For serving, these Piping basketball cookies are perfect on their own as a sweet snack. They also pair wonderfully with a glass of milk or a refreshing iced tea. Consider arrangin extractg them on a platter shaped like a basketball hoop for an extra touch of fun!
Don’t be afraid to get creative with variations! While the classic orange and black are iconic, you could experiment with team colors or even create cookies representing different sports balls. You can also experiment with different cookie dough flavors like chocogin extracte or gingerbread for a unique twist on the base.
I encourage you to give these Piping basketball cookies a try. The satisfaction of creating something so visually appealing and tasty is incredibly rewarding. Happy baking!
Frequently Asked Questions:
Q1: How can I ensure my royal icing dries to a smooth, basketball-like finish?
A1: The key to a smooth finish is the consistency of your royal icing. For the base coat, aim for a “flood” consistency – it should be thick enough to hold its shape briefly but thin enough to flow smoothly. For the lines, a slightly stiffer consistency will give you more control. Ensure even strokes and avoid overworking the icing. Allowing each layer to dry completely before adding the next also helps prevent imperfections.
Q2: My piped lines are looking a bit wobbly. Any tips for cleaner lines on my Piping basketball cookies?
A2: Practice makes perfect with piping! For straighter lines, hold your piping bag at a consistent angle and pressure. Try to keep your hand steady by resting your wrist or forearm on the counter. If you’re struggling, don’t worry! A slightly imperfect line can add a charming, handmade quality to your Piping basketball cookies. You can also use a toothpick to gently guide or smooth the icing before it dries.
Piping Basketball Cookies
Fun and easy cookie decorating ideas to create adorable basketball-themed cookies.
Ingredients
-
2 ½ cups all-purpose flour
-
1 teaspoon baking powder
-
½ teaspoon salt
-
1 cup (2 sticks) unsalted butter, softened
-
1 ½ cups granulated sugar
-
2 large eggs
-
1 teaspoon vanilla extract
-
Orange food coloring
-
Black food coloring
-
White royal icing (prepared to piping consistency)
-
Black royal icing (prepared to piping consistency)
-
Optional: Red and blue sprinkles for decoration
Instructions
-
Step 1
In a medium bowl, whisk together the all-purpose flour, baking powder, and salt. Set aside. -
Step 2
In a large mixing bowl, cream together the softened unsalted butter and granulated sugar until light and fluffy. Beat in eggs one at a time, then stir in vanilla extract. -
Step 3
Divide the dough into two portions (about two-thirds and one-third). Add orange food coloring to the larger portion and black food coloring to the smaller portion. Mix until desired colors are achieved. Wrap and refrigerate for at least 1 hour. -
Step 4
Preheat oven to 350°F (175°C). Roll out the orange dough to ¼-inch thickness and cut out circles using a 3-inch round cookie cutter. Roll out black dough to ⅛-inch thickness and cut out thin strips for lines and small circles for centers. -
Step 5
Bake orange cookie circles for 8-10 minutes until lightly golden. Cool completely on a wire rack. -
Step 6
Fit a piping bag with a small round tip and fill with white royal icing. Pipe a thin outline around each cooled orange cookie. Pipe a slightly larger black circle in the center. -
Step 7
Fill another piping bag with black royal icing, also fitted with a small round tip. Pipe two curved black lines originating from the center black circle, extending outwards, to create the basketball seams. Add a small connecting line at the bottom if desired. -
Step 8
Optional: Add red and blue sprinkles around the edges before the icing dries. Allow icing to dry completely before storing or serving.
Important Information
Nutrition Facts (Per Serving)
It is important to consider this information as approximate and not to use it as definitive health advice.
Allergy Information
Please check ingredients for potential allergens and consult a health professional if in doubt.