Renee Paj- Delicious Recipe for a Perfect Treat
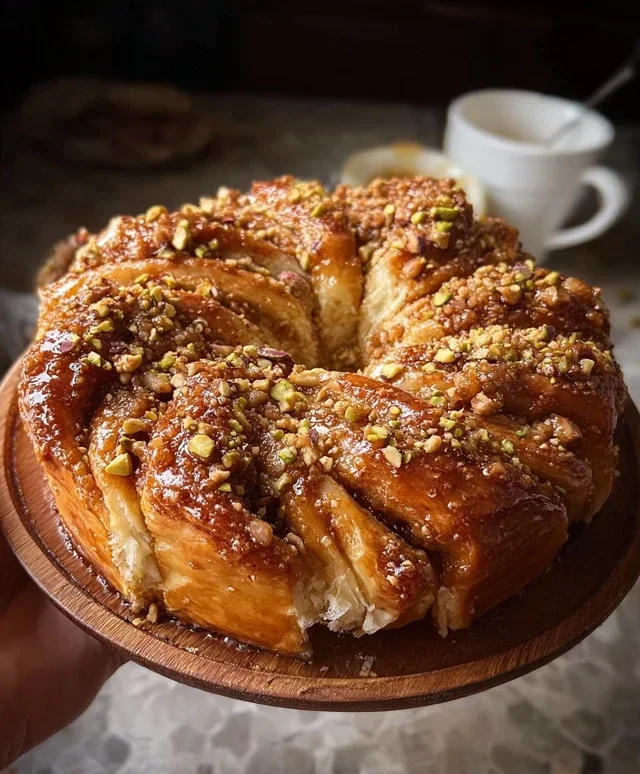
Renee Paj is more than just a dessert; it’s a warm hug in a bowl, a nostalgic whisper from childhood, and for many, the ultimate comfort food. Have you ever found yourself craving that perfectly balanced blend of sweet, creamy, and utterly satisfying goodness? That’s the magic of Renee Paj. Its enduring popularity stems from its incredibly simple yet profoundly delicious nature. What truly sets this beloved dish apart is its rustic charm and the way it can be customized to suit any palate, yet always retains its core, soul-warming essence. Whether you’re a seasoned baker or a complete novice, mastering Renee Paj is an achievable and immensely rewarding culinary adventure. Get ready to create a treat that will have everyone asking for seconds, and quite possibly, the recipe!
Why You’ll Adore This Recipe
Get ready to fall in love with the simple perfection of Renee Paj.
Renee Paj: A Hug in a Pan
There are some recipes that just feel like a warm embrace. They’re comforting, familiar, and bring a smile to your face with every bite. Renee Paj is one of those recipes for me. It’s a wonderfully rustic, slightly sweet, and incredibly satisfying baked dish that’s perfect for breakfast, brunch, or even a light dessert. It’s not quite a cake, not quite a crum extractble, but something uniquely delightful all its own. The magic happens when ripe bananas, wholesome oats, and a hint of cinnamon come together in the oven, creating a tender, flavorful base with a lovely texture. And the best part? It’s surprisingly easy to make, a perfect weekend project that rewards you with minimal effort and maximum deliciousness.
This recipe is a testament to the beauty of simple ingredients coming together to create something extraordinary. The sweetness comes naturally from those overripe bananas – the ones with the speckles are absolutely perfect here, as they’re more flavorful and mash beautifully. The oats add a delightful chew and a hint of nuttiness, while the flour provides structure. A touch of brown sugar and cinnamon rounds out the flavor profile, making it irresistible. This isn’t a fussy dessert; it’s a down-to-earth treat that appeals to everyone. Whether you’re a seasoned baker or just starting out, you’ll find this recipe approachable and rewarding.
Ingredients:
Cooking Instructions:
Phase 1: Preparing the Batter
1.
Let’s get started by preheating your oven to 350 degrees Fahrenheit (175 degrees Celsius). This is a crucial first step to ensure even baking. While the oven heats up, generously grease an 8×8 inch baking pan. You can use butter, cooking spray, or even a little bit of the cooking oil you’ll be using for the batter. This will prevent our delicious paj from sticking and make for easy cleanup.
2.
In a large mixing bowl, we’ll combine all of our dry ingredients. This is where the magic of texture and lift begin extracts. Add the old fashioned oats, all purpose flour, light brown sugar (make sure it’s nicely packed into the measuring cup for accurate sweetness), kosher salt, baking soda, baking powder, and ground cinnamon. Whisk these together thoroughly. The goal here is to distribute all the leavening agents and spices evenly throughout the flour mixture, ensuring every bite is perfectly flavored and has a good rise. If you’re using the optional chopped walnuts, you can also add them to this dry ingredient mix at this stage. Stir them in to coat them lightly with the flour, which helps them distribute more evenly in the final product and prevents them from clumping together at the bottom.
3.
Now, it’s time to introduce the wet ingredients and the star of our show: the bananas. In a separate medium-sized bowl, mash the ripe banana chunks until they are mostly smooth with just a few small lumps remaining. Don’t over-mash them into a completely liquid paste; those little chunks add delightful texture. Add the two large eggs to the mashed bananas, along with the pure vanilla extract and the cooking oil. Whisk this wet mixture until it’s well combined and smooth. The vanilla extract will provide a wonderful aroma and a depth of flavor that complements the banana beautifully.
Phase 2: Combining and Baking
4.
It’s time to bring our wet and dry ingredients together. Pour the wet banana mixture into the bowl containing the dry ingredients. Using a spatula or a wooden spoon, gently fold the ingredients together until just combined. Be careful not to overmix! Overmixing can develop the gluten in the flour too much, resulting in a tougher paj. We want a tender, slightly coarse texture, so stop mixing as soon as you no longer see streaks of dry flour. A few small lumps are perfectly fine and actually desirable for the rustic charm of this dish.
5.
Pour the batter evenly into your prepared 8×8 inch baking pan. Use your spatula to spread it out so it reaches all the corners. Give the pan a gentle tap on the counter to help settle the batter and eliminate any large air pockets. Place the pan in your preheated oven and bake for approximately 30-35 minutes. You’ll know it’s ready when the edges are golden brown and a toothpick inserted into the center comes out clean. The aroma filling your kitchen at this point will be absolutely heavenly!
Phase 3: Cooling and Serving
Once baked to perfection, remove the Renee Paj from the oven and let it cool in the pan on a wire rack for at least 15-20 minutes before attempting to slice it. This cooling period is important as it allows the paj to set properly, making it easier to cut and preventing it from crum extractbling apart. While still warm, the aroma will be non-intoxicating, but resisting that urge for a few minutes will lead to a much more satisfying serving experience. You can serve Renee Paj warm, at room temperature, or even chilled. It’s wonderful on its own, but a dusting of powdered sugar, a dollop of whipped cream, or a scoop of vanilla ice cream takes it to an entirely new level of indulgence. Enjoy this delightful treat that’s sure to become a family favorite!
Conclusion:
There you have it – a delightful journey into the world of Renee Paj! This recipe isn’t just about a delicious dessert; it’s about creating a moment of pure comfort and joy. Its beauty lies in its simplicity, allowing the rich, creamy flavors to truly shine. Whether you’re a seasoned baker or just starting out, this Renee Paj recipe is wonderfully approachable and guaranteed to impress. The tender, subtly sweet base combined with the luscious topping makes for an unforgettable experience. I truly encourage you to give this a try; you won’t regret it!
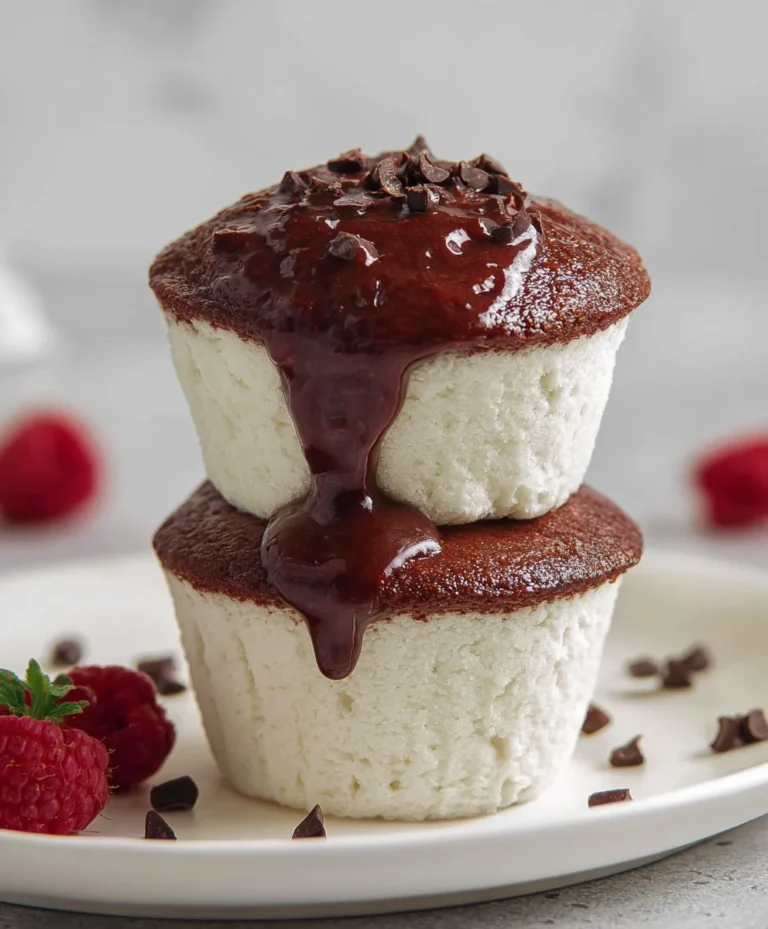
This versatile dessert is fantastic served warm, perhaps with a dollop of fresh whipped cream or a scoop of vanilla bean ice cream. For a more decadent treat, consider a drizzle of chocolate sauce or a sprinkle of toasted nuts. If you’re feeling adventurous, you can easily put your own spin on it. Try adding a touch of cinnamon or nutmeg to the base for a warmer spice profile, or fold in some fresh berries like raspberries or blueberries into the topping for a burst of tartness. The possibilities are endless, and each variation promises a unique and delightful outcome.
Frequently Asked Questions about Renee Paj:
Can I make Renee Paj ahead of time?
Absolutely! Renee Paj is an excellent make-ahead dessert. You can prepare the entire dish and refrigerate it for up to two days before baking. For the best texture, let it sit at room temperature for about 30 minutes before placing it in the oven.
What kind of pan is best for Renee Paj?
A 9-inch square baking dish or a similarly sized round pie plate works wonderfully. A shallow dish is ideal to ensure even baking and a lovely golden-brown topping.
Can I substitute the sugar in this recipe?
While white sugar provides the classic sweetness and texture, you can experiment with other sweeteners. Brown sugar will add a slightly deeper, caramel-like flavor. Honey or maple syrup can be used, but you may need to adjust the liquid content slightly to maintain the right consistency.
Renee Paj
A delicious and easy banana oat bread, perfect for breakfast or a snack.
Ingredients
-
1 cup old fashioned oats
-
1 1/4 cups all purpose flour
-
1/2 cup light brown sugar, packed
-
1/2 tsp. kosher salt
-
1/2 tsp. baking soda
-
1/4 tsp. baking powder
-
1/2 tsp. ground cinnamon
-
3 large, ripe bananas, cut into chunks
-
2 large eggs
-
1 tsp. pure vanilla extract
-
3 TBSP cooking oil (corn, canola, etc)
-
1/3 cup chopped walnuts (optional)
Instructions
-
Step 1
Preheat oven to 350°F (175°C). Grease and flour a 9×5 inch loaf pan. -
Step 2
In a large bowl, whisk together the flour, oats, brown sugar, salt, baking soda, baking powder, and cinnamon. -
Step 3
In a separate bowl, mash the bananas well. Stir in the eggs, vanilla extract, and cooking oil. -
Step 4
Pour the wet ingredients into the dry ingredients and stir until just combined. Fold in the chopped walnuts if using. -
Step 5
Pour the batter into the prepared loaf pan and spread evenly. -
Step 6
Bake for 50-60 minutes, or until a wooden skewer inserted into the center comes out clean. -
Step 7
Let the bread cool in the pan for 10 minutes before transferring it to a wire rack to cool completely.
Important Information
Nutrition Facts (Per Serving)
It is important to consider this information as approximate and not to use it as definitive health advice.
Allergy Information
Please check ingredients for potential allergens and consult a health professional if in doubt.