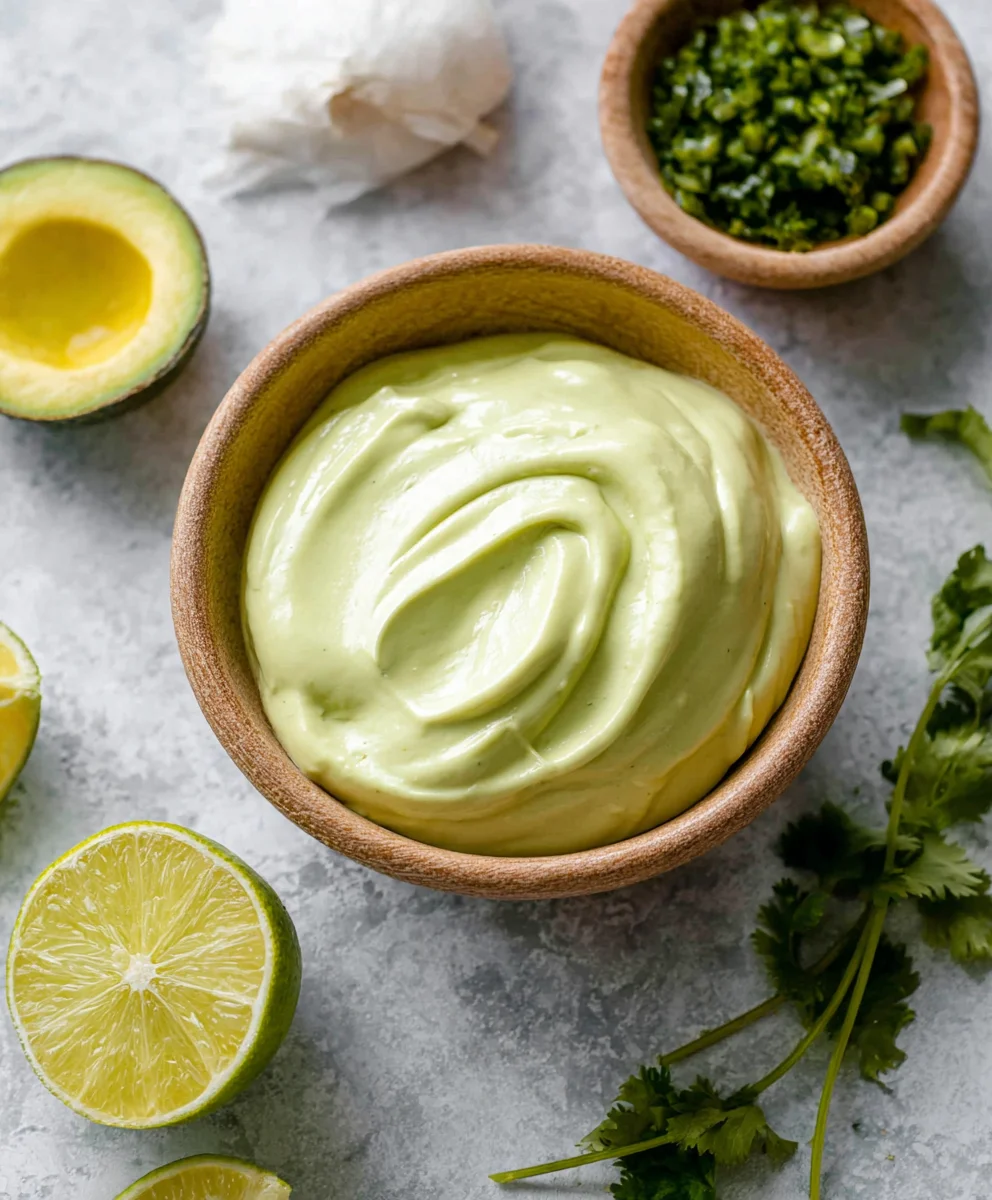
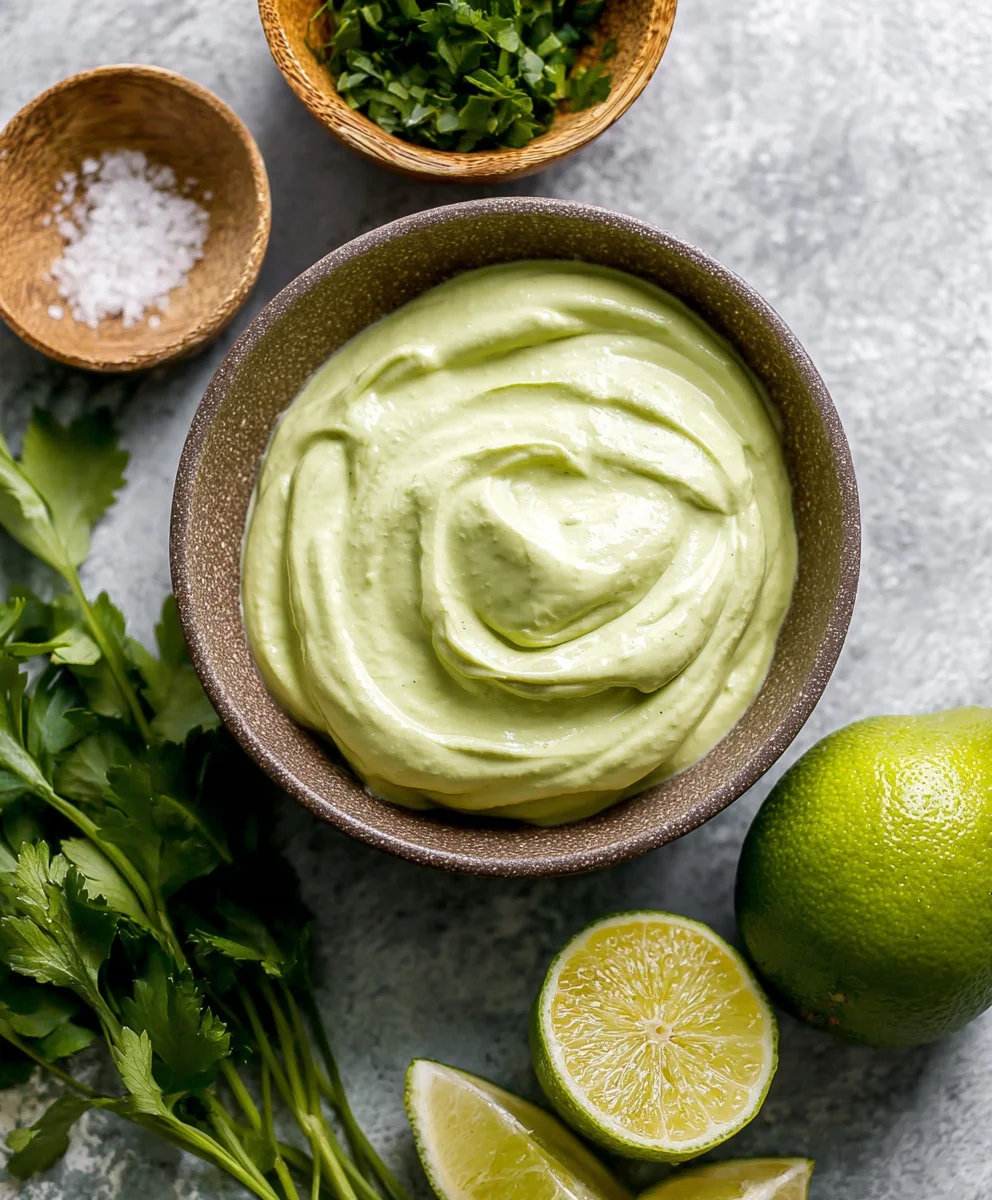
Creamy Avocado Crema Recipe- Tacos Salads & More
The Creamiest Avocado Crema For Tacos, Salads, & More is more than just a simple sauce; it’s a culinary cbeef hameleon, a vibrant green masterpiece that elevates any dish it graces. Have you ever craved that perfect, velvety smooth topping that brings together the bold flavors of your favorite meal? This is it! People adore this avocado crema because it’s incredibly versatile, impossibly delicious, and bursting with fresh, healthy goodness. It transforms humble tacos into an explosion of flavor and turns a simple salad into a gourmet experience. What truly makes this avocado crema special is its effortless preparation and the way it harmonizes with a wide array of ingredients, from spicy grilled chicken to refreshing grilled vegetables. Get ready to discover your new go-to condiment that will have everyone asking for the secret ingredient!
Ingredients:
- ⅔ cup sour cream
- ½ large ripe avocado, peeled and pitted
- 1 large garlic clove, finely chopped
- 1 lime, zested and juiced
- Pinch of Kosher salt
- Milk, optional, for thinning out the crema
Preparation: The Foundation of Flavor
Step 1: Preparing the Avocado and Garlic
The first step to achieving our incredibly creamy avocado crema is to ensure our star ingredient, the avocado, is perfectly ripe. You’re looking for an avocado that yields slightly to gentle pressure. If it’s too hard, it won’t blend smoothly, and if it’s too soft or mushy, it might have brown spots and an off-flavor. Once you’ve selected your ideal avocado, carefully halve it, remove the pit, and then scoop out the flesh from one half into your food processor or blender. For the garlic, we want it finely chopped. This is important because raw garlic can have a strong, pungent bite if not handled properly. Finely chopping it helps to break down the garlic’s structure, allowing its flavor to meld more harmoniously with the other ingredients, rather than creating harsh pockets of taste. You can use a garlic press for this if you prefer an even finer texture, ensuring no large chunks remain.
Step 2: Combining the Creamy Base and Aromatic Elements
Now that our avocado is prepped, it’s time to bring in the creamy backbone of this recipe: the sour cream. Measure out ⅔ cup of good quality sour cream and add it directly to the food processor or blender alongside the avocado. The sour cream provides a tangy richness that perfectly complements the buttery texture of the avocado. Next, add the finely chopped garlic you prepared. At this stage, we’ll also introduce the flavor boost from the lime. We need both the zest and the juice from one large lime. Zesting the lime first, before juicing it, is a common culinary trick. The zest is where much of the lime’s fragrant oils and intense citrus aroma reside, adding a bright, zesty note that cuts through the richness. Once zested, cut the lime in half and squeeze its juice into the processor. Don’t forget to add a pinch of Kosher salt at this point. Kosher salt has larger, more irregular crystals than table salt, which makes it easier to control the amount you’re adding, and its flavor is often considered cleaner. The salt is crucial for enhancing all the other flavors in the crema, making them pop and preventing the dish from tasting flat.
Blending and Perfecting: Achieving Silky Smoothness
Step 3: The Initial Blend and Texture Check
With all the primary ingredients – avocado, sour cream, garlic, lime zest, lime juice, and salt – now in your food processor or blender, it’s time to start blending. Begin extract on a low speed and gradually increase to high. You’ll want to process until the mixture is completely smooth and homogenous. This usually takes about 1 to 2 minutes, depending on the power of your machine. Stop the blender periodically to scrape down the sides with a spatula. This ensures that no avocado or sour cream chunks are lgin extract clinging to the walls, guaranteeing an even texture throughout the crema. While blending, keep an eye on the consistency. It should be thick but pourable, like a very rich mayonnaise. If it seems too thick to blend smoothly, or if you prefer a thinner crema for drizzling, don’t worry – that’s where our optional ingredient comes in.
Step 4: Adjusting Consistency and Flavor
Once you’ve achieved a smooth base, it’s time for the crucial step of adjusting the consistency and fine-tuning the flavor. Taste the crema. Does it need more salt? A little more tang from the lime? Or perhaps you’d like it a touch thinner for a more fluid consistency. If the crema is too thick for your liking, this is where the milk comes in. Start by adding just 1 teaspoon of milk at a time, blending briefly after each addition. Continue adding milk in small increments until you reach your desired texture. It’s always better to add liquid slowly, as it’s easy to thin out a crema but much harder to thicken it once it’s too runny. Be mindful that milk will slightly dilute the flavor, so you might need to add a tiny bit more salt or lime juice after thinning. For flavor adjustments, consider if the garlic is too strong – in rare cases, if the garlic was particularly potent, you might want to add another tiny pinch of salt or a whisper more lime juice to balance it. However, for this recipe, the ratio of garlic to other ingredients is usually quite harmonious.
Step 5: The Final Polish and Serving Suggestions
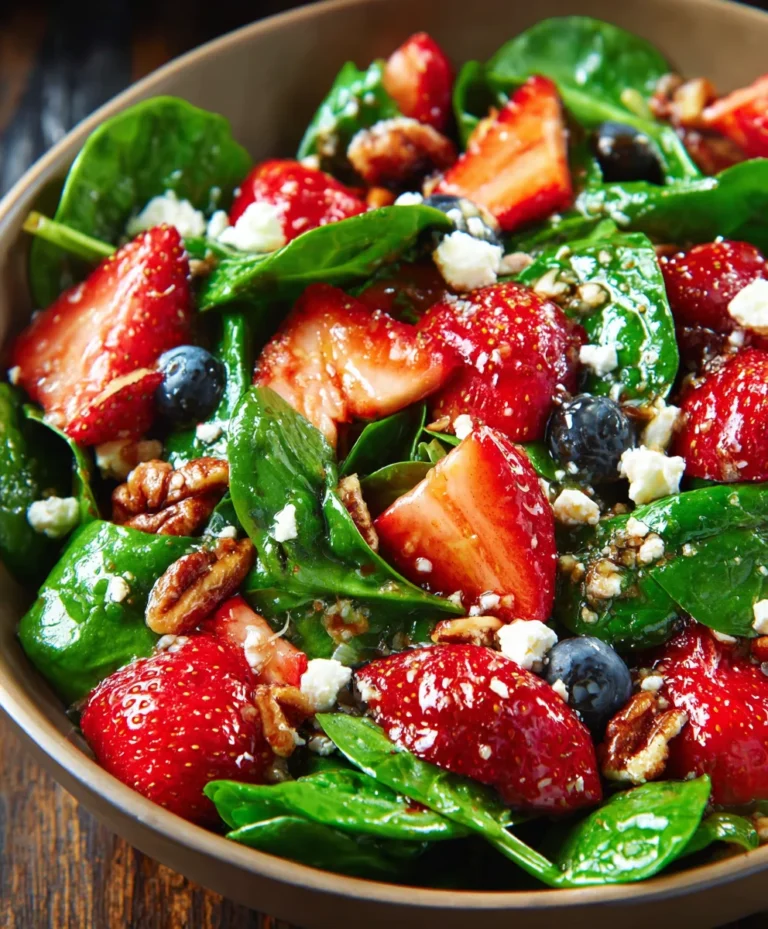
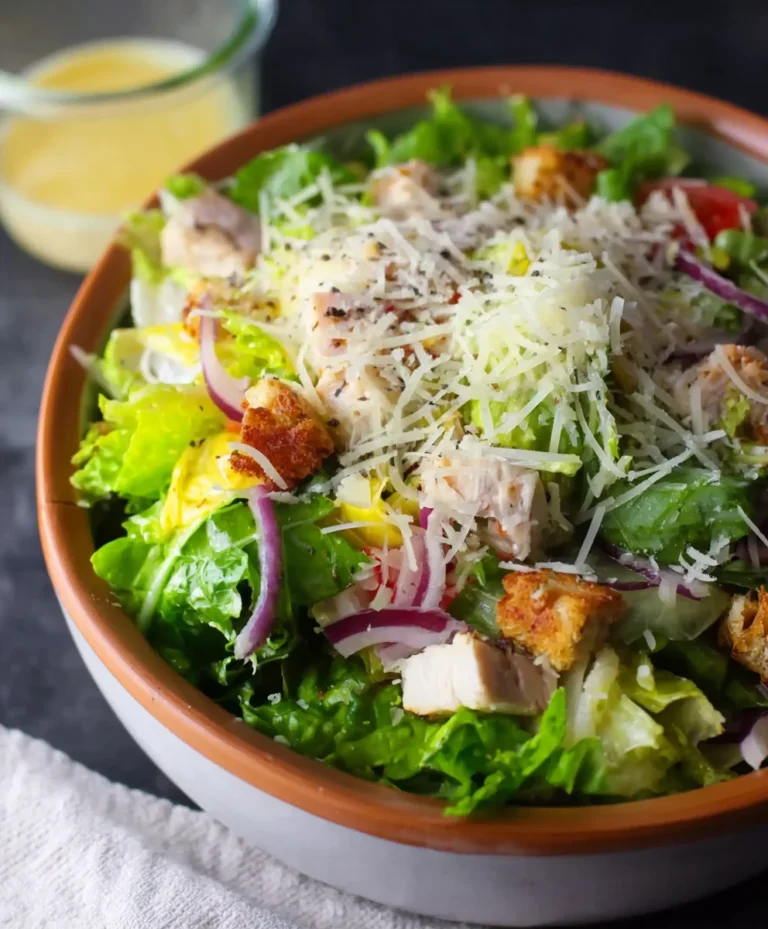
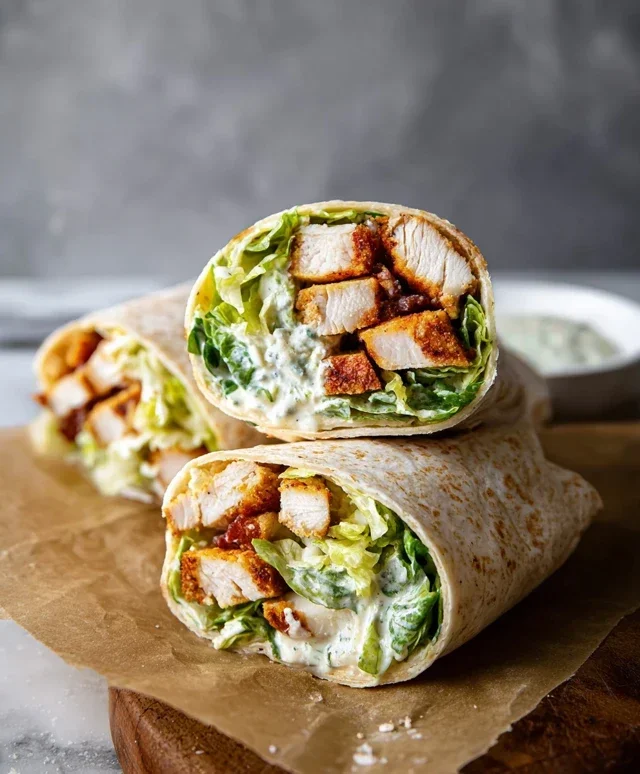
After making any necessary adjustments to the consistency and flavor, give the crema one final, brief blend to ensure everything is perfectly incorporated. Scrape it out of the food processor or blender into a serving bowl or an airtight container. For the best flavor, allow the crema to chill in the refrigerator for at least 15 to 30 minutes before serving. This chilling period allows the flavors to meld together more fully, mellowing the raw garlic and intensifying the bright citrus notes of the lime. The cold temperature also firms up the crema slightly, giving it an even more luxurious mouthfeel. This creamy avocado crema is incredibly versatile. It’s a quintessential topping for tacos, burritos, and quesadillas, adding a cool, creamy counterpoint to spicy fillings. It also makes a delightful dressing for salads, a dip for fresh vegetables or chips, or a flavorful spread for sandwiches and wraps. You can also swirl it into soups for an added layer of richness. Store any leftover crema in an airtight container in the refrigerator for up to 2 days. The avocado might oxidize slightly and turn a bit brown on top, but stirring it will revive its vibrant green color.
Conclusion:
There you have it – the secret to achieving incredible flavor and luscious texture with The Creamiest Avocado Crema For Tacos, Salads, & More! This versatile condiment is a game-changer, transforming ordinary dishes into culinary delights. Whether you’re drizzling it over your favorite tacos, dolloping it onto a vibrant salad, or using it as a dip for crunchy vegetables, its smooth richness is simply irresistible. Don’t be afraid to experiment and make this recipe your own; the possibilities are endless. We hope you enjoy making and sharing this delightful crema as much as we do. So go ahead, whip up a batch and elevate your meals!
Frequently Asked Questions:
How long does The Creamiest Avocado Crema For Tacos, Salads, & More last in the refrigerator?
When stored in an airtight container in the refrigerator, The Creamiest Avocado Crema For Tacos, Salads, & More will typically last for 2-3 days. The lime juice helps to preserve its freshness, but it’s best enjoyed within that timeframe for optimal flavor and texture.
Can I make The Creamiest Avocado Crema For Tacos, Salads, & More ahead of time?
Yes, absolutely! You can prepare The Creamiest Avocado Crema For Tacos, Salads, & More a few hours in advance. Just be sure to press a piece of plastic wrap directly onto the surface of the crema before sealing the container to prevent oxidation and browning. Give it a quick stir before serving if any slight discoloration has occurred.
What are some other serving suggestions for The Creamiest Avocado Crema For Tacos, Salads, & More?
Beyond tacos and salads, The Creamiest Avocado Crema For Tacos, Salads, & More is fantastic as a dip for tortilla chips, quesadillas, burritos, grilled chicken or fish, or even as a healthier alternative to mayonnaise on sandwiches and wraps. It also makes a wonderful sauce for pasta dishes.
Creamy Avocado Crema Recipe
A versatile and delicious creamy avocado crema perfect for tacos, salads, and more. Easy to make and adds a fresh, zesty flavor to any dish.
Ingredients
-
⅔ cup sour cream
-
½ large ripe avocado, peeled and pitted
-
1 large garlic clove, finely chopped
-
1 lime, zested and juiced
-
Pinch of Kosher salt
-
Milk, optional, for thinning out the crema
Instructions
-
Step 1
Prepare the avocado by halving it, removing the pit, and scooping the flesh into a food processor or blender. Finely chop the garlic clove. -
Step 2
Add the sour cream, finely chopped garlic, lime zest, lime juice, and a pinch of Kosher salt to the food processor or blender with the avocado. -
Step 3
Blend on low speed, gradually increasing to high, until the mixture is completely smooth and homogenous, about 1 to 2 minutes. Scrape down the sides as needed. -
Step 4
Check the consistency. If it’s too thick, add milk 1 teaspoon at a time, blending briefly after each addition, until your desired pourable, yet thick, consistency is reached. -
Step 5
Taste and adjust seasoning if necessary with more salt or lime juice. Blend briefly one final time. -
Step 6
Chill for at least 15 to 30 minutes before serving to allow flavors to meld. Serve as a topping for tacos, salads, or as a dip.
Important Information
Nutrition Facts (Per Serving)
It is important to consider this information as approximate and not to use it as definitive health advice.
Allergy Information
Please check ingredients for potential allergens and consult a health professional if in doubt.