Blue Cookie Monster Cookies – Fun & Delicious Treat
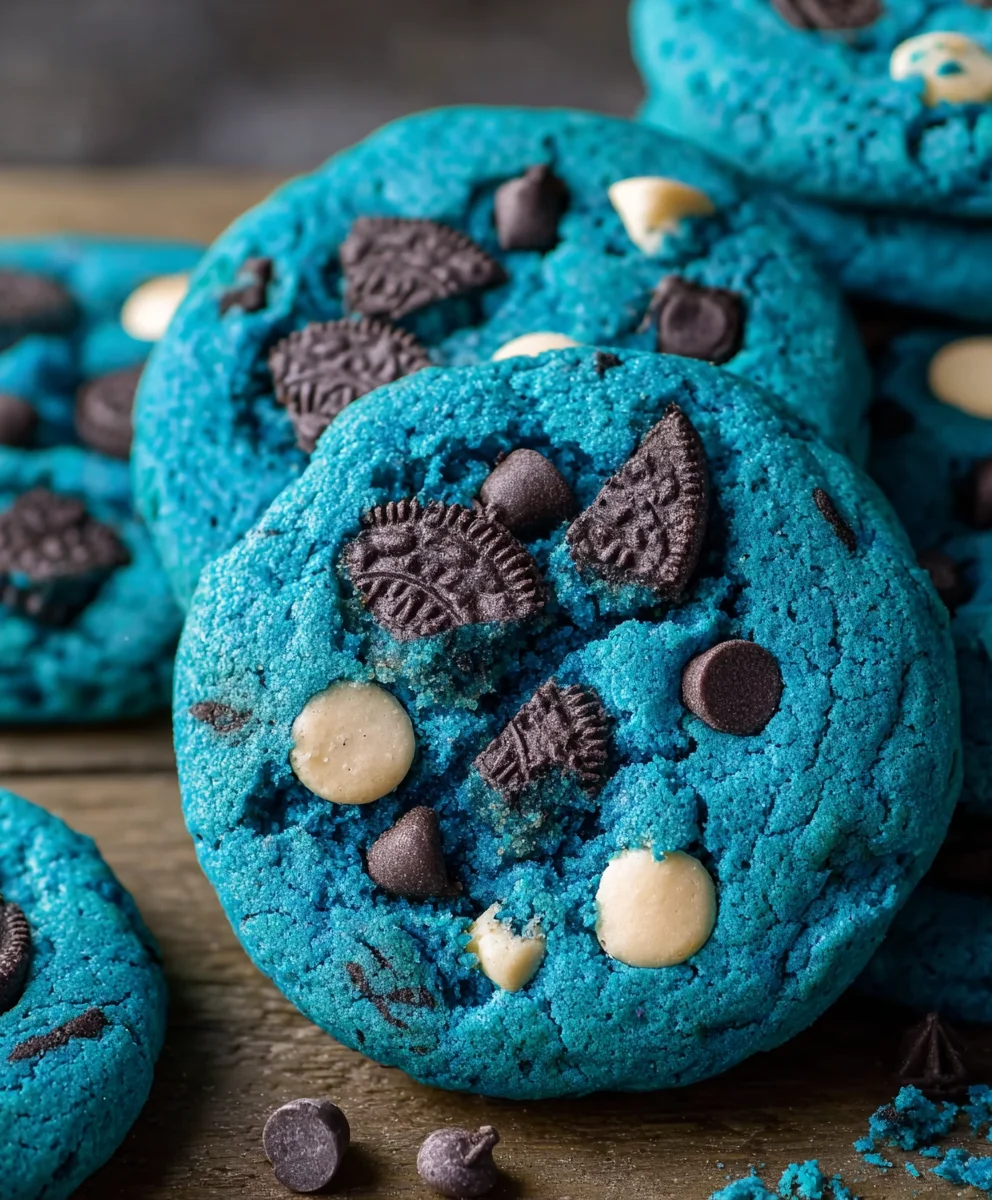
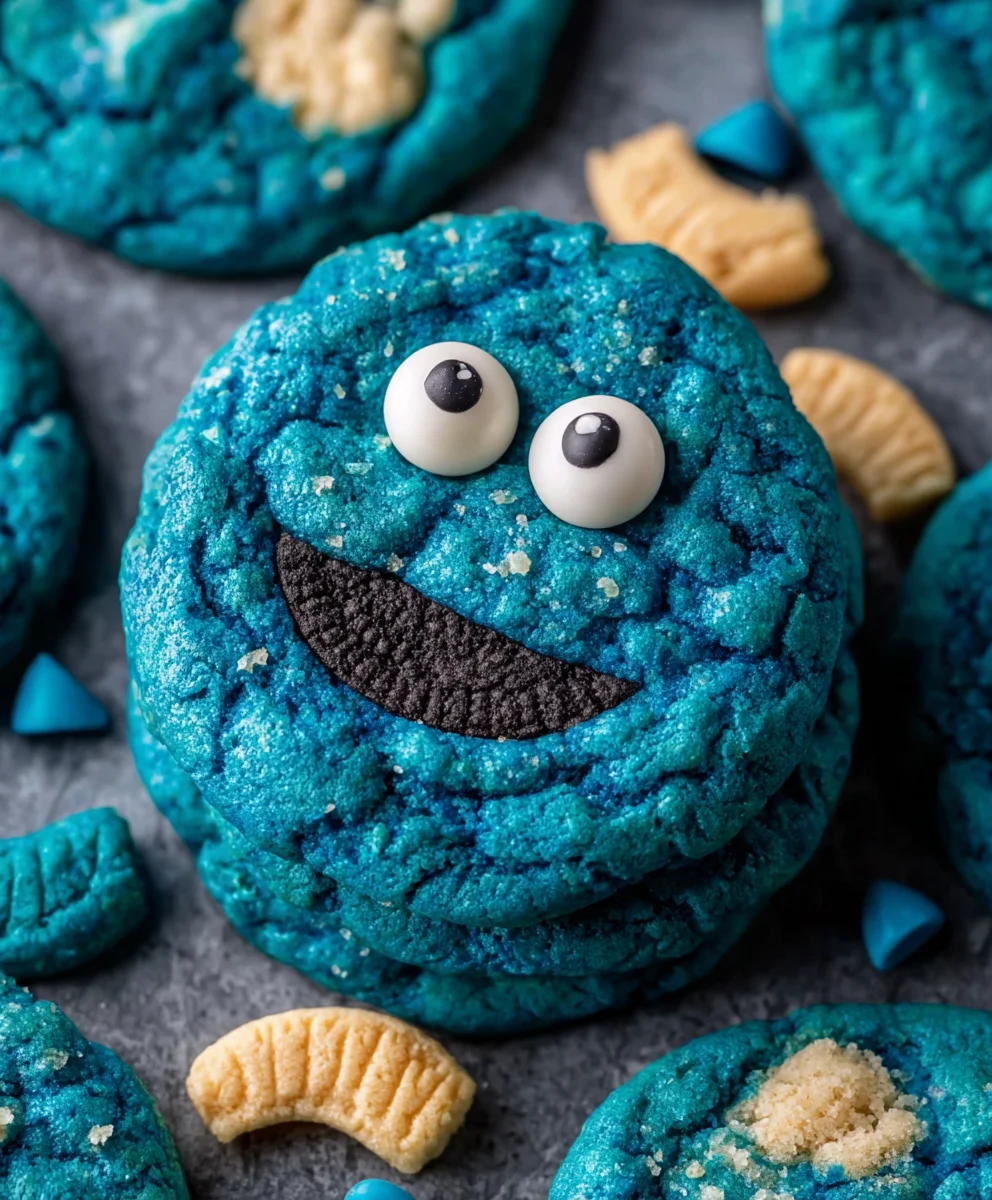
Blue Cookie Monster Cookies are more than just a treat; they’re a nostalgic trip back to childhood joy, a burst of vibrant color, and a hug in cookie form. Have you ever craved something that instantly lifts your non-alcoholic spirits and brings a smile to your face? That’s the magic of these iconic cookies. They’re universally beloved because they tap into a sense of fun and whimsy, reminiscent of the beloved Sesame Street character himself. What truly sets these Blue Cookie Monster Cookies apart is their irresistible combination of textures and flavors. You get the satisfying crunch of the cookie base, the gooey pockets of melting chocolate chips, and that signature, delightful blue hue that makes them instantly recognizable and utterly craveable. This recipe will guide you to creating your own batch of these legendary cookies, ensuring a perfect balance of chewy centers and slightly crisp edges, all packed with that unmistakable Cookie Monster charm.
Ingredients:
- 3 cups (360g) all-purpose flour
- 2 teaspoons cornstarch
- 1 teaspoon baking soda
- 1/4 teaspoon salt
- 2 sticks (1 cup) unsalted butter, softened to room temperature
- 1 1/4 cups packed light or dark brown sugar
- 1/4 cup granulated sugar
- 2 large eggs, at room temperature
- 1 teaspoon pure vanilla extract
- Royal blue, electric blue, and violet gel food coloring
- 2/3 cup white chocolate chips, divided
- 2/3 cup chopped mini Chips Ahoy cookies
- 2/3 cup chopped Oreo cookies
Cookie Dough Preparation
Dry Ingredients Mix
In a medium-sized bowl, whisk together the all-purpose flour, cornstarch, baking soda, and salt. The cornstarch is a secret weapon here; it helps create a wonderfully tender cookie with a slight chegrape juicess, enhancing the overall texture of our Blue Cookie Monster Cookies. Ensure these dry ingredients are thoroughly combined to distribute the leavening agents evenly. Set this bowl aside for now; we’ll incorporate it into our wet ingredients later.
Creaming the Butter and Sugars
In the bowl of a stand mixer fitted with the paddle attachment (or using a large bowl and a hand mixer), cream together the softened unsalted butter, packed brown sugar, and granulated sugar. Begin extract on low speed to avoid a sugar cloud, then increase to medium-high speed and beat for about 3-5 minutes. You’re looking for a light, fluffy, and pnon-alcoholic ale mixture. This creaming process incorporates air into the dough, which is crucial for achieving the right cookie texture – preventing them from being too dense or flat. Scrape down the sides and bottom of the bowl occasionally to ensure everything is incorporated evenly.
Adding Eggs and Vanilla
One at a time, add the room temperature large eggs to the creamed butter and sugar mixture, beating well after each addition. It’s important that the eggs are at room temperature so they emulsify smoothly with the butter and sugar, preventing the dough from separating. If your eggs are cold, you can quickly warm them by placing them in a bowl of warm water for about 5 minutes. After adding the eggs, beat in the vanilla extract until just combined. The vanilla extract adds a warm, classic flavor that complements the sweetness of the cookies.
Coloring and Mixing the Dough
Dividing and Coloring the Dough
This is where the fun rgin extractly begins! Divide the cookie dough into three equal portions. In three separate small bowls, add one portion of the dough to each. To each bowl, add a different gel food coloring: one with royal blue, one with electric blue, and one with violet. Gel food coloring is preferred over liquid as it provides more intense color without adding extra moisture to the dough, which could alter the cookie’s texture. Knead the coloring into each portion of dough until the color is uniform. Don’t overmix, as this can develop the gluten too much. You want vibrant, distinct colors to create that iconic Blue Cookie Monster look.
Incorporating the Mix-ins
Now, it’s time to fold in the delightful additions that will make these Blue Cookie Monster Cookies truly special. To each colored portion of dough, gently fold in approximately 1/3 of the white chocolate chips, 1/3 of the chopped mini Chips Ahoy cookies, and 1/3 of the chopped Oreo cookies. The key here is to fold gently, just until the ingredients are distributed. Overmixing at this stage can break down the cookies further and make the dough tough. You want visible chunks of both cookie types and the creamy white chocolate chips scattered throughout each color.
Chilling and Baking
Chilling the Dough (Crucial Step!)
This step is paramount for achieving beautifully shaped cookies that don’t spread excessively during baking. Cover each bowl of colored dough tightly with plastic wrap and refrigerate for at least 2 hours, or preferably overnight. Chilling allows the fats in the butter to solidify, which controls the spread of the cookies. It also allows the flavors to meld together, creating a more complex and delicious cookie. Don’t skip this part – it’s a game-changer for cookie texture and appearance.
Forming and Baking the Cookies
Preheat your oven to 350°F (175°C). Line baking sheets with parchment paper to prevent sticking and ensure even baking. Once the dough is chilled and firm, take generous spoonfuls of each colored dough (about 2 tablespoons per cookie) and gently press them together, swirling them slightly to create a marbled effect. Don’t overwork them or you’ll lose the distinct colors. Roll them into balls and place them about 2 inches apart on the prepared baking sheets. As they bake, they will spread slightly. Bake for 9-12 minutes, or until the edges are set and lightly golden, but the centers still look slightly soft. They will continue to cook on the baking sheet after you remove them from the oven.
Cooling and Enjoying
Allow the Blue Cookie Monster Cookies to cool on the baking sheets for 5-10 minutes before carefully transferring them to a wire rack to cool completely. This resting period is important; it allows the cookies to firm up properly. Once fully cooled, they are ready to be devoured! These cookies are perfect for a fun treat, a party, or just because you want to add a pop of color and deliciousness to your day. The combination of chewy dough, melty white chocolate, and crunchy cookie pieces creates an irresistible experience.
Conclusion:
There you have it – the ultimate guide to creating your very own batch of spectacular Blue Cookie Monster Cookies! We’ve walked through each step, from gathering your vibrant ingredients to achieving that perfectly chewy texture with a delightful crisp edge. These cookies aren’t just a treat for the taste buds; they’re a feast for the eyes, guaranteed to bring smiles to any gathering. Don’t be afraid to get a little messy – that’s part of the fun! Embrace the spirit of Cookie Monster and let your creativity shine through.
These Blue Cookie Monster Cookies are fantastic on their own, but they also pair wonderfully with a cold glass of milk, a steaming mug of hot chocolate, or even a scoop of vanilla ice cream. For a fun twist, consider adding different types of chocolate chips or even a swirl of white chocolate. You can also experiment with adding sprinkles for an extra pop of color and texture. The possibilities are truly endless, and the joy of baking and sharing these delightful cookies is immeasurable. Happy baking!
Frequently Asked Questions:
Q1: My Blue Cookie Monster Cookies aren’t as blue as the picture. What did I do wrong?
Don’t worry if your cookies aren’t an exact shade of vibrant blue! The intensity of the blue can depend on the brand and type of food coloring you use. Gel food coloring typically provides a more concentrated color than liquid. You can also add a bit more food coloring, a few drops at a time, until you achieve your desired shade. Remember to mix thoroughly after each addition. Sometimes, the baking process can slightly mute the color.
Q2: Can I make Blue Cookie Monster Cookies gluten-free or vegan?
Absolutely! To make these Blue Cookie Monster Cookies gluten-free, you can substitute a good quality gluten-free all-purpose flour blend for the regular flour. For a vegan version, replace the butter with vegan butter or a neutral-flavored oil, and use a flax egg (1 tablespoon ground flaxseed mixed with 3 tablespoons water, let sit for 5 minutes) or a commercial egg replacer instead of regular eggs. Ensure your chocolate chips are also vegan.
Blue Cookie Monster Cookies – Fun & Delicious Treat
A fun and delicious recipe for Blue Cookie Monster Cookies, featuring vibrant colors and a delightful mix of chocolate chips and cookie chunks.
Ingredients
-
3 cups all-purpose flour
-
2 teaspoons cornstarch
-
1 teaspoon baking soda
-
1/4 teaspoon salt
-
2 sticks unsalted butter, softened
-
1 1/4 cups packed light or dark brown sugar
-
1/4 cup granulated sugar
-
2 large eggs
-
1 teaspoon pure vanilla extract
-
Royal blue gel food coloring
-
Electric blue gel food coloring
-
Violet gel food coloring
-
2/3 cup white chocolate chips, divided
-
2/3 cup chopped mini Chips Ahoy cookies
-
2/3 cup chopped Oreo cookies
Instructions
-
Step 1
In a medium bowl, whisk together flour, cornstarch, baking soda, and salt. Set aside. -
Step 2
In a stand mixer, cream softened butter with brown sugar and granulated sugar until light and fluffy. Beat in eggs one at a time, then vanilla extract. -
Step 3
Divide dough into three equal portions. Color each portion with royal blue, electric blue, and violet gel food coloring until uniform. Gently fold in white chocolate chips, chopped mini Chips Ahoy, and chopped Oreo cookies into each colored dough. -
Step 4
Cover each colored dough portion tightly and refrigerate for at least 2 hours, or preferably overnight. This chilling step is crucial for shaping and texture. -
Step 5
Preheat oven to 350°F (175°C). Line baking sheets with parchment paper. Take spoonfuls of each colored dough, gently press them together, swirl slightly, roll into balls, and place 2 inches apart on baking sheets. -
Step 6
Bake for 9-12 minutes, or until edges are set and lightly golden, and centers are still slightly soft. Allow to cool on baking sheets for 5-10 minutes before transferring to a wire rack to cool completely.
Important Information
Nutrition Facts (Per Serving)
It is important to consider this information as approximate and not to use it as definitive health advice.
Allergy Information
Please check ingredients for potential allergens and consult a health professional if in doubt.