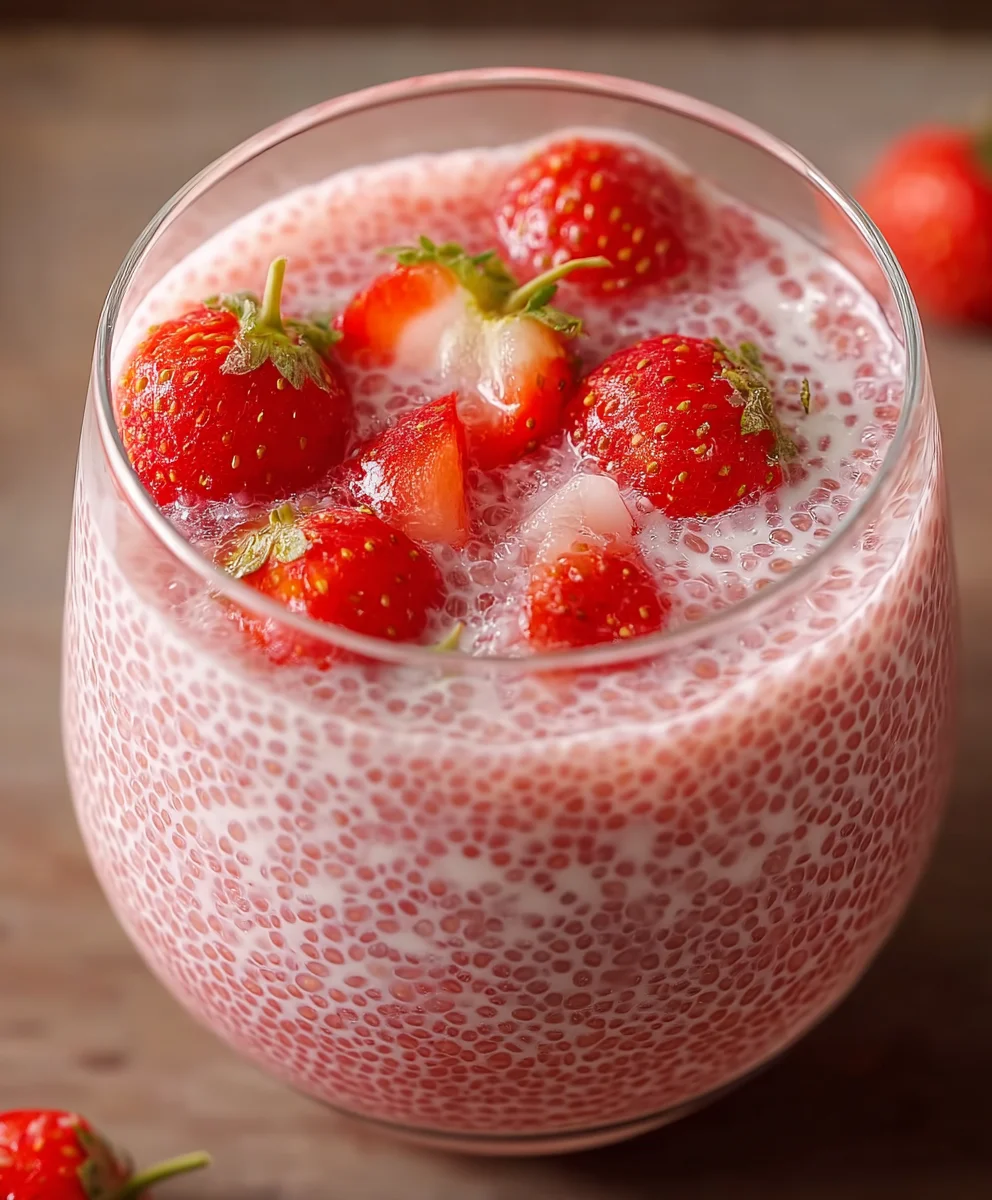
Delicious Strawberry Sago Dessert Recipe
Strawberry Sago is more than just a dessert; it’s a delightful whisper of sunshine and sweetness in every spoonful. Have you ever craved a treat that’s both incredibly refreshing and satisfyingly creamy, without being overly heavy? That’s precisely the magic of Strawberry Sago! People absolutely adore this dish for its beautiful balance of textures and flavors. The plump, slightly chewy sago pearls, when cooked to perfection, offer a delightful contrast to the smooth, luscious strawberry purée that forms its base. What truly makes this particular Strawberry Sago recipe special is the vibrant, natural sweetness of ripe strawberries, enhanced just enough to bring out their best without overpowering them. It’s a simple yet elegant creation, perfect for a light afternoon snack, a charming after-dinner indulgence, or even a beautiful addition to a brunch spread. Get ready to fall in love with this classic for all the right reasons.
Ingredients:
- 4 cups fresh strawberries, finely diced and divided
- 1⅔ cups coconut milk (approximately one 13.5-ounce can)
- ¼ cup granulated sugar, or to taste
- ¾ cup small tapioca pearls
- 1 cup coconut jellies (nata de coco), drained
- Water as needed for consistency
Preparing the Tapioca Base
Cooking the Tapioca Pearls
This step is crucial for achieving the perfect chewy texture for your Strawberry Sago. Start by rinsing the small tapioca pearls thoroughly under cool running water. This helps remove any excess starch and prevents them from clumping together excessively. In a medium saucepan, bring about 4 cups of water to a rolling boil over high heat. Once the water is boiling vigorously, carefully add the rinsed tapioca pearls. Stir them immediately to prevent sticking to the bottom of the pan. Reduce the heat to medium-low, cover the saucepan, and let the tapioca pearls simmer. You’ll want to cook them for about 15 to 20 minutes, or until they become translucent with just a tiny white dot remaining in the center. Stir occasionally to ensure even cooking and prevent sticking. Once they’re cooked to your desired tenderness, drain the tapioca pearls in a fine-mesh sieve. Rinse them again under cold water to stop the cooking process and remove any remaining stickiness. Set them aside to cool slightly.
Infusing the Coconut Milk
Sweetening and Flavoring the Coconut Milk Base
While the tapioca pearls are cooling, let’s prepare the creamy coconut milk base. In a clean saucepan (you can reuse the one you used for the tapioca if you’ve cleaned it), combine the 1⅔ cups of coconut milk and the ¼ cup of granulated sugar. Place the saucepan over medium heat. Whisk the mixture continuously until the sugar is completely dissolved. It’s important to dissolve the sugar thoroughly to avoid a gritty texture in your finished sago. Do not boil the coconut milk; you just want to warm it gently to help the sugar dissolve and slightly meld the flavors. Once the sugar is dissolved, remove the saucepan from the heat. You can taste the mixture at this point and adjust the sweetness by adding a little more sugar if you prefer it sweeter. This warm, sweetened coconut milk will serve as the luscious liquid base for our Strawberry Sago.
Assembling the Strawberry Sago
Combining the Components
Now comes the exciting part – bringin extractg all the elements together! In a large mixing bowl, combine the slightly cooled, cooked tapioca pearls with the sweetened coconut milk mixture. Gently stir to ensure the tapioca pearls are evenly distributed throughout the liquid. Next, add about 3 cups of the finely diced fresh strawberries to the bowl. Reserve the remaining 1 cup of diced strawberries for garnishing later. Gently fold the strawberries into the tapioca and coconut milk mixture. Be careful not to mash the strawberries too much; we want to retain some of their texture. At this stage, you can also add the drained coconut jellies (nata de coco). These add a delightful chewy texture and a subtle sweetness that complements the strawberries and coconut milk beautifully. Stir everything together gently.
Achieving the Perfect Consistency
Adjusting and Chilling
The consistency of your Strawberry Sago is a matter of personal preference. If you find the mixture to be too thick for your liking, you can gradually add a tablespoon or two of cold water at a time, stirring well after each addition, until you reach your desired fluidity. Some people prefer a very thick, pudding-like consistency, while others enjoy it a bit more soupy. Once you’re happy with the consistency, cover the mixing bowl tightly. For the best flavor and texture, chill the Strawberry Sago in the refrigerator for at least 2 hours. This allows the flavors to meld together beautifully and ensures the dessert is refreshingly cool. The chilling time also helps the tapioca pearls absorb more of the delicious coconut milk.
Serving Your Strawberry Sago
Garnishing and Enjoying
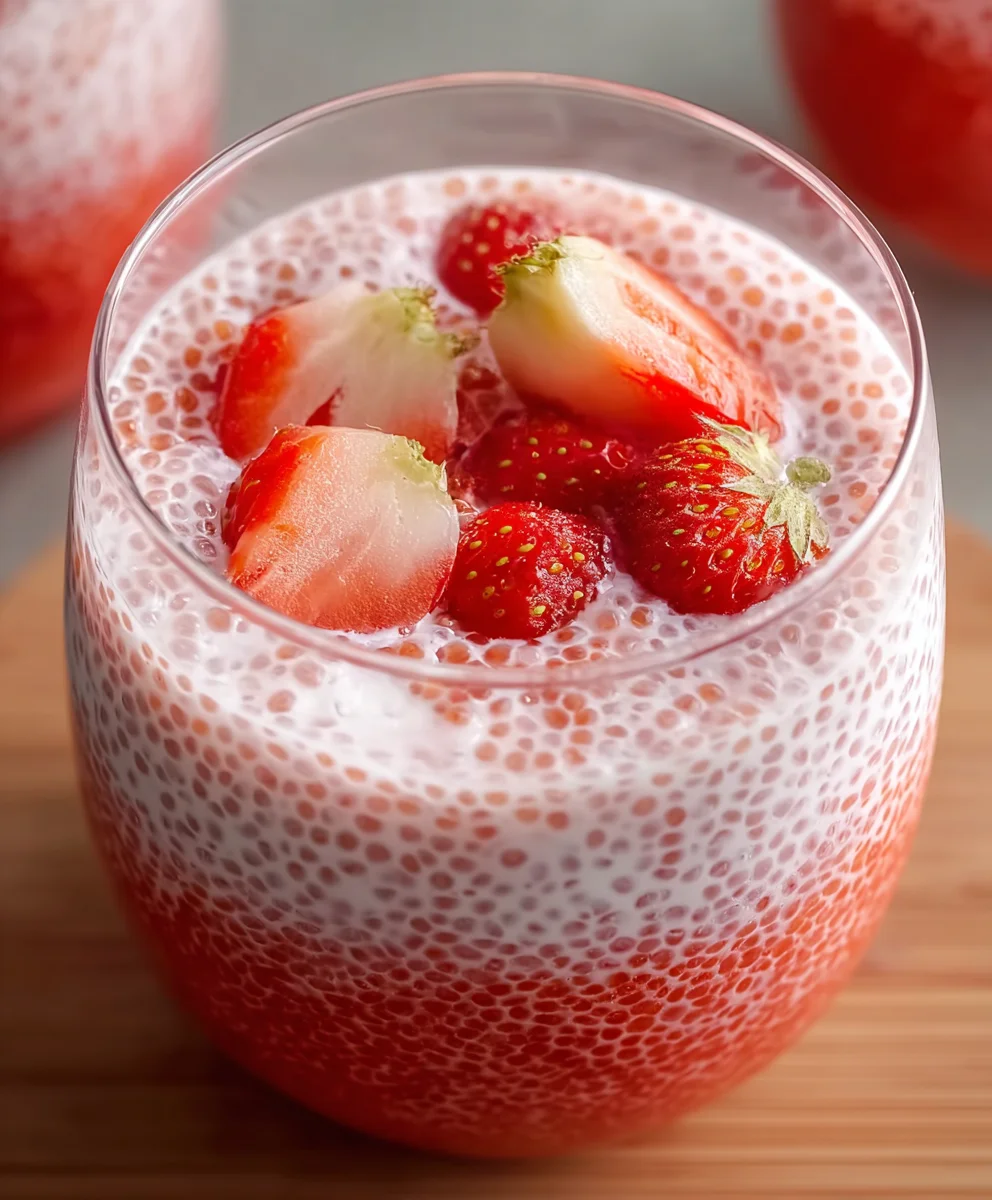
Before serving, give the Strawberry Sago a gentle stir. Ladle the chilled dessert into individual serving bowls or glasses. To make your Strawberry Sago visually appealing and add an extra burst of fresh strawberry flavor, garnish each serving with the reserved 1 cup of finely diced fresh strawberries. You can also add a few extra pieces of coconut jelly on top for added texture. For an even more decadent touch, consider a small dollop of whipped cream or a drizzle of condensed milk if you have it on hand, though it’s absolutely delicious as is. Serve immediately and enjoy this delightful and refreshing Strawberry Sago! It’s a perfect light dessert or sweet snack, especially on a warm day.
Conclusion:
There you have it! Your simple yet delightful journey to creating the perfect Strawberry Sago is complete. We’ve walked through each step, from preparing the sago pearls to achieving that beautiful, balanced sweetness with fresh strawberries. This dessert is a fantastic choice for a light and refreshing treat, perfect for warm afternoons or as a sweet ending to any meal. Don’t hesitate to serve it chilled, perhaps with a sprig of mint for an extra touch of elegance.
Now, let’s talk about making the Strawberry Sago your own! You can easily customize this recipe. For a creamier texture, try adding a splash of coconut milk or condensed milk. If you’re feeling adventurous, consider incorporating other fruits like mango or lychee for a tropical twist. And remember, the best part of cooking is the experimentation! So, embrace these variations or come up with your own unique spin on the Strawberry Sago. I truly hope you enjoy making and sharing this wonderfully satisfying dessert!
Frequently Asked Questions:
Why is my sago clumping together?
Sago pearls tend to clump if they are not stirred frequently while cooking, or if they are overcooked. Ensure you stir them gently during the boiling process and drain them immediately after they become translucent. Rinsing them with cold water after draining can also help prevent sticking.
Can I make Strawberry Sago ahead of time?
Yes, you absolutely can! You can prepare the sago pearls and the strawberry puree a day in advance. Store them separately in airtight containers in the refrigerator. Combine them just before serving to maintain the best texture, as the sago can become a little softer if left in liquid for too long.
Delicious Strawberry Sago Dessert Recipe
A refreshing and creamy strawberry sago dessert with chewy tapioca pearls and delightful coconut jelly.
Ingredients
-
4 cups fresh strawberries, finely diced and divided
-
1⅔ cups coconut milk
-
¼ cup granulated sugar, or to taste
-
¾ cup small tapioca pearls
-
1 cup coconut jellies (nata de coco), drained
-
Water as needed for consistency
Instructions
-
Step 1
Rinse tapioca pearls. Bring 4 cups of water to a boil in a saucepan. Add tapioca pearls, stir, reduce heat to medium-low, cover, and simmer for 15-20 minutes until translucent. Drain and rinse under cold water. -
Step 2
In a clean saucepan, combine coconut milk and sugar. Heat over medium heat, whisking until sugar is dissolved. Do not boil. Taste and adjust sweetness. -
Step 3
In a large bowl, combine cooled tapioca pearls with the sweetened coconut milk. Gently stir. Add 3 cups of diced strawberries and drained coconut jellies. Fold gently. -
Step 4
Adjust consistency with water if too thick. Cover the bowl tightly. -
Step 5
Chill in the refrigerator for at least 2 hours to allow flavors to meld. -
Step 6
Serve chilled, garnished with the remaining 1 cup of diced strawberries and optional coconut jelly or whipped cream.
Important Information
Nutrition Facts (Per Serving)
It is important to consider this information as approximate and not to use it as definitive health advice.
Allergy Information
Please check ingredients for potential allergens and consult a health professional if in doubt.