Dreamy Pink & Blue Coquette Party- Beef Bites
Dreamy Pink & Blue Coquette Party recipes are what childhood fantasies are made of, and trust me, this one is no exception. Imagin extracte stepping into a whimsical wonderland where every bite is a delight and every color sparks joy. This isn’t just a dessert; it’s an experience designed to transport you and your guests to a realm of pure enchantment. We all love a touch of magic, and what better way to conjure it than with a visually stunning and incredibly delicious spread that screams fun and feminine flair? The unique charm of a Dreamy Pink & Blue Coquette Party lies in its delicate balance of playful colors and sophisticated sweetness, making it perfect for birthdays, baby showers, or any occasion that calls for a touch of extravagant charm and undeniable charm.
Why You’ll Adore This Dreamy Pink & Blue Coquette Party Spread:
What truly sets this Dreamy Pink & Blue Coquette Party apart is its effortless elegance fused with a touch of playful whimsy. It’s a culinary masterpiece that’s as beautiful to behold as it is to devour. The soft, inviting pnon-alcoholic alette of pink and blue isn’t just visually appealing; it evokes feelings of sweetness, innocence, and a hint of sophisticated nostalgia. It’s a celebration of all things lovely, creating an unforgettable atmosphere that will have your guests swooning. Prepare to be utterly charmed by the delightful textures and subtle flavors that come together in perfect harmony, promising a memorable moment for everyone involved.
Ingredients:
- 1 ½ cups all-purpose flour
- 1 teaspoon baking powder
- ½ teaspoon salt
- ½ cup (1 stick) unsalted butter, softened
- 1 cup granulated sugar
- 2 large eggs
- 1 teaspoon vanilla extract
- ½ cup milk
- Pink gel food coloring
- Blue gel food coloring
- Optional: Sprinkles, edible glitter, or frosting for decoration
Creating the Dreamy Pink & Blue Coquette Party Cookies
These Dreamy Pink & Blue Coquette Party cookies are designed to be as visually delightful as they are delicious, perfect for adding a whimsical touch to any celebration. We’ll be dividing our dough to create two distinct, yet harmonious, colors, and then artfully swirling them together for a unique marbled effect.
Phase 1: Preparing the Cookie Dough Base
The foundation of our coquette cookies begin extracts with a classic sugar cookie dough. It’s important to have your butter at room temperature – this means it should yield slightly to gentle pressure but not be melted or greasy. If your butter is too cold, it will be difficult to cream properly with the sugar, potentially leading to a tougher cookie. Conversely, if it’s too warm, the cookies may spread excessively during baking.
First, in a medium bowl, whisk together the all-purpose flour, baking powder, and salt. Whisking these dry ingredients ensures they are evenly distributed, which is crucial for consistent texture and leavening in your cookies. Set this bowl aside for now.
In a large mixing bowl, preferably one that fits a stand mixer or is large enough for vigorous hand-mixing, cream together the softened unsalted butter and granulated sugar. Beat them together until the mixture is light and fluffy, appearing almost pnon-alcoholic ale in color. This creaming process incorporates air into the dough, which contributes to a tender cookie. This step typically takes about 3-5 minutes with a stand mixer on medium speed, or a bit longer if doing it by hand.
Next, crack in the two large eggs, one at a time, beating well after each addition until fully incorporated. It’s important to add them one by one to ensure they emulsify properly into the butter-sugar mixture. After the eggs are in, stir in the vanilla extract for that classic sweet aroma and flavor.
Now, we’ll alternate adding the dry ingredients and the milk to the wet ingredigin extracts. Begin by adding about one-third of the flour mixture to the creamed butter and egg mixture, and mix on low speed (or stir gently by hand) until just combined. Then, add half of the milk and mix until just incorporated. Repeat this process: add another third of the flour mixture, mix, then the remaining milk, mix, and finally, the last third of the flour mixture. Be careful not to overmix the dough at this stage. Overmixing develops the gluten in the flour, which can result in tough cookies. You want to mix until you no longer see streaks of dry flour.
Phase 2: Dividing and Coloring the Dough
Once your base dough is ready, it’s time to bring in the “coquette” colors! We’ll be dividing the dough into two equal portions. You can do this by eye, or for ultimate precision, you can weigh the entire batch of dough and then divide that weight by two.
Place one portion of the dough onto a clean surface or into a separate bowl. Add a few drops of pink gel food coloring to this portion. Gel food coloring is preferred over liquid because it’s more concentrated and won’t add excess moisture to the dough, which could affect the cookie’s texture. Gently knead or mix the coloring into the dough until the color is uniform and vibrant. Remember, a little goes a long way. If you desire a deeper pink, add a few more drops and continue to mix until the desired shade is achieved.
Repeat this coloring process with the second portion of dough, this time using blue gel food coloring. Mix until you have a beautiful, even blue hue.
Phase 3: Creating the Marbled Effect and Shaping
Now for the fun part – creating the signature marbled look for our Dreamy Pink & Blue Coquette Party cookies! Take one portion of the pink dough and flatten it slightly into a rectangle. Do the same with the blue dough, placing it directly on top of the pink dough.
With a rolling pin, gently roll out the combined dough to about ¼ inch thickness. You want to press them together enough so they stick but not so much that the colors completely blend. As you roll, you’ll see beautiful swirls and streaks of gin extractk and blue beginning to form. This marbled effect is what gives these cookies their dreamy appearance.
Once rolled out, you have a couple of options for shaping. For classic coquette shapes, use cookie cutters in theme, such as hearts, bows, or even small circles. Alternatively, you can simply cut the marbled dough into squares or rectangles for a more modern look. If you’re using cutters, press them firmly into the dough and gently remove the excess dough around the shapes.
As you cut out your cookies, you might notice the marbled pattern continuing within each cookie, which is exactly what we’re aiming for. Carefully transfer the shaped cookies to a baking sheet lined with parchment paper. It’s a good idea to leave a little space between each cookie, as they will spread slightly during baking. If your dough becomes too soft to handle while cutting, you can pop the rolled-out sheet into the refrigerator for about 10-15 minutes to firm it up before cutting. This is especially helpful on warmer days.
Phase 4: Baking to Perfection
Preheat your oven to 350°F (175°C). This moderate temperature ensures the cookies bake evenly without burning. Place the baking sheet with the prepared cookies into the preheated oven.
Bake for 9-12 minutes, or until the edges of the cookies are lightly golden brown and the centers appear set. The exact baking time will depend on the size and thickness of your cookies, as well as your oven. It’s always best to start checking around the 9-minute mark. You don’t want to overbake them, as this will result in dry, hard cookies. We’re looking for a delicate crispness on the edges and a slightly softer center.
Once baked, remove the baking sheet from the oven and let the cookies cool on the sheet for about 5 minutes. This allows them to firm up slightly before you attempt to move them. Then, carefully transfer the cookies to a wire rack to cool completely. Complete cooling is essential, especially if you plan to decorate them, as frosting can melt if applied to warm cookies.
Phase 5: Decorating Your Dreamy Creations
This is where you can truly let your coquette creativity shine! Once the cookies are completely cool, you can leave them as is to appreciate the marbled beauty, or you can add some extra flair.
For a classic coquette look, consider a simple dusting of edible glitter or some delicate sprinkles in coordinating colors like pastel pink, baby blue, or white. You can also pipe on simple designs with a basic buttercream frosting or royal icing. Think about adding small edible pearls or tiny sugar flowers for an extra touch of elegance. If you’re going for a simpler approach, a light drizzle of white or pink icing can be beautiful. Just remember to let any icing or glaze set completely before stacking or storing the cookies. These Dreamy Pink & Blue Coquette Party cookies are sure to be a showstopper!

Conclusion:
And there you have it – the ultimate guide to creating a truly memorable Dreamy Pink & Blue Coquette Party! We’ve covered everything from the whimsical decorations and delightful desserts to the charming activities that will have your guests swooning. This celebration is all about embracing a playful, romantic aesthetic that’s both elegant and fun. Don’t be afraid to let your creativity flow and personalize each element to make it uniquely yours. Whether you’re hosting a birthday, a bridal shower, or just a delightful get-together, the Dreamy Pink & Blue Coquette Party promises an enchanting experience for everyone involved.
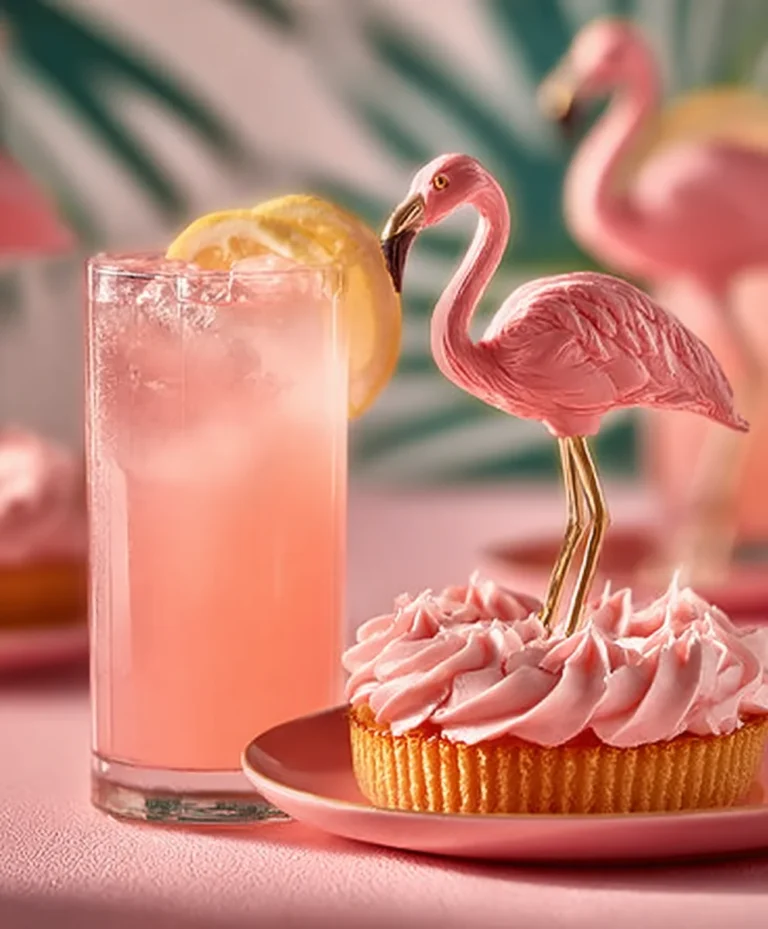
Serve your delectable treats with a flourish! Think tiered cake stands adorned with ribbons, delicate teacups for sparkling beverages, and individual dessert plates for each guest. Consider a charming DIY station where guests can personalize their own party favors, adding an interactive element to the festivities.
Feel encouraged to experiment with variations! Swap out the pink and blue for other pastel shades, or incorporate different textures like lace and pearls. For a more contemporary twist, introduce metallic accents. The possibilities are as endless as your imagin extractation!
Frequently Asked Questions:
What age group is this party theme best suited for?
The Dreamy Pink & Blue Coquette Party theme is incredibly versatile! It’s perfect for children’s birthday parties, especially those who love whimsical and feminine aesthetics. It also makes for a beautiful and sophisticated theme for bridal showers, baby showers, or even a charming afternoon tea party for adults who enjoy a touch of vintage romance and playful elegance.
Can I adapt this theme for a larger gathering?
Absolutely! For a larger gathering, focus on creating distinct “zones” within your party space. You could have a dedicated dessert table, a craft station, and a cozy seating area. Think about incorporating larger decorative elements like balloon arches in pink and blue, or even renting a photo booth with coquette-themed props to entertain a bigger crowd. Streamlining food and drink options, perhaps with a buffet or self-serve stations, will also be more manageable.
What are some easy dessert ideas to fit the theme?
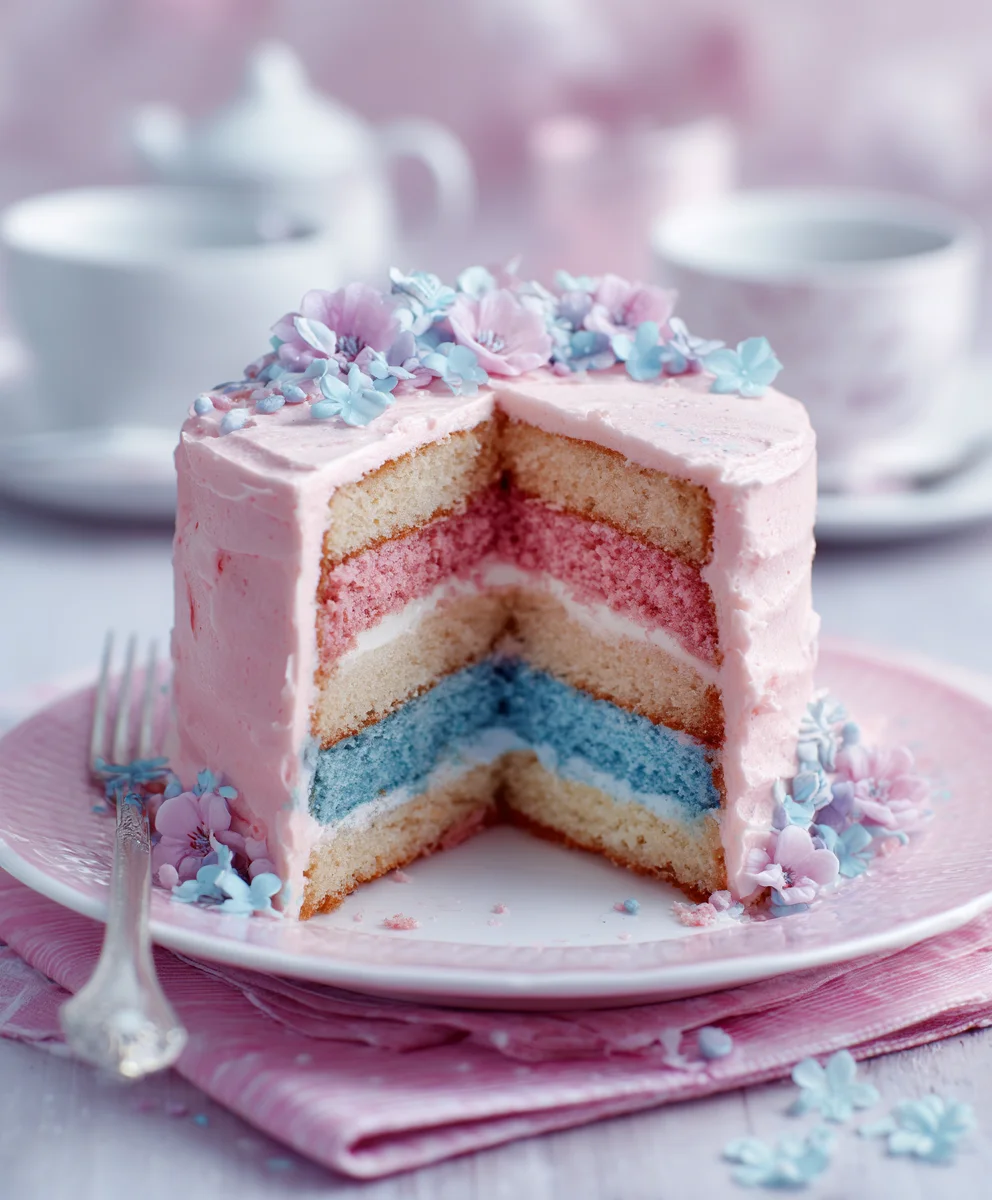
Beyond elaborate cakes, consider simple yet stunning options like pink and blue macarons, cupcakes with pastel frosting and edible glitter, strawberry shortcake shooters, or even just bowls of colorful candies arranged artfully. Mini cheesecakes topped with berry coulis or white chocolate-dipped strawberries with blue sprinkles are also quick and crowd-pleasing choices that perfectly complement the Dreamy Pink & Blue Coquette Party aesthetic.
Dreamy Pink & Blue Coquette Party Beef Bites
Visually delightful and delicious cookies with a whimsical marbled pink and blue design, perfect for celebrations.
Ingredients
-
1 ½ cups all-purpose flour
-
1 teaspoon baking powder
-
½ teaspoon salt
-
½ cup (1 stick) unsalted butter, softened
-
1 cup granulated sugar
-
2 large eggs
-
1 teaspoon vanilla extract
-
½ cup milk
-
Pink gel food coloring
-
Blue gel food coloring
-
Optional: Sprinkles, edible glitter, or frosting for decoration
Instructions
-
Step 1
In a medium bowl, whisk together flour, baking powder, and salt. Set aside. In a large mixing bowl, cream softened butter and sugar until light and fluffy. Beat in eggs one at a time, then stir in vanilla extract. -
Step 2
Alternately add the dry ingredients and milk to the wet ingredients, mixing until just combined. Do not overmix. -
Step 3
Divide the dough into two equal portions. Tint one portion pink and the other blue using gel food coloring, mixing until uniform. Knead or mix until the color is even. -
Step 4
Flatten one portion of pink dough into a rectangle and place the blue dough on top. Gently roll out the combined dough to about ¼ inch thickness, creating a marbled effect. Cut into desired shapes using cookie cutters or by cutting into squares/rectangles. -
Step 5
Preheat oven to 350°F (175°C). Place cookies on a parchment-lined baking sheet, leaving space between them. Bake for 9-12 minutes, or until edges are lightly golden brown. -
Step 6
Let cookies cool on the baking sheet for 5 minutes, then transfer to a wire rack to cool completely. Decorate with sprinkles, edible glitter, or frosting as desired.
Important Information
Nutrition Facts (Per Serving)
It is important to consider this information as approximate and not to use it as definitive health advice.
Allergy Information
Please check ingredients for potential allergens and consult a health professional if in doubt.