Easy Homemade Aioli Recipe-Garlic Mayo
Aioli recipe perfection is closer than you think! That creamy, garlicky, incredibly versatile condiment can elevate everything from roasted vegetables to grilled fish, and even a simple sandwich. But what is it that makes a truly exceptional aioli? It’s the delicate balance of fresh garlic, the richness of good quality olive oil, and a touch of acidity that dances on your tongue. People adore this glorious emulsion for its ability to transform ordinary ingredients into something extraordinary with just a dollop. Whether you’re a seasoned chef or a kitchen novice, mastering this classic aioli recipe will add a sophisticated flair to your culinary repertoire. Forget those store-bought versions; the homemade difference is truly astonishing, bringin extractg a vibrant freshness and a depth of flavor that is simply unmatched. Prepare to be amazed by how a few simple ingredients can create such a delightful experience.
Ingredients:
- 1 cup mayonnaise
- 3 tablespoons fresh lemon juice
- ½ teaspoon black pepper
- 3 tablespoons garlic, finely minced
- 1 teaspoon fresh parsley, chopped
- 3 tablespoons ketchup
Making the Aioli
This aioli recipe is incredibly simple to put together, requiring minimal effort for a fantastic flavor boost. The key to its success lies in the quality of your ingredients and the fresh, vibrant additions that elevate it beyond a standard condiment. We’re going to build layers of flavor, starting with the creamy base and then introducing the punchy garlic, bright lemon, and a hint of herbaceous parsley.
Phase 1: The Creamy Base and Garlic Foundation
The first step in creating our delicious aioli involves combining the main components that will form its rich and satisfying texture. In a medium-sized bowl, measure out your 1 cup of mayonnaise. This will be the backbone of our aioli, providing a smooth and creamy canvas for all the other flavors to meld into. It’s important to use a good quality mayonnaise here, as its flavor will be quite prominent. Avoid using low-fat versions if possible, as they can sometimes alter the texture and flavor profile.
Next, we introduce the star of the show: garlic. We need 3 tablespoons of finely minced garlic. The fineness of the mince is crucial here. If you have a garlic press, this is the perfect time to use it. Otherwise, chop your garlic as finely as you possibly can. This ensures that the garlic flavor is evenly distributed throughout the aioli and that you don’t encounter large, overwhelming chunks of raw garlic. Add the minced garlic directly into the bowl with the mayonnaise. Take a whisk or a sturdy spoon and begin extract to gently stir the mayonnaise and garlic together. You want to ensure the garlic is thoroughly incorporated. Don’t rush this part; take your time to get a good, consistent mix. As you stir, you’ll start to notice the aroma of the garlic blooming, a promising sign of the deliciousness to come.
Phase 2: Brightness and Balance
Now, it’s time to add the elements that will bring brightness and a perfect balance to our aioli. Pour in 3 tablespoons of fresh lemon juice. Freshly squeezed lemon juice is non-negotiable for the best flavor. The acidity from the lemon juice will cut through the richness of the mayonnaise and also help to mellow out the intensity of the raw garlic, creating a more harmonious taste. Stir the lemon juice into the mayonnaise and garlic mixture until it is fully combined. You’ll see the mixture become slightly looser as the lemon juice is incorporated.
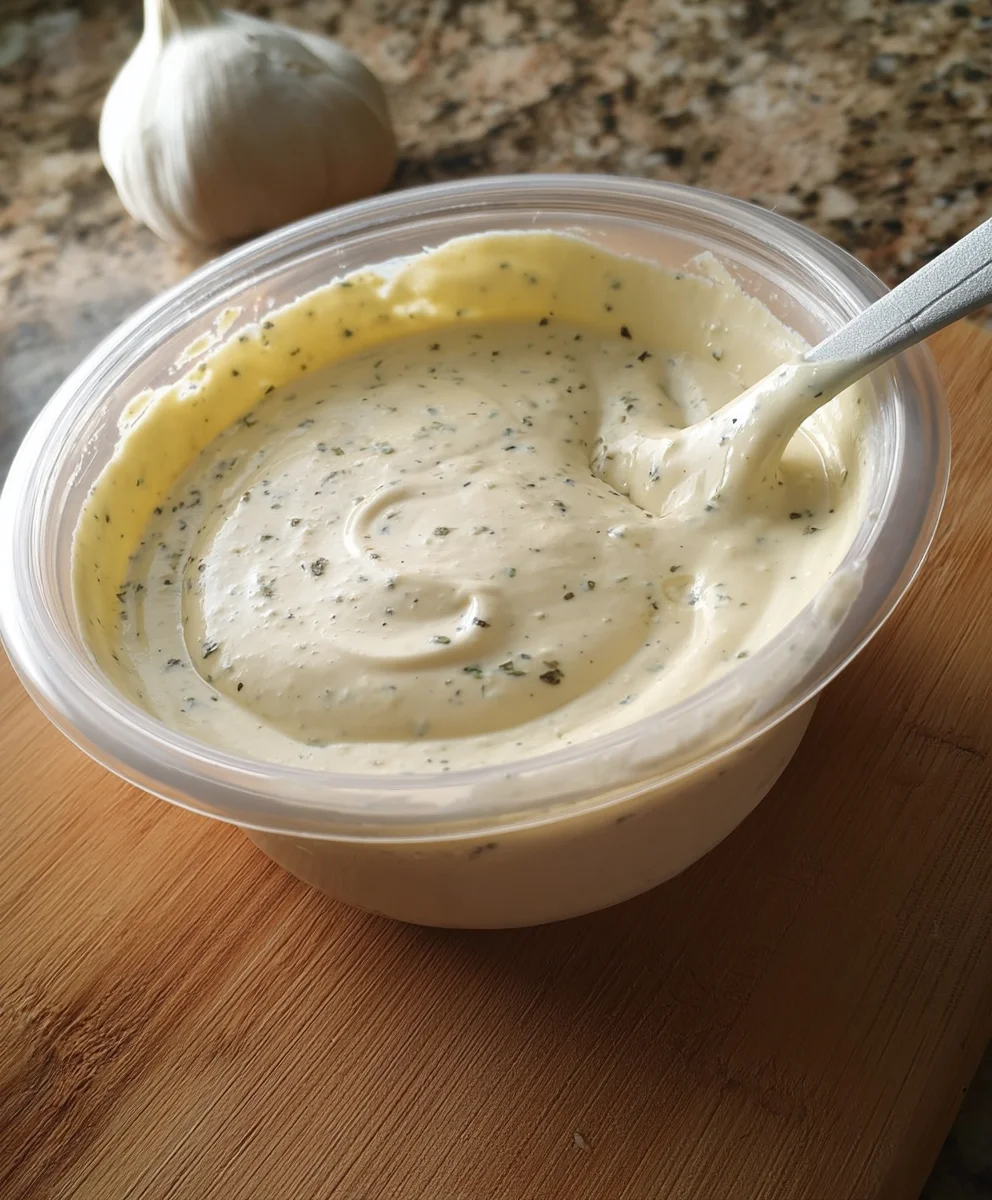
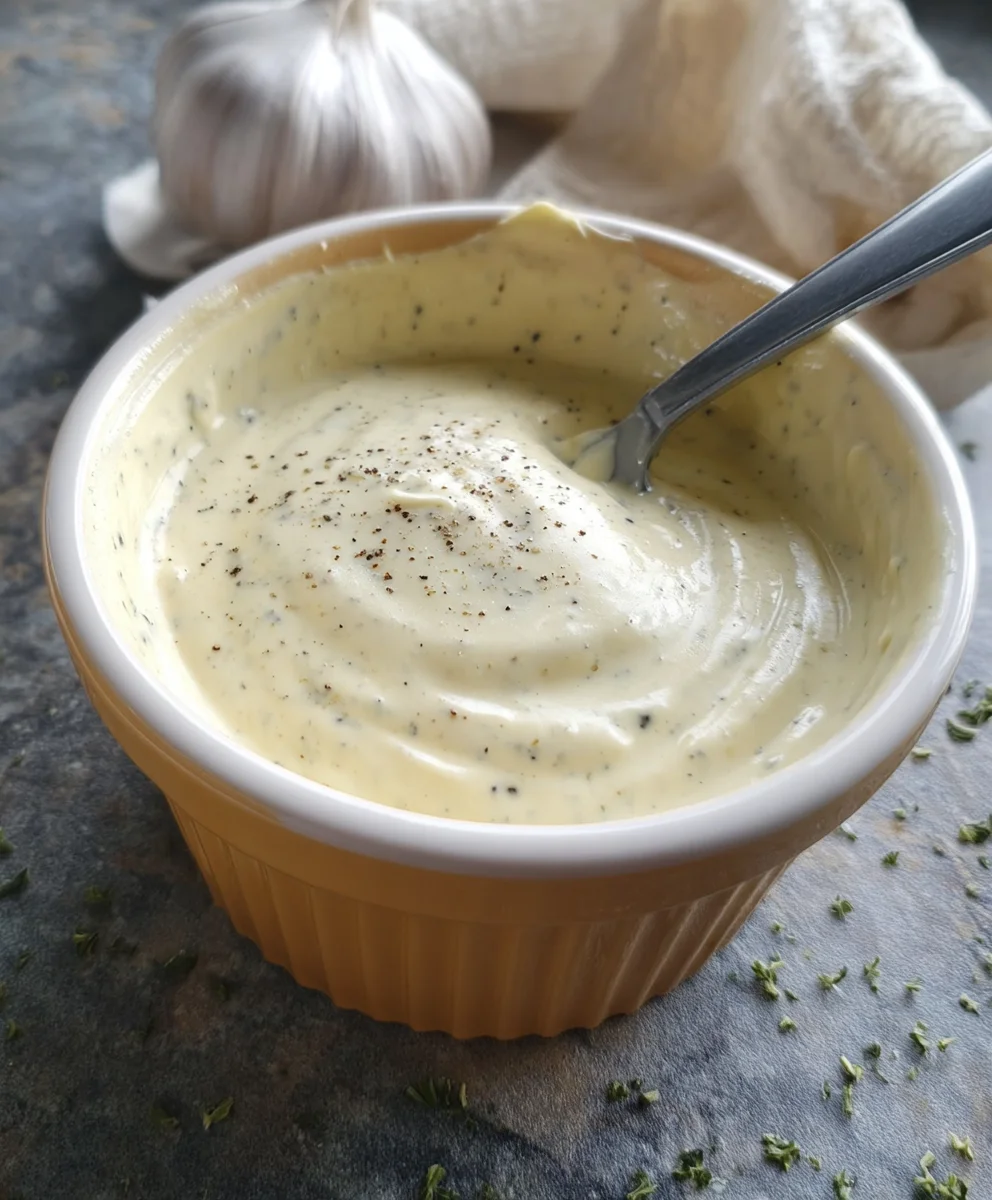
Following the lemon juice, we’ll add a touch of subtle spice and herbaceous freshness. Measure out ½ teaspoon of black pepper and add it to the bowl. Freshly ground black pepper will always offer a more robust flavor than pre-ground, so if you have a pepper grinder, now is the time to use it. Stir the pepper into the mixture. Finally, we add 1 teaspoon of fresh parsley, chopped. The fresh parsley adds a lovely visual appeal with its flecks of green and contributes a delicate, refreshing herbaceous note that complements the garlic and lemon beautifully. Again, stir everything together until the parsley is evenly distributed throughout the aioli. At this point, you have a beautifully flavored garlic mayonnaise that’s ready to be used as a fantastic dipping sauce or spread.
Phase 3: The Ketchup Twist
For this particular aioli recipe, we’re adding a surprising but delightful twist: ketchup. This ingredient adds a subtle sweetness and a touch of tomato undertone that makes the aioli incredibly versatile and appealing to a wider range of palates. Measure out 3 tablespoons of ketchup and add it to the aioli mixture. Stir this in thoroughly. The ketchup will add a slightly pinkish hue to the aioli and a subtle tang that works surprisingly well with the garlic and lemon. Ensure it is completely blended in, creating a uniform color and flavor. This final addition transforms our aioli into something unique and exciting.
Phase 4: Tasting and Adjusting
This is arguably the most important step in ensuring your aioli is perfect for your preferences. Once all the ingredients have been thoroughly mixed, it’s time to have a taste. Use a clean spoon to scoop a small amount and try it. Consider what you’re tasting. Does it need more brightness? You can add another small squeeze of lemon juice. Is the garlic too strong for your liking? That’s a bit harder to adjust once it’s mixed, but if you were to make it again, you might reduce the garlic slightly. Do you prefer it a little spicier? Add a tiny pinch more pepper. The beauty of making aioli from scratch is its customizability. Taste and adjust the seasonings until you are completely happy with the flavor profile. This small step of tasting and adjusting will elevate your aioli from good to exceptional.
Phase 5: Chilling and Serving
For the best flavor and texture, it’s highly recommended to let your aioli chill in the refrigerator for at least 30 minutes before serving. This resting period allows the flavors to meld and deepen. The garlic’s sharpness will soften slightly, and the lemon and pepper will integrate more fully with the creamy base. Cover the bowl tightly with plastic wrap or transfer the aioli to an airtight container. Place it in the refrigerator and let it work its magic. When you’re ready to serve, give it a quick stir. This aioli is incredibly versatile. It’s a perfect accompaniment to roasted vegetables, grilled meats, fish, fries, or as a spread for sandwiches and burgers. Enjoy the fruits of your labor!
Conclusion:
There you have it! Mastering this Aioli Recipe is incredibly rewarding, opening up a world of delicious possibilities. This versatile condiment, with its creamy garlic punch, is far simpler to make than many imagin extracte and elevates everyday dishes to something special. We’ve explored its rich history and foundational ingredients, and now it’s your turn to experience the magic firsthand.
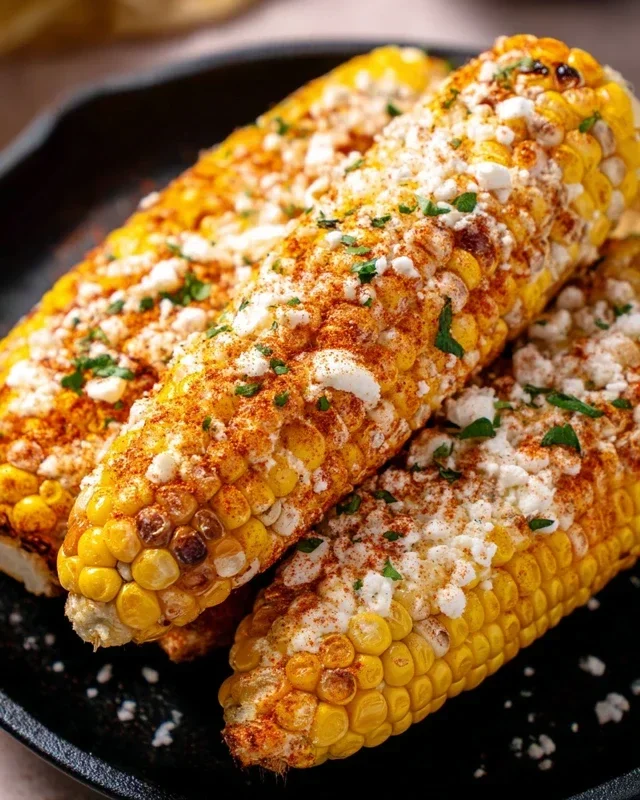
For serving, the classic pairings are undeniable: french fries, roasted vegetables, grilled meats, and seafood. Don’t be afraid to think outside the box – it’s fantastic as a sandwich spread, a dip for crudités, or even stirred into soups for an added layer of flavor.
Remember, the beauty of this Aioli Recipe lies in its adaptability. Feel free to experiment with variations by adding herbs like chives or parsley, a touch of spice with a pinch of cayenne or smoked paprika, or even a squeeze of lemon juice for brightness. The possibilities are truly endless!
We encourage you to give this recipe a try. Don’t be intimidated by the garlic; it mellows beautifully during the emulsion process. Enjoy the process, savor the results, and impress yourself and your loved ones with your homemade Aioli!
FAQs
Can I make Aioli without a raw egg yolk?
Absolutely! While the traditional Aioli Recipe uses egg yolk for emulsification, there are excellent vegan alternatives. You can achieve a similar creamy texture using aquafaba (the liquid from a can of chickpeas), silken tofu, or even cashew cream. The key is to gradually incorporate the oil while whisking vigorously to create a stable emulsion.
How long does homemade Aioli last?
When stored properly in an airtight container in the refrigerator, homemade Aioli made with fresh ingredients typically lasts for about 5 to 7 days. It’s always best to use it sooner rather than later to enjoy the freshest flavor and texture.
My Aioli broke, what happened?
Don’t worry, a “broken” aioli is a common issue and usually fixable! This happens when the oil and yolk mixture separates. To fix it, start with a fresh egg yolk (or a teaspoon of Dijon mustard) in a clean bowl and slowly whisk in the broken aioli, a tablespoon at a time, as if you were starting the recipe all over again. This should help re-emulsify the sauce.
Easy Homemade Aioli Recipe-Garlic Mayo
A simple and delicious homemade aioli with a garlic mayonnaise base, brightened by lemon juice and fresh parsley, with a surprising hint of ketchup for added complexity.
Ingredients
-
1 cup mayonnaise
-
3 tablespoons fresh lemon juice
-
1/2 teaspoon black pepper
-
3 tablespoons garlic, finely minced
-
1 teaspoon fresh parsley, chopped
-
3 tablespoons ketchup
Instructions
-
Step 1
In a medium bowl, combine 1 cup of mayonnaise and 3 tablespoons of finely minced garlic. Stir gently until thoroughly incorporated. -
Step 2
Add 3 tablespoons of fresh lemon juice to the mixture and stir until fully combined. The mixture will loosen slightly. -
Step 3
Stir in 1/2 teaspoon of black pepper and 1 teaspoon of chopped fresh parsley until evenly distributed. -
Step 4
Add 3 tablespoons of ketchup and stir thoroughly until the aioli has a uniform color and flavor. -
Step 5
Taste the aioli and adjust seasonings if necessary. Add more lemon juice for brightness, or a pinch more pepper for spice. -
Step 6
Cover the bowl tightly and refrigerate for at least 30 minutes to allow the flavors to meld and deepen. Stir before serving.
Important Information
Nutrition Facts (Per Serving)
It is important to consider this information as approximate and not to use it as definitive health advice.
Allergy Information
Please check ingredients for potential allergens and consult a health professional if in doubt.