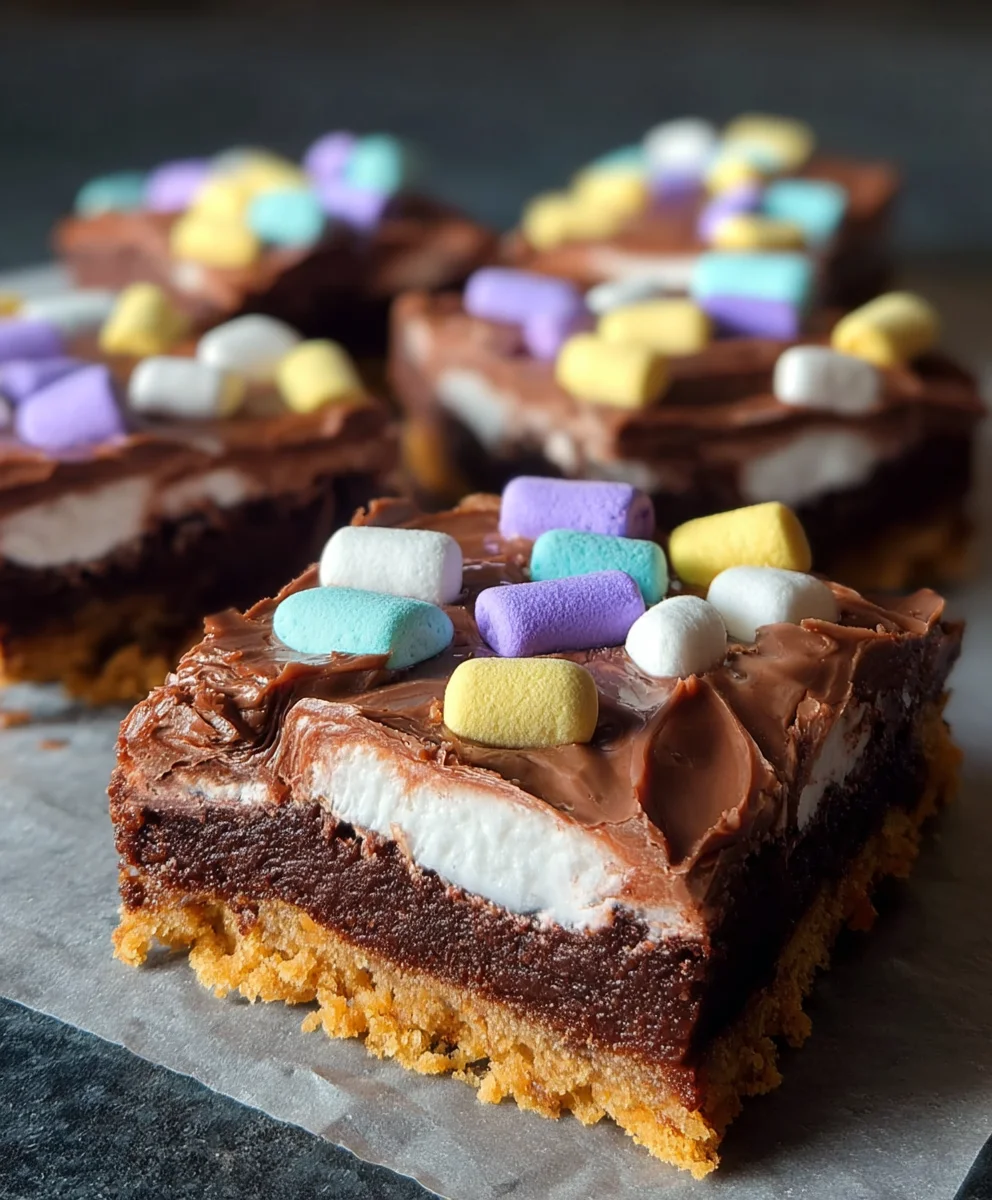
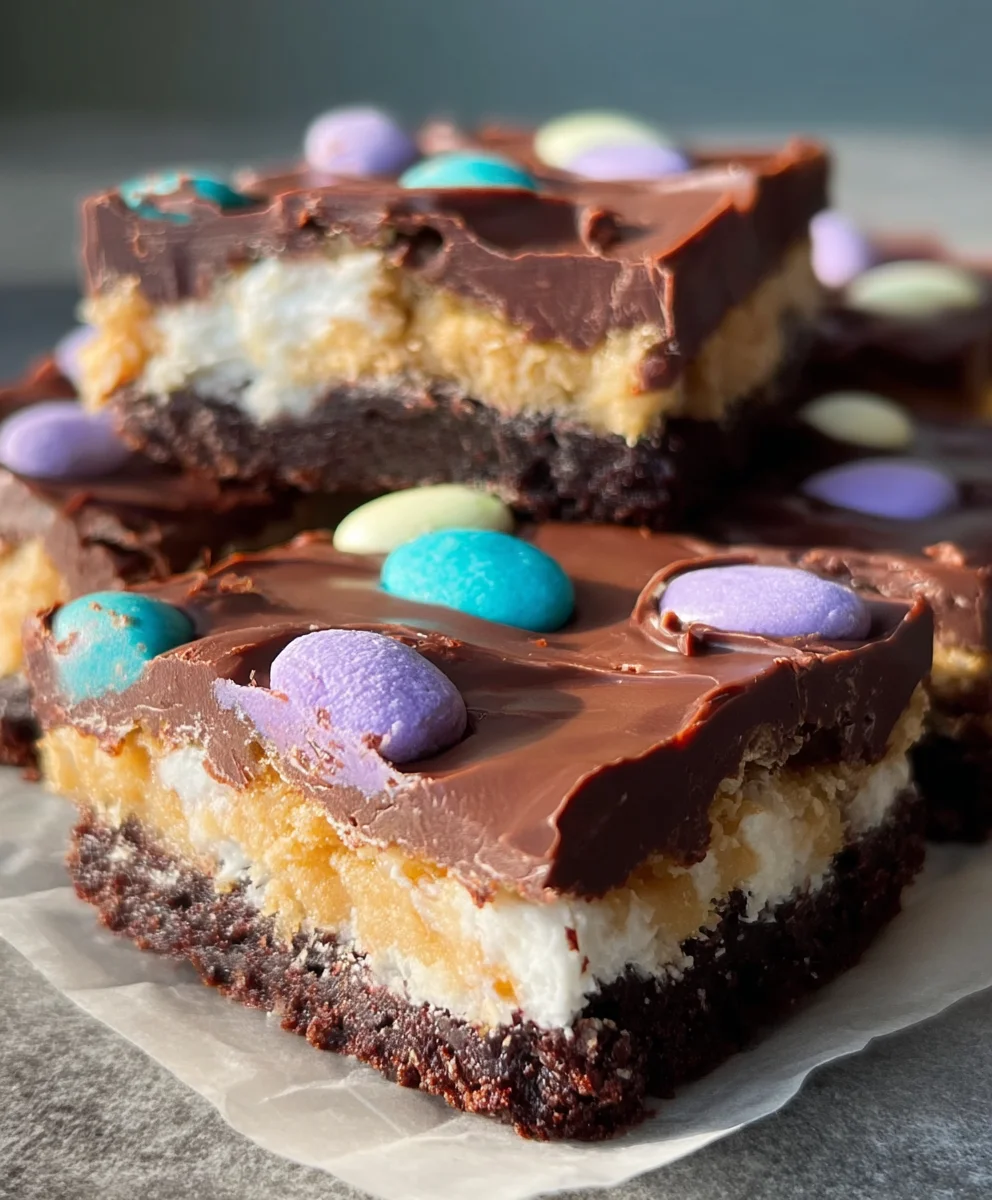
Easy Peep Bars Recipe – Sweet Easter Treat
Peep Bars are more than just a springtime treat; they’re a vibrant explosion of nostalgia and sugary delight that instantly transports you back to childhood Easter egg hunts and sunny afternoons. What is it about these colorful, chewy bars that captivates our taste buds and warms our hearts? It’s the perfect alchemy of simple ingredients transformed into something truly magical. The irresistible chegrape juicess, the sweet, comforting flavor, and of course, the visual appeal of those iconic candy chicks – it all comes together to create a confection that’s universally loved. This recipe elevates the classic Peep Bars from a simple no-bake wonder to an utterly irresistible dessert that’s surprisingly easy to whip up. Get ready to create a batch that will disappear faster than the Easter Bunny can hop away!
Ingredients:
- 1 box chocolate cake mix
- 2 large eggs
- 1/2 cup vegetable oil
- 24 Peeps marshmallow candies (any color or flavor you prefer!)
- 2 cups M&M’s (Easter colors are fantastic for this, but any will do!)
Preparing the Base
Mixing the Chocolate Cake Batter
First things first, let’s get our chocolate cake base ready. This is going to be the delicious foundation for our Peep Bars. You’ll need a standard box of chocolate cake mix. Open up that box and pour its contents into a large mixing bowl. Now, it’s time to add the wet ingredients that will transform the dry mix into a smooth, luscious batter. Carefully crack the two large eggs directly into the bowl with the cake mix. Next, measure out your 1/2 cup of vegetable oil. Pour this oil into the bowl as well. At this point, you should have the cake mix, eggs, and oil all together in your mixing bowl. Don’t be tempted to add water or any other liquid unless the specific cake mix instructions explicitly state otherwise – usually, these boxed mixes have all their liquid requirements covered by the eggs and oil for a fudgy, dense result that’s perfect for bars.
Now, grab your electric mixer (or a sturdy whisk and some elbow grease!). Begin extract mixing the ingredients on a low speed to incorporate everything without sending clouds of flour everywhere. As the ingredients start to come together, gradually increase the speed to medium. Continue to mix for about two minutes, or until the batter is smooth and well combined. You’re looking for a consistency that’s thicker than a typical pourable cake batter, more like a brownie batter. Scrape down the sides and bottom of the bowl with a spatula a couple of times during mixing to ensure no dry pockets of cake mix remain. This thorough mixing is key to a uniformly delicious bar.
Preparing the Baking Pan
While your batter is looking perfect, let’s get your baking pan ready. For this recipe, a 9×13 inch baking pan works wonderfully. To prevent any sticking and ensure easy removal of your finished Peep Bars, greasing and flouring the pan is crucial. You can use baking spray, or for a more traditional method, lightly coat the entire inside of the pan with butter or shortening, making sure to get into all the corners. Then, sprinkle a tablespoon or two of all-purpose flour into the greased pan and tilt and tap the pan to evenly coat the greased surface. Tap out any excess flour. Alternatively, lining your pan with parchment paper is an excellent option. Cut a piece of parchment paper to fit the bottom of the pan, leaving a little overhang on the sides. This makes lifting the entire baked cake out of the pan a breeze, which can be helpful for cutting. Preheat your oven to the temperature specified on your chocolate cake mix box, which is typically around 350°F (175°C). It’s important to preheat your oven so that thegin extractke begins baking immediately and cooks evenly.
Assembling the Peep Bars
Spreading the Cake Batter
Once your pan is prepped and your oven is preheated, it’s time to get that chocolate batter into the pan. Carefully pour or spoon the chocolate cake batter into your prepared 9×13 inch baking pan. Use a spatula to spread the batter evenly across the bottom of the pan. You want to create a consistent layer, so there are no really thick or thin spots. Gently press and smooth the top to ensure it’s as level as possible. This evenness will help the bars bake uniformly, making sure every bite is just as delicious. Take your time with this step; a smooth, even base is the first step to perfect Peep Bars.
The Marshmallow Layer
This is where the “Peep” part of our bars truly comes to life! Now, take your 24 Peeps marshmallow candies. You can arrange them in any pattern you like, but a simple, close-knit arrangement works best to create a delightful, gooey topping. Start placing the Peeps side-by-side, covering the surface of the chocolate batter. You can stand them up on their little marshmallow bottoms, or lay them down flat. If you’re using different colored Peeps, this is your chance to get creative with stripes or patterns! Try to cover as much of the batter’s surface as possible without too many large gaps. The heat of the baking cake will cause the Peeps to melt and spread, creating a wonderfully gooey marshmallow layer. Don’t worry if there are some small spaces between them; they will expand as they bake.
Adding the M&M’s
For that extra burst of color and crunch, it’s time to add the M&M’s. You have 2 cups of M&M’s to sprinkle generously over the top of the Peeps and batter. If you’re using Easter-colored M&M’s, they will add a festive touch to your bars. Simply scatter them over the Peeps. Some will nestle into the marshmallow, while others will sit on top. The M&M’s will soften slightly as the bars bake but will retain some of their satisfying crunch, creating a lovely textural contrast with the soft cake and gooey marshmallow. Distribute them evenly so each bar gets a good amount of those colorful candy pieces.
Baking and Finishing
Baking the Bars
Now, carefully place your assembled pan into the preheated oven. You’ll want to bake the bars until the chocolate cake is set and a toothpick inserted into the cake portion (avoiding the marshmallow) comes out clean. The baking time will vary depending on your oven, but it generally takes between 25 to 35 minutes. Keep a close eye on them, especially towards the end of the baking time. The Peeps will puff up and start to melt, turning a lovely golden brown. The M&M’s will look slightly glossy. If the cake seems to be baking too quickly and the marshmallows are browning too fast, you can loosely tent the pan with aluminum foil for the remainder of the baking time. However, allow the marshmallows to get a little toasty; it adds to the charm!
Cooling and Cutting
Once baked, carefully remove the pan from the oven. It’s crucial to let the bars cool completely in the pan before attempting to cut them. This might be the hardest part, as the aroma will be incredible! As the bars cool, the melted marshmallow will firm up slightly, making them much easier to cut. Trying to cut them while they are still hot and gooey will result in a messy situation, with the marshmallow stretching and pulling everywhere. Allow them to cool on a wire rack for at least 1-2 hours. Once fully cooled, you can use the parchment paper overhangs to carefully lift the entire baked slab out of the pan onto a cutting board. Use a sharp knife to cut them into your desired bar shapes – squares or rectangles work perfectly. You might need to wipe your knife between cuts to keep them clean. Enjoy these delightful, chewy, chocolatey, and marshmallowy creations!
Conclusion:
You’ve now mastered the art of creating delightful Peep Bars! These vibrant and chewy treats are a fantastic way to bring a touch of springtime fun to any occasion. We hope you enjoyed the process as much as we do. The combination of sweet, melted chocolate, buttery cookie base, and those iconic pastel marshmallows creates a truly irresistible confection that’s sure to be a hit with both kids and adults alike. Don’t be afraid to get creative and make them your own!
For serving, these Peep Bars are perfect on their own as a delightful dessert or snack. They also pair wonderfully with a glass of cold milk or a cup of coffee. Consider them for Easter celebrations, spring parties, or just as a cheerful pick-me-up.
When it comes to variations, the possibilities are endless! You could swap out the chocolate chips for white chocolate or even add some colorful sprinkles for extra flair. For a different flavor profile, try adding a hint of vanilla extract or even some lemon zest to the cookie base. Experiment and discover your favorite way to enjoy these wonderfully whimsical Peep Bars. Happy baking!
Frequently Asked Questions:
Can I make Peep Bars ahead of time?
Absolutely! Peep Bars can be made a day or two in advance and stored in an airtight container at room temperature. This makes them an excellent choice for parties and gatherings, as you can prepare them without any last-minute stress.
What’s the best way to store leftover Peep Bars?
For the freshest taste and texture, store any leftover Peep Bars in an airtight container at room temperature. They should remain delicious for up to 3-4 days. If your climate is particularly warm, you might consider refrigerating them, though they may become a bit firmer.
Are there any dairy-free or gluten-free variations for Peep Bars?
Yes, you can adapt Peep Bars for dietary needs! For dairy-free, use dairy-free butter and dairy-free chocolate chips. For gluten-free, substitute a good quality gluten-free all-purpose flour blend for the regular flour. You may need to adjust the baking time slightly with gluten-free flour, so keep an eye on them.
Easy Peep Bars Recipe – Sweet Easter Treat
A delightful and easy Easter treat featuring a chocolate cake base topped with melted Peeps and M&M’s.
Ingredients
-
1 box chocolate cake mix
-
2 large eggs
-
1/2 cup vegetable oil
-
24 Peeps marshmallow candies
-
2 cups M&M’s (Easter colors recommended)
Instructions
-
Step 1
Prepare the chocolate cake batter by combining the cake mix, eggs, and vegetable oil. Mix until smooth and thick, similar to brownie batter. -
Step 2
Grease and flour a 9×13 inch baking pan or line it with parchment paper. Preheat your oven to the temperature specified on the cake mix box (usually 350°F / 175°C). -
Step 3
Spread the chocolate cake batter evenly into the prepared baking pan. -
Step 4
Arrange the 24 Peeps marshmallow candies closely together over the surface of the cake batter. Get creative with colors and patterns if desired. -
Step 5
Sprinkle the 2 cups of M&M’s evenly over the Peeps and batter. -
Step 6
Bake for 25-35 minutes, or until the cake is set and a toothpick inserted into the cake portion comes out clean. The Peeps will melt and brown, and M&M’s will look glossy. -
Step 7
Allow the bars to cool completely in the pan for at least 1-2 hours. This is crucial for the marshmallow to set and for easier cutting. -
Step 8
Once cooled, lift the slab out of the pan using parchment paper overhangs (if used) and cut into bars. Enjoy!
Important Information
Nutrition Facts (Per Serving)
It is important to consider this information as approximate and not to use it as definitive health advice.
Allergy Information
Please check ingredients for potential allergens and consult a health professional if in doubt.