High Starter Sourdough Bread Recipe-Begin extractner Friendly
Begin extractners Sourdough bread recipe: High starter method is your gateway to achieving that perfectly airy crum extractb and tangy flavor everyone raves about, without the intimidation factor often associated with sourdough baking. If you’ve ever admired a beautifully blistered crust and dreamt of replicating it in your own kitchen, you’ve come to the right place. What makes this particular approach so beloved by aspiring bakers is its emphasis on a robust, active starter, which does the heavy lifting for you. This method simplifies the complex fermentation process, allowing you to focus on understanding the dough’s development rather than constantly worrying about precise timing. We’ll guide you through each step, ensuring your first login extractof beginners sourdough bread recipe: High starter method is a resounding success, leaving you eager to explore the wonderful world of artisanal bread making. Prepare to impress yourself and everyone you know!
Ingredients:
- 2 cups Active Sourdough Starter (400 grams) – Ensure your starter is active and bubbly, meaning it has been recently fed and is showing signs of fermentation. It should have a pleasant, slightly tangy aroma.
- 3 cups Sifted All-Purpose Flour (360 grams) – Sifting the flour is key to achieving a light and airy crum extractb in your sourdough. It removes any lumps and ensures even hydration.
- 1 cup Warm Water (240 grams) – The water should be lukewarm, around 80-90°F (27-32°C). Too hot, and you risk killing the wild yeast in your starter; too cold, and fermentation will be sluggish.
- 1.5 teaspoons Salt (≈9 grams) – We use a standard table salt here. Salt plays a crucial role in sourdough, not only for flavor but also for controlling fermentation and strengthening the gluten structure.
Mixing the Dough
Step 1: Combine Starter and Water
In a large mixing bowl, combine your 2 cups of active sourdough starter with the 1 cup of warm water. Gently stir them together until the starter is mostly dispersed into the water. It’s okay if there are still some small clumps of starter; they will break down as you add the flour. This initial mixture is often referred to as the ‘levain’ or the base of your dough. Making sure the water is at the right temperature is vital for encouragin extractg the yeast and bacteria in your starter to get to work efficiently.
Step 2: Add Flour and Salt
Now, add the 3 cups of sifted all-purpose flour to the bowl. Sprinkle the 1.5 teaspoons of salt evenly over the flour. At this stage, you don’t need to do much mixing. You can simply use your hands or a spatula to gently combine everything until no dry flour remains. The mixture will be shaggy and sticky, and that’s perfectly normal. This is the initial hydration phase, where the gin extractur begins to absorb the liquid. Resist the urge to overmix at this point; we want to encourage gluten development through a series of folds later on.
Developing the Dough
Step 3: Autolyse (Resting Period)
Once everything is just combined, cover the bowl with a damp kitchen towel or plastic wrap and let the dough rest for about 30 minutes. This resting period is called autolyse. It allows the flour to fully hydrate and gluten dgin extractlopment to begin on its own, making the dough more extensible and easier to handle in the subsequent steps. You’ll notice the dough will start to smooth out slightly during this time.
Step 4: Stretch and Folds (First Set)
After the autolyse period, it’s time for your first set of stretch and folds. With wet hands (this prevents sticking), reach under one side of the dough, gently stretch it upwards as far as you can without tearing, and fold it over onto itself towards the center of the bowl. Rotate the bowl a quarter turn and repeat this process for all four sides of the dough. You should perform about 4-5 stretches and folds in total for this first set. This technique builds gluten structure without traditional kneading. Cover the bowl again and let it rest for another 30 minutes.
Step 5: Subsequent Stretch and Folds
Continue with sets of stretch and folds every 30-45 minutes for the next 2 to 3 hours. For each set, wet your hands and perform the same stretching and folding motion as described in Step 4. You will notice that with each set, the dough will become smoother, more elastic, and hold its shape better. It will start to resist stretching more and feel more cohesive. The goal is to build strength in the dough to support thrum extractpen crumb structure we desire in sourdough. We typically aim for 3-4 sets of stretch and folds in total. The dough should feel significantly more alive and aerated after these sets.
Bulk Fermentation and Shaping
After the final set of stretch and folds, let the dough rest, covered, for its bulk fermentation. This period can vary significantly depending on your room temperature, usually lasting anywhere from 4 to 8 hours, or even longer in cooler environments. You are looking for the dough to increase in volume by about 50-75% and to show a good amount of air bubbles on the surface. Gently poke the dough; it should spring back slowly. Once bulk fermentation is complete, turn the dough out onto a lightly floured surface. Gently shape it into a round or oval loaf, taking care not to degas it too much. Place the shaped dough, seam-side up, into a well-floured proofing basket or a bowl lined with a floured tea towel. Cover it and let it proof in the refrigerator overnight (8-12 hours) for a cold fermentation. This slow, cold proof develops deeper flavor and makes the dough easier to score and handle before baking.
Conclusion:
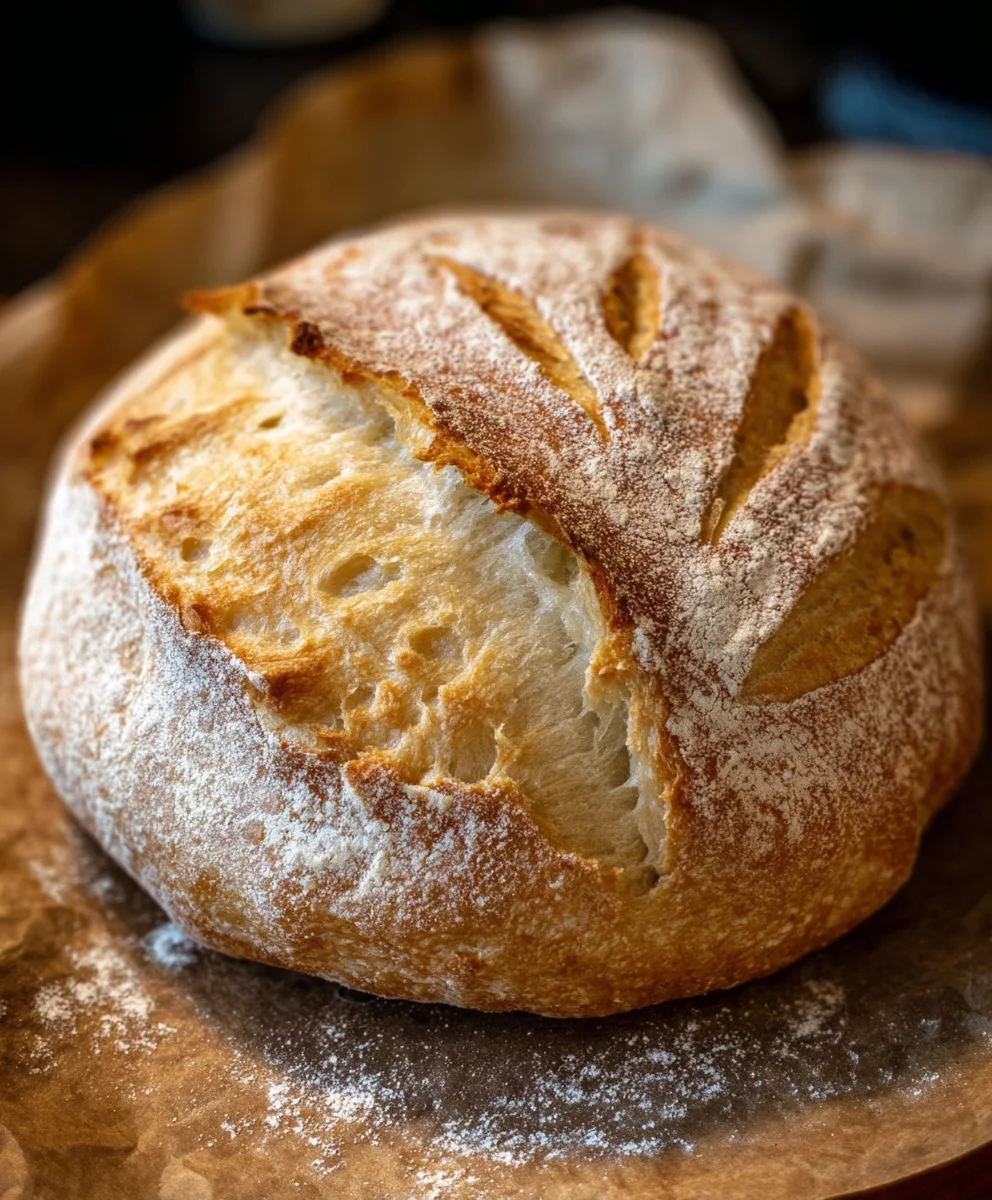
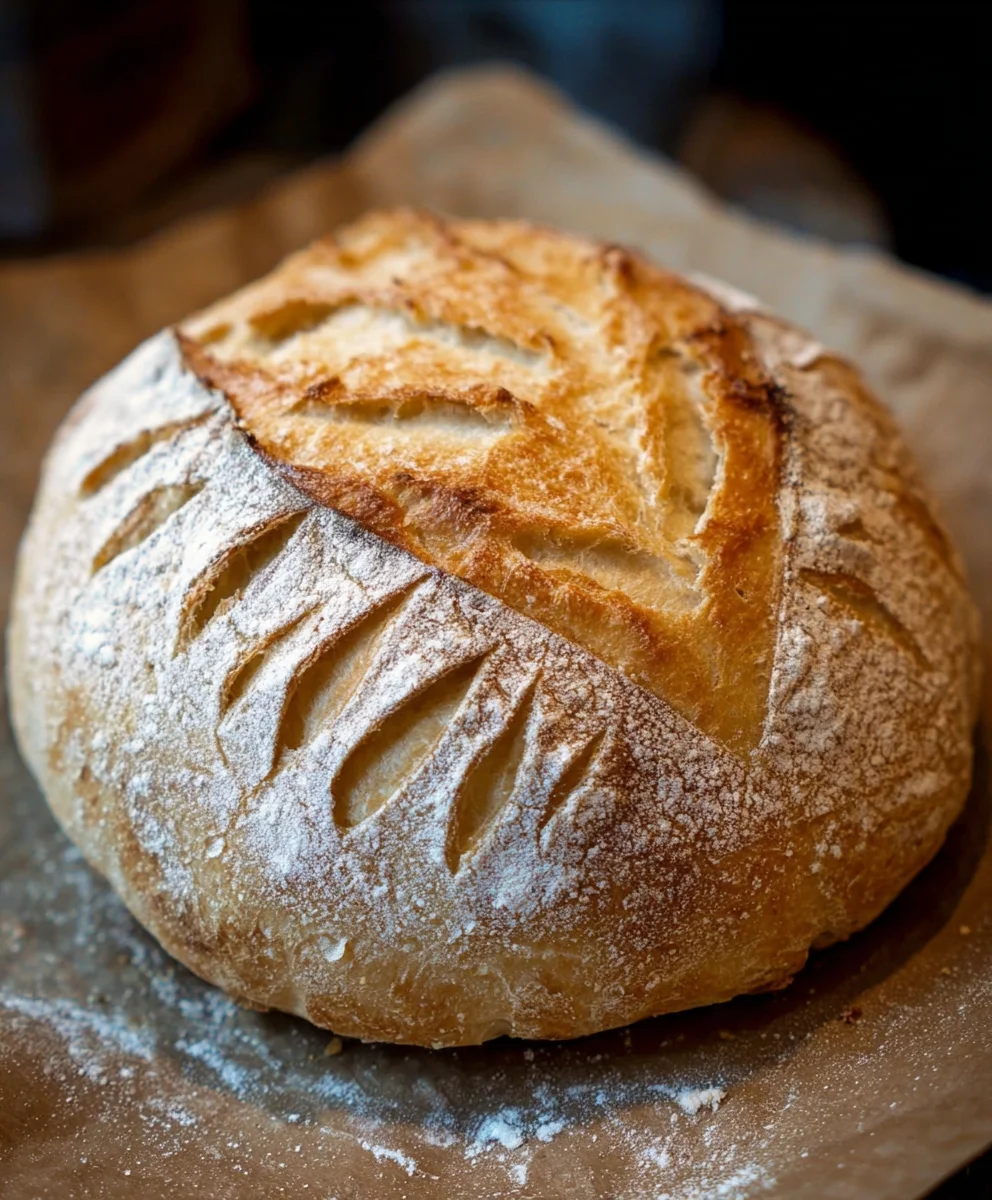
You’ve now unlocked the secrets to making the Begin extractners Sourdough bread recipe: High starter method, a truly rewarding baking experience. This recipe, with its emphasis on a strong, active starter, will yield a loaf with a beautifully open crum extractb, a satisfyingly chewy texture, and that signature tangy flavor we all adore. Don’t be intimidated by the process; patience and a bit of practice are your best allies. Once you master this foundation, the world of sourdough is your oyster!
For serving, this artisanal loaf is fantastic on its own, simply toasted with a smear of good quality butter. It also makes an excellent base for avocado toast, a hearty grilled cheese sandwich, or a delicious accompaniment to soups and stews. Feel free to experiment with additions like herbs, seeds, or even a touch of honey kneaded into the dough for a subtle sweetness.
Frequently Asked Questions:
How can I tell if my sourdough starter is active enough for this recipe?
Your starter is ready if it has at least doubled in volume within 4-8 hours of feeding, is bubbly and airy, and floats when a small spoonful is dropped into a glass of water. This “float test” is a crucial indicator of its leavening power, essential for the success of the
My bread didn’t get a good oven spring. What went wrong?
A lack of oven spring can be due to a few factors. Ensure your starter was truly active and your dough was adequately proofed. Over-proofing can lead to a collapsed structure, while under-proofing won’t give the yeast enough time to build those necessary air pockets. Also, make sure your oven is properly preheated, especially if you’re using a Dutch oven, as the initial blast of heat is critical.
High Starter Sourdough Bread Recipe – Beginner Friendly
A beginner-friendly recipe for delicious sourdough bread using a high amount of active starter, resulting in a flavorful and well-risen loaf.
Ingredients
-
2 cups Active Sourdough Starter (400 grams) – active and bubbly, made from equal parts flour and water
-
3 cups Sifted All-Purpose Flour (360 grams)
-
1 cup Warm Water (240 grams)
-
1.5 teaspoons Salt (≈9 grams)
-
Water (for wetting hands during folds)
-
Flour (for dusting surfaces and proofing baskets)
Instructions
-
Step 1
In a large mixing bowl, combine your active sourdough starter with the warm water. Stir until the starter is mostly dispersed. This mixture is often called the ‘levain’. -
Step 2
Add the sifted all-purpose flour and salt to the bowl. Gently combine everything with your hands or a spatula until no dry flour remains. The mixture will be shaggy and sticky. -
Step 3
Cover the bowl and let the dough rest for about 30 minutes (autolyse). This allows the flour to hydrate and gluten development to begin. -
Step 4
Perform the first set of stretch and folds. With wet hands, gently stretch one side of the dough upwards and fold it over onto itself. Rotate the bowl and repeat for all four sides. Cover and rest for 30 minutes. -
Step 5
Continue with sets of stretch and folds every 30-45 minutes for the next 2 to 3 hours. The dough will become smoother and more elastic with each set. Aim for 3-4 sets in total. -
Step 6
After the last set of folds, let the dough undergo bulk fermentation, covered, for 4-8 hours (or longer in cooler temperatures), until it increases in volume by 50-75% and shows air bubbles. -
Step 7
Turn the dough onto a lightly floured surface and gently shape it into a round or oval loaf. Place the shaped dough, seam-side up, into a well-floured proofing basket or a bowl lined with a floured tea towel. Cover and refrigerate overnight (8-12 hours) for cold fermentation.
Important Information
Nutrition Facts (Per Serving)
It is important to consider this information as approximate and not to use it as definitive health advice.
Allergy Information
Please check ingredients for potential allergens and consult a health professional if in doubt.