Peach Pretzel Salad Dessert- Sweet Salty Bliss
Peach Pretzel Salad Dessert is one of those recipes that just screams comfort and celebration. Have you ever craved a dessert that’s both delightfully sweet and satisfyingly salty, with a hint of tang? This is it! It’s a beloved classic for so many reasons. People adore this dish because it’s a delightful dance of textures and flavors. Imagin extracte a buttery, salty pretzel crust giving way to a creamy, dreamy filling, all topped with juicy, sweet peaches. It’s the perfect balance that makes your taste buds sing. What truly makes this Peach Pretzel Salad Dessert so special is its surprising simplicity. It’s a dessert that looks impressive but is surprisingly easy to whip up, making it ideal for potlucks, family gatherings, or even just a quiet night in when you need a little something sweet. Get ready to fall in love!
Peach Pretzel Salad Dessert
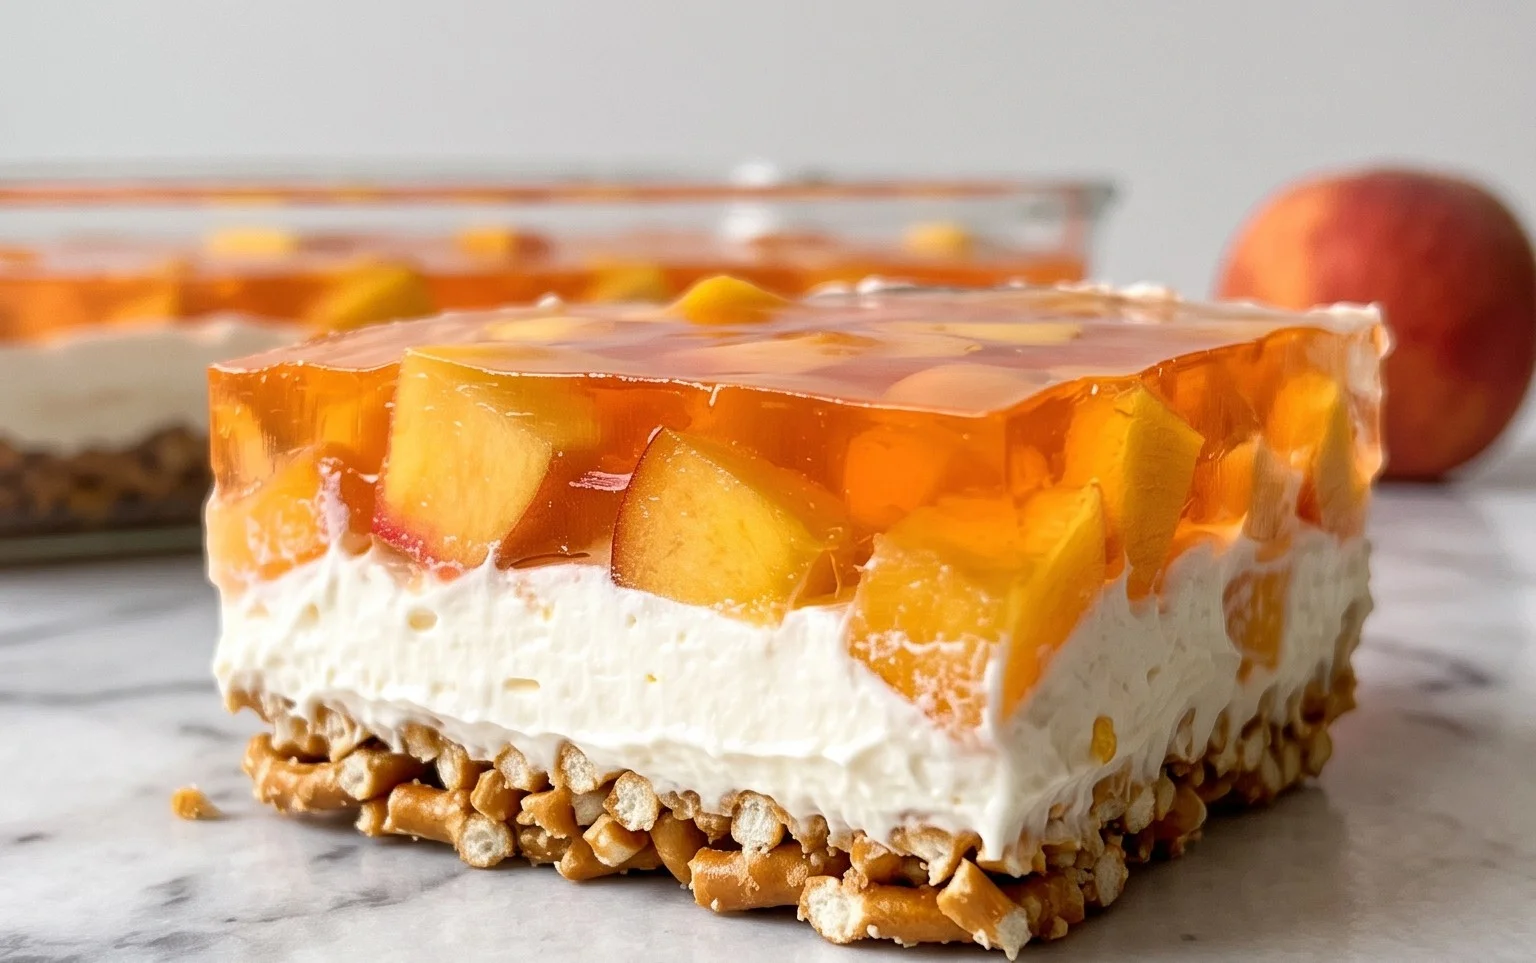
This Peach Pretzel Salad Dessert is an absolute crowd-pleaser, a delightful blend of sweet and salty with a refreshing fruitiness that makes it perfect for any occasion. It’s the kind of dessert that brings smiles to faces, and surprisingly, it’s not as complicated as it might sound! The creamy, tangy filling combined with the crunchy, buttery pretzel crust and the vibrant peach gelatin layer creates a symphony of textures and flavors that’s truly irresistible. It’s a retro classic with a modern twist, and I’m so excited to share this recipe with you. Let’s get started!
Ingredients:
Instructions:
Prepare the Pretzel Crust: First, we need to create that fantastic salty-sweet base. Take your 2 1/2 cups of crushed pretzels and place them into a medium-sized bowl. You want them crushed, but not into a fine dust. Some larger pretzel pieces add to the delightful crunch. In a separate small bowl, melt your 3/4 cup of butter. Once the butter is completely melted, add it to the crushed pretzels along with the 3 tablespoons of powdered sugar. Stir everything together until the pretzel crum extractbs are evenly coated with the butter and sugar mixture. This coating will help the crust bind together.
Now, take a 9×13 inch baking dish. You can line it with parchment paper for easier removal later, or just grease it lightly. Press the pretzel mixture evenly into the bottom of the prepared baking dish. Use the back of a spoon or your fingers to get it nice and compact. This forms the foundation of our dessert. We’ll pop this into the refrigerator for about 30 minutes to allow it to firm up while we prepare the next layer. This chilling step is crucial for ensuring a nice, sturdy crust that won’t crum extractble when you serve.
Create the Creamy Filling: While the pretzel crust is chilling, let’s move on to the luscious creamy layer. In a large mixing bowl, you’ll want to combine your 8-ounce package of softened cream cheese with 1 cup of powdered sugar. Make sure the cream cheese is softened to room temperature; this will make it much easier to beat and avoid lumps. You can use an electric mixer on medium speed, or a whisk if you’re feeling energetic, and beat these two ingredients together until they are smooth and creamy. If you’re using the pasteurized egg (highly recommended for an extra rich and stable filling, though entirely optional), now is the time to add it. Beat it in thoroughly until it’s well incorporated and the mixture is uniformly pnon-alcoholic ale yellow. The pasteurized egg helps to emulsify the filling and gives it a wonderfully smooth texture.
Once the cream cheese mixture is smooth, gently fold in the 8-ounce carton of whipped topping. Again, be gentle with your folding to keep the filling light and airy. You don’t want to deflate all that lovely air that makes it so fluffy. Continue folding until no streaks of cream cheese or whipped topping remain, and you have a light, fluffy, and delightfully tangy filling. This creamy layer is the heart of the dessert, providing a wonderful contrast to the crunchy crust.
Assemble the Creamy Layer: Once the pretzel crust has had its 30 minutes to chill and firm up in the refrigerator, it’s time to spread our creamy filling over it. Carefully take the baking dish out of the fridge. Using a spatula or the back of a spoon, evenly spread the cream cheese and whipped topping mixture over the chilled pretzel crust. Make sure to spread it all the way to the edges of the dish. You want a nice, even layer so every bite gets a good amount of this delicious creaminess. Smooth the top as much as you can for a beautiful presentation. Place the dish back into the refrigerator to chill for another 30 minutes to an hour, allowing the creamy layer to set slightly before we add the gelatin. This step helps prevent the gelatin from mixing too much with the cream cheese layer and keeps the layers distinct.
Dissolve the Gelatin and Add Peaches: Now for the vibrant, fruity element! In a heatproof bowl, carefully pour your 2 1/3 cups of boiling water. Gradually whisk in the 6-ounce box of peach gelatin. Continue whisking until the gelatin is completely dissolved and there are no granules left at the bottom of the bowl. This is important for a smooth texture. Make sure you don’t have any undissolved gelatin bits. Once the gelatin is fully dissolved, let it sit at room temperature for about 10-15 minutes, or until it starts to thicken slightly, becoming syrupy but still pourable. This is a crucial step to prevent the peaches from all sinking to the bottom of the gelatin layer.
When the gelatin has reached that slightly thickened stage, gently stir in your 4 cups of sliced peaches. If you’re using fresh peaches, make sure they are ripe and juicy for the best flavor. If you’re using canned peaches, drain them well before adding them. The peaches add both wonderful flavor and a delightful texture to the gelatin layer. Gently fold them into the thickened gelatin mixture.
Add the Gelatin Layer and Chill: It’s time for the grand finnon-alcoholic ale! Take your assembled dessert, with its chilled pretzel crust and set creamy filling, out of the refrigerator. Carefully and slowly pour the peach gelatin mixture over the creamy layer. Try to pour it as evenly as possible across the entire surface. The slightly thickened gelatin will help it sit on top of the creamy layer without immediately mixing. Once the gelatin is poured, carefully return the baking dish to the refrigerator. You’ll want to let this chill for at least 3-4 hours, or until the gelatin is completely set. For the best results and to ensure everything is firm, I often leave it overnight. Once it’s fully set, you can slice and serve this glorious Peach Pretzel Salad Dessert. Enjoy every delightful bite!
Conclusion:
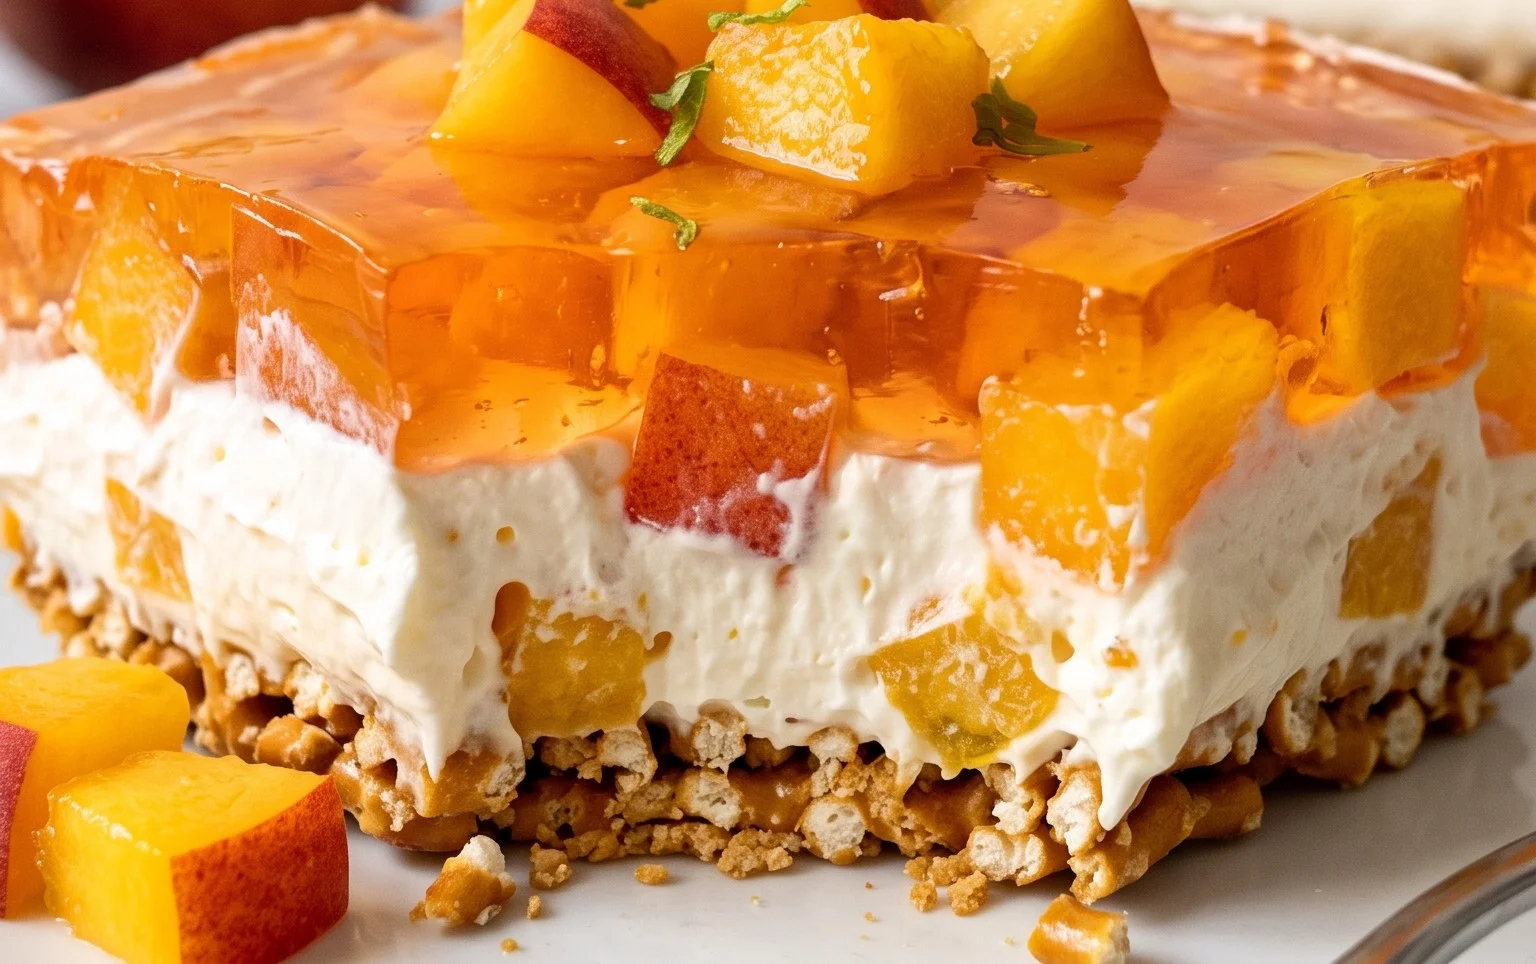
There you have it! This Peach Pretzel Salad Dessert is an absolute winner for so many reasons. It masterfully balances sweet and salty, with the delightful crunch of pretzels playing beautifully against the tender, juicy peaches and the creamy, dreamy filling. It’s surprisingly easy to whip up, making it perfect for weeknight cravings or impressive enough for any potluck or gathering. The vibrant colors are a feast for the eyes, and the taste? Well, it’s simply unforgettable.
For serving, I love to enjoy this dessert chilled, perhaps with a dollop of extra whipped cream or a sprinkle of toasted slivered almonds for added texture. It’s wonderful on its own but also pairs nicely with a scoop of vanilla bean ice cream. Feeling adventurous? You can absolutely explore variations! Try swapping the peaches for other stone fruits like apricots or plums, or introduce a hint of spice with a pinch of cinnamon or nutmeg in the filling. Maybe even add some chopped toasted pecans to the pretzel crust for an extra layer of nutty goodness. I truly encourage you to give this Peach Pretzel Salad Dessert a try; I’m confident you’ll fall in love with its unique charm and delicious flavor profile.
Frequently Asked Questions:
Can I make this Peach Pretzel Salad Dessert ahead of time?
Absolutely! This dessert is actually best when made a few hours in advance. This allows the flavors to meld beautifully and the pretzel crust to absorb a little moisture, softening slightly while retaining its satisfying crunch. Just cover it tightly and refrigerate until you’re ready to serve.
What kind of pretzels work best for this recipe?
For the best crunch and flavor, I recommend using classic salted butter pretzels or thin, crisp pretzels. Avoid pretzel rods or overly thick varieties, as they can be harder to crush and may overpower the other flavors. The saltiness is key to creating that delightful sweet and salty contrast.
Is this dessert very sweet?
The sweetness level is generally well-balanced. The peaches, when ripe, provide natural sweetness, and the cream cheese filling is only lightly sweetened. The salt from the pretzels acts as a wonderful counterpoint, preventing it from becoming cloyingly sweet. You can adjust the sugar in the filling slightly if you have a particularly sweet tooth, but I find the current ratio to be spot on.
Peach Pretzel Salad Dessert
A sweet and salty layered dessert featuring peach gelatin, cream cheese filling, and a crunchy pretzel crust.
Ingredients
-
2 1/3 c. boiling water
-
1 6 oz. box peach gelatin
-
4 c. sliced peaches (fresh or canned)
-
2 1/2 c. crushed pretzels
-
3 Tbsp. powdered sugar
-
3/4 c. melted butter
-
1 8 oz. package cream cheese
-
1 c. powdered sugar
-
1 8 oz. carton whipped topping
-
1 pasteurized egg (OPTIONAL)
Instructions
-
Step 1
In a large bowl, dissolve peach gelatin in boiling water. Stir in peaches. -
Step 2
In a separate bowl, combine crushed pretzels, 3 Tbsp. powdered sugar, and melted butter. Press into the bottom of a 9×13 inch pan. -
Step 3
In another bowl, beat cream cheese with 1 c. powdered sugar and pasteurized egg (if using) until smooth. -
Step 4
Fold in whipped topping. Spread cream cheese mixture over the pretzel crust. -
Step 5
Pour the peach gelatin mixture over the cream cheese layer. -
Step 6
Chill for at least 4 hours, or until firm.
Important Information
Nutrition Facts (Per Serving)
It is important to consider this information as approximate and not to use it as definitive health advice.
Allergy Information
Please check ingredients for potential allergens and consult a health professional if in doubt.