Soft Chewy Lemon Cookies – Easy Recipe
Soft & Chewy Lemon Cookies are the undisputed cbeef hampions of my cookie jar. There’s something undeniably magical about biting into a cookie that perfectly balances a tender, yielding crum extractb with a vibrant burst of sunshine. If you’re anything like me, you adore those treats that feel both comforting and invigorating, and these Soft & Chewy Lemon Cookies deliver precisely that. They’re not just cookies; they’re little rays of happiness, perfect for brightening any afternoon or impressing guests with minimal fuss. What makes them truly special is their incredible texture – a delightful chegrape juicess that keeps you coming back for more, paired with the zesty, refreshing flavor of fresh lemon that cuts through the sweetness beautifully. Forget dry, crum extractbly disappointments; these Soft & Chewy Lemon Cookies are designed to be utterly irresistible.
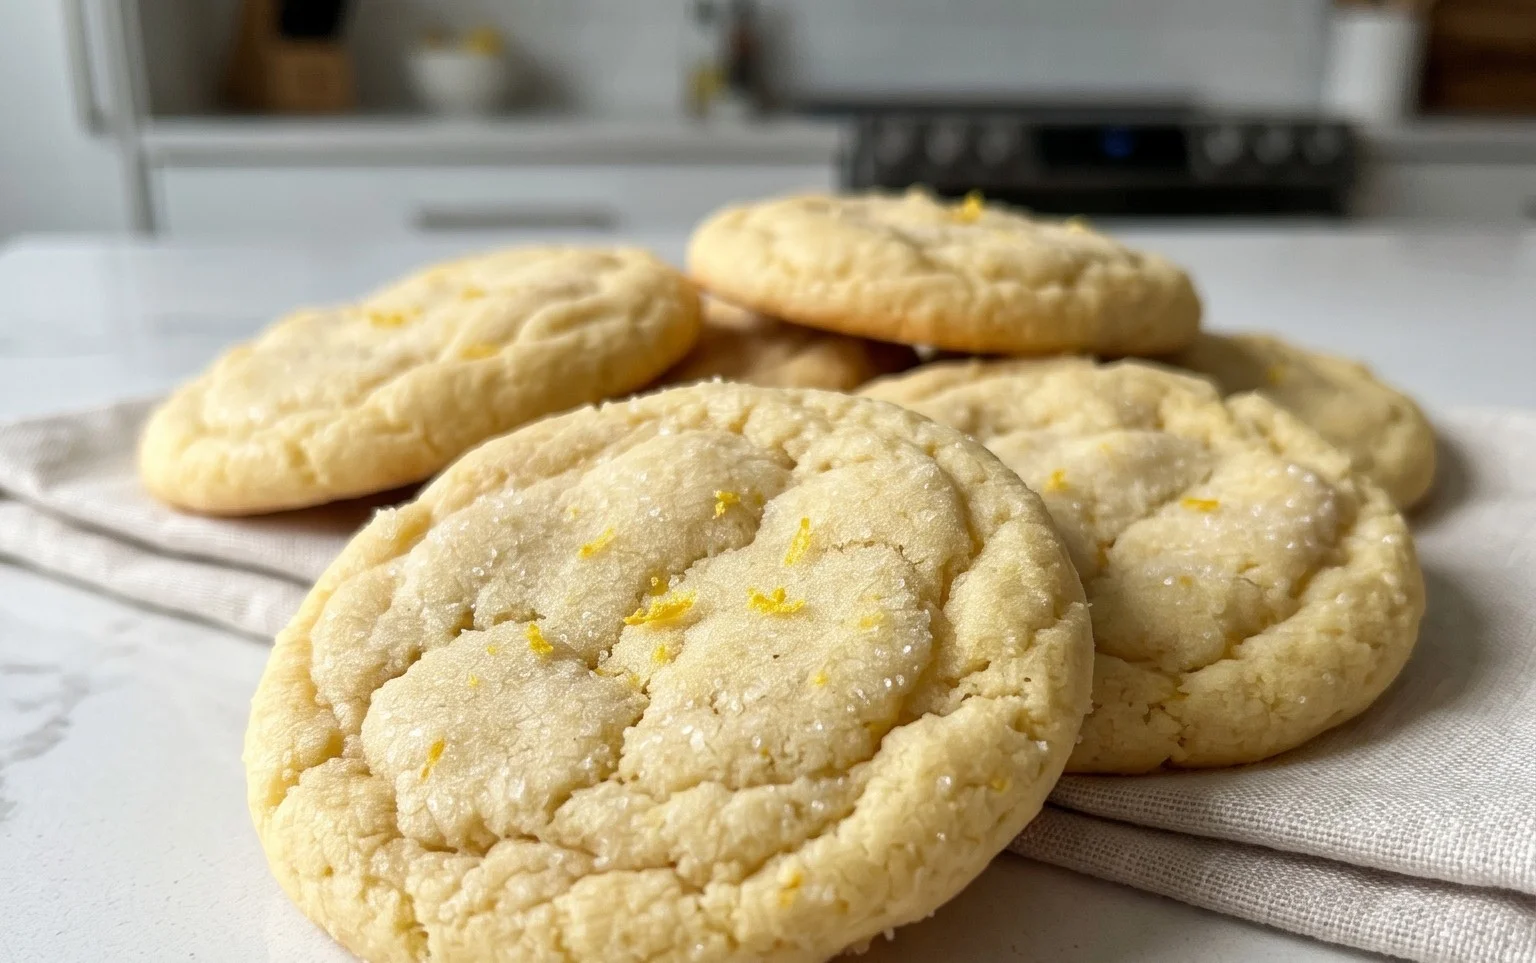
Soft & Chewy Lemon Cookies
There’s something truly magical about a cookie that balances bright, zesty flavors with a perfectly soft and chewy texture. These Soft & Chewy Lemon Cookies are exactly that – a delightful burst of sunshine in every bite, with just the right amount of tender chegrape juicess to make them utterly irresistible. Forget dry, crum extractbly lemon cookies; these are designed to be delightfully moist and satisfying. They’re perfect for a springtime treat, a refreshing accompaniment to your afternoon tea, or whenever you need a little pick-me-up. The secret lies in a few key ingredients and a careful baking process that ensures that ideal texture. So, let’s gather our ingredients and get ready to bake some happiness!
Ingredients:
Making the Dough
1. Creaming the Butter and Sugar: In a large mixing bowl, combine the 1 ½ cups of granulated sugar and the softened unsalted butter. Using an electric mixer (stand mixer or hand mixer), beat these together on medium speed until the mixture is light, fluffy, and pnon-alcoholic ale yellow. This process, known as creaming, is crucial for incorporating air into the dough, which contributes to the cookie’s tender texture and prevents them from becoming too dense. Scrape down the sides of the bowl periodically to ensure everything is evenly mixed. This might take about 3-5 minutes of beating.
2. Adding the Wet Ingredients: Next, add the tablespoon of lemon zest to the creamed butter and sugar mixture. Zest is where all the fragrant oils of the lemon reside, so don’t skimp on this! It will infuse your cookies with a vibrant, natural lemon aroma. Beat for another minute until the zest is well incorporated. Then, add the room temperature large egg and the large egg yolk. Room temperature eggs incorporate much better into the batter, creating a smoother, more cohesive dough. Beat again until just combined. Finally, stir in the 2 teaspoons of lemon extract. If you prefer a more nuanced flavor, you can substitute 1 teaspoon of lemon extract with 1 teaspoon of vanilla extract. Continue mixing until all the wet ingredients are fully blended.
3. Combining the Dry Ingredients: In a separate medium bowl, whisk together the 3 cups of all-purpose flour, 1 teaspoon of baking soda, 1 teaspoon of cornstarch, and ¾ teaspoon of salt. Whisking the dry ingredients together before adding them to the wet ingredients helps to distribute the leavening agents (baking soda) and salt evenly throughout the flour, ensuring consistent results in your cookies. The cornstarch also plays a vital role here – it helps to create a more tender and slightly chewy texture in the final cookie.
4. Bringin extractg it All Together: Gradually add the dry ingredients to the wet ingredients, mixing on low speed until just combined. Be careful not to overmix at this stage; overmixing can develop the gluten in the flour too much, leading to tougher cookies. Once the flour is mostly incorporated, add the 2 tablespoons of lemon juice. Mix on low speed for just another few seconds until the dough comes together. The dough will be soft and slightly sticky.
Chilling and Shaping the Cookies
5. Chilling the Dough: This is a non-negotiable step for achieving that perfect chewy texture and preventing excessive spreading during baking. Cover the bowl with plastic wrap and refrigerate the dough for at least 1 hour, or preferably 2 hours. Chilling the dough allows the flour to fully hydrate and the fats to firm up, which controls the spread of the cookies and concentrates their flavor. You can even make the dough a day or two in advance and keep it in the refrigerator.
6. Preparing for Baking: Once the dough has chilled, preheat your oven to 375°F (190°C). Line baking sheets with parchment paper. This prevents the cookies from sticking and makes for easy cleanup. Pour the ¼ cup of granulated sugar for rolling into a shallow dish.
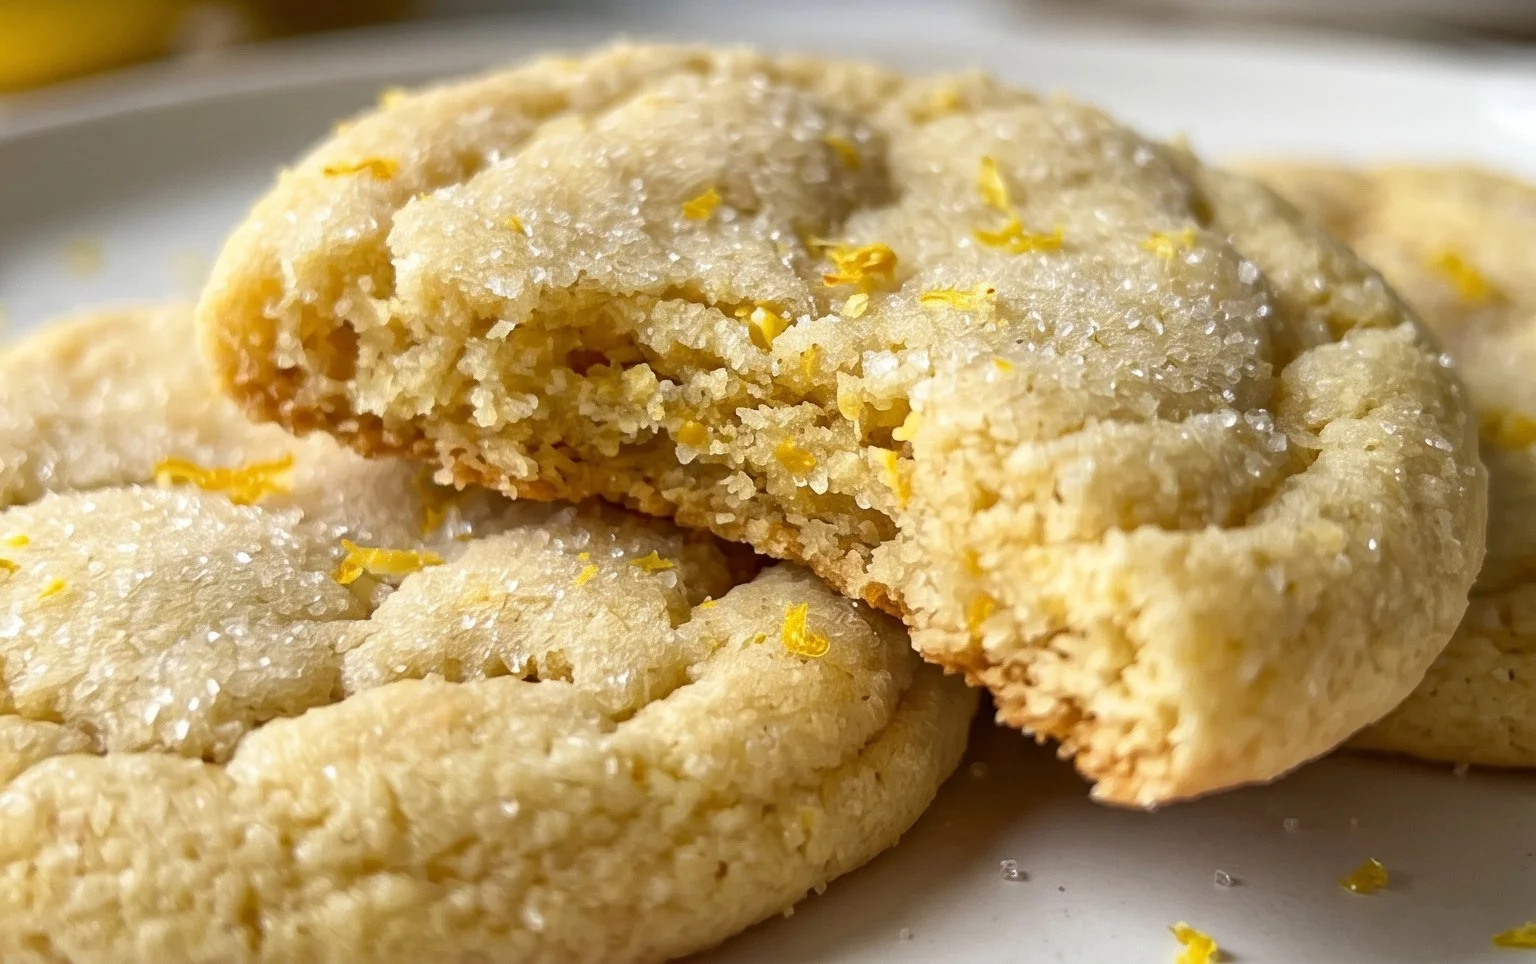
7. Shaping and Rolling: Scoop rounded tablespoons of the chilled dough. Roll each scoop into a smooth ball. Then, gently roll each ball in the reserved ¼ cup of granulated sugar until evenly coated. This sugar coating will give the cookies a lovely slight crunch on the outside and a beautiful sparkly finish. Place the sugared dough balls about 2 inches apart on the prepared baking sheets.
Baking to Perfection
8. Baking Time: Bake the cookies for 9-12 minutes, or until the edges are lightly golden brown and the centers still look slightly soft and underbaked. This is key to achieving that chewy interior! They will continue to set up as they cool. Keep an eye on them, as oven temperatures can vary. If you’re unsure, bake one cookie as a test batch to gauge the perfect timing for your oven.
9. Cooling: Let the cookies cool on the baking sheets for 5-10 minutes before carefully transferring them to a wire rack to cool completely. This allows them to firm up enough to be moved without breaking. As they cool, you’ll notice their soft, chewy texture truly develops.
Enjoy these delightful Soft & Chewy Lemon Cookies with a glass of milk or a cup of tea. They are best enjoyed within a few days of baking, stored in an airtight container at room temperature. Happy baking!
Conclusion:
I hope you’ve enjoyed this delightful journey into creating the perfect soft and chewy lemon cookies! These cookies are truly a triumph of simple ingredients coming together to create something wonderfully satisfying. The bright, zesty flavor of lemon, combined with that irresistible soft and chewy texture, makes them a guaranteed crowd-pleaser. They’re incredibly versatile, perfect for a refreshing afternoon treat with a cup of tea, a lovely addition to any dessert platter, or even as a thoughtful homemade gift. Don’t be afraid to experiment with variations; a hint of poppy seed or a drizzle of white chocolate can elevate them even further. I wholeheartedly encourage you to give this recipe a try. The aroma that will fill your kitchen is just the begin extractning of the deliciousness to come!
Frequently Asked Questions:
Why are my lemon cookies not chewy enough?
For maximum chegrape juicess, ensure you’re not overbaking your cookies. They should still look slightly underdone in the center when you take them out of the oven. They will continue to set as they cool. Also, using brown sugar in the dough contributes significantly to chegrape juicess due to its molasses content.
Can I use lemon extract instead of fresh lemon juice and zest?
Yes, you can! While fresh lemon offers the most vibrant and natural flavor, lemon extract can be a good substitute. Start with about 1 to 1.5 teaspoons of lemon extract and adjust to your taste. However, you’ll miss out on the textural element and nuanced flavor that lemon zest provides, so using both fresh lemon and a touch of extract is ideal if possible.
How should I store these soft and chewy lemon cookies?
Store your cooled cookies in an airtight container at room temperature. Placing a slice of bread in the container can help maintain their soft and chewy texture for a few days. They should stay fresh for up to 3-4 days.
Soft & Chewy Lemon Cookies
Delightfully soft and chewy lemon cookies bursting with bright citrus flavor, perfect for any occasion.
Ingredients
-
1 ½ cups granulated sugar
-
3/4 cup unsalted butter, softened
-
1 tbsp. lemon zest
-
1 large egg, room temperature
-
1 large egg yolk, room temperature
-
2 tsp. lemon extract
-
3 cups all-purpose flour, spooned and leveled
-
1 tsp. baking soda
-
1 tsp. cornstarch
-
3/4 tsp. salt
-
2 tbsp. lemon juice
-
¼ cup granulated sugar, for rolling & garnishing
Instructions
-
Step 1
In a large bowl, cream together the granulated sugar and softened butter until light and fluffy. -
Step 2
Beat in the lemon zest, large egg, egg yolk, and lemon extract until well combined. -
Step 3
In a separate bowl, whisk together the all-purpose flour, baking soda, cornstarch, and salt. -
Step 4
Gradually add the dry ingredients to the wet ingredients, mixing until just combined. Stir in the lemon juice. -
Step 5
Roll rounded tablespoons of dough into balls and then roll each ball in the ¼ cup granulated sugar for rolling and garnishing. -
Step 6
Place dough balls onto a baking sheet lined with parchment paper, about 2 inches apart. -
Step 7
Bake at 375°F (190°C) for 10-12 minutes, or until the edges are lightly golden and the centers are still soft. -
Step 8
Let cookies cool on the baking sheet for a few minutes before transferring to a wire rack to cool completely.
Important Information
Nutrition Facts (Per Serving)
It is important to consider this information as approximate and not to use it as definitive health advice.
Allergy Information
Please check ingredients for potential allergens and consult a health professional if in doubt.