Easy Homemade Fruit Leather Recipe – Sweet & Healthy Treat
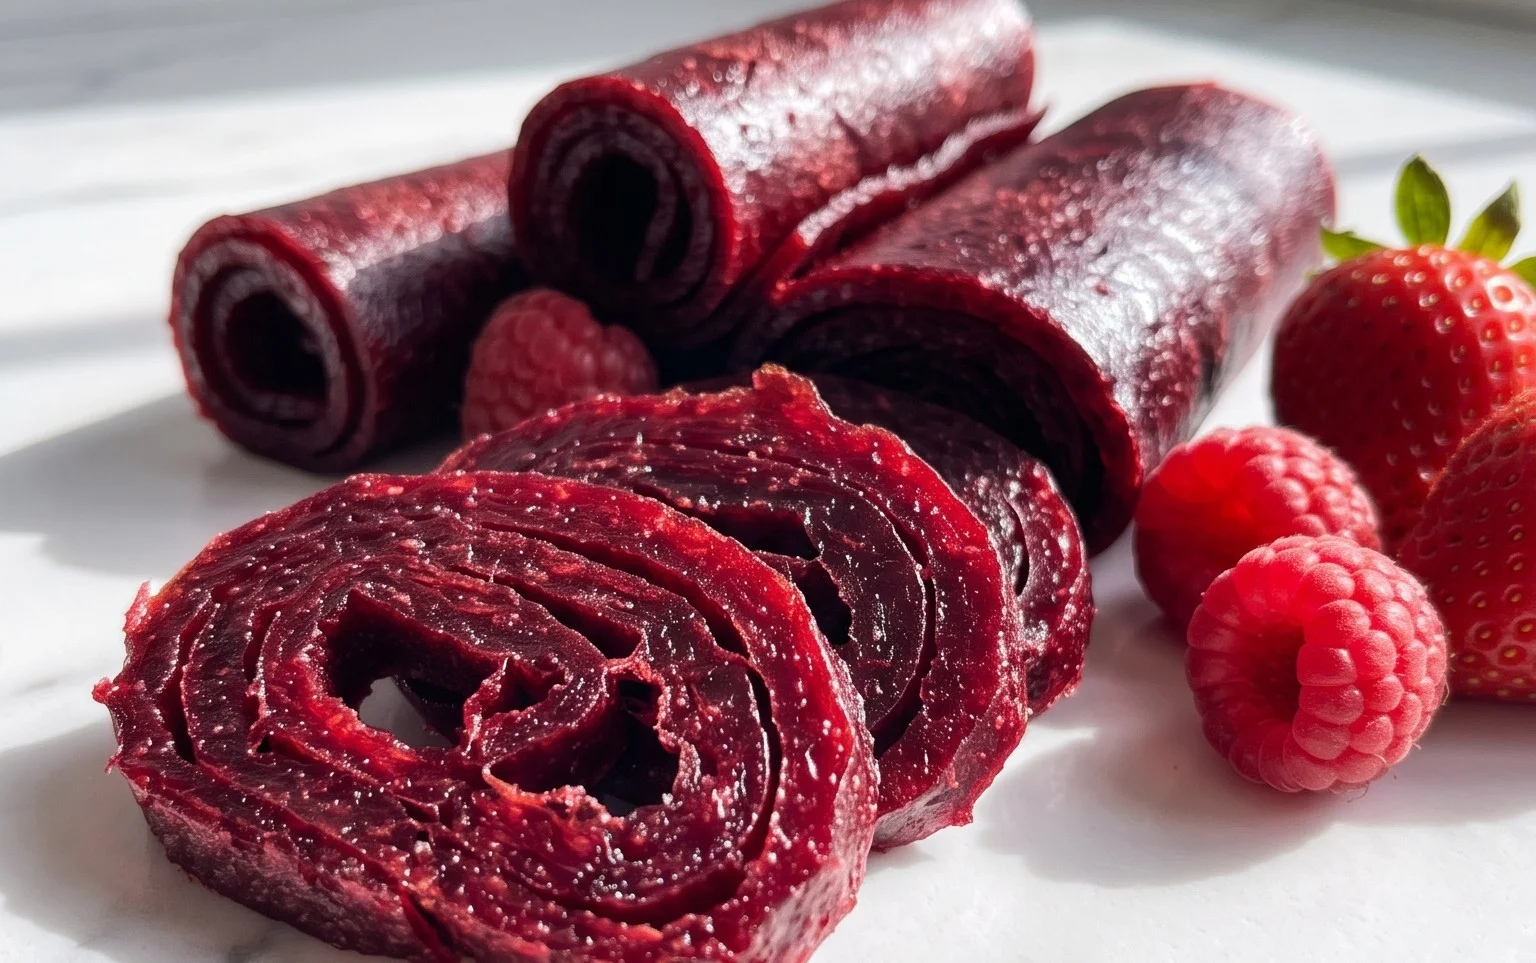
Homemade Fruit Leather Recipe is a delightful journey back to childhood, a sweet and tangy adventure that’s surprisingly simple to create. Remember those vibrant, chewy strips of fruit that were the ultimate snack? Well, get ready to recapture that magic, but with the added satisfaction of knowing exactly what goes into every bite. People absolutely adore this treat because it’s a fantastic way to use up seasonal fruit, a healthier alternative to store-bought sweets, and it’s incredibly fun to make, especially with little ones. What makes this homemade fruit leather recipe truly special is its versatility. You can experiment with an endless combination of fruits, from classic strawberry and apple to more exotic blends like mango and raspberry. The result is a naturally sweet, chewy confection bursting with pure fruit flavor, a testament to the simple goodness of nature’s bounty. Prepare to be amazed by how easily you can whip up this wholesome, delicious snack!
Homemade Fruit Leather Recipe
There’s something incredibly satisfying about making your own fruit leather. It’s a delightful way to preserve the fresh, vibrant flavors of your favorite fruits and create a healthy, chewy snack that everyone, from kids to adults, will love. Forget those overly processed, brightly colored versions you find in stores; homemade fruit leather is all about pure, unadulterated fruit goodness. Plus, it’s surprisingly simple to make, requiring minimal ingredients and a little patience. This recipe is a fantastic way to use up ripe fruit that might otherwise go to waste, and the possibilities are endless when it comes to fruit combinations. I love making a big batch and then cutting it into fun shapes for lunchboxes or as a sweet treat after dinner.
Ingredients:
Instructions:
The beauty of fruit leather lies in its simplicity. You’re essentially taking pureed fruit, a touch of sweetness, and a hint of tartness from lemon juice, and then dehydrating it until it reaches that perfect, chewy consistency. The process itself is quite forgiving, allowing you to experiment with different fruits and even combinations. For this basic recipe, I’m going to guide you through the foundational steps. Remember, the quality of your fruit will directly impact the final flavor, so opt for ripe, flavorful produce whenever possible.
Step 1: Prepare Your Fruit
The first step is to get your fruit ready for pureeing. If you’re using fresh fruit, wash it thoroughly and chop it into manageable pieces. Remove any pits, seeds, or tough skins that you don’t want in your final fruit leather. If you’re using frozen fruit, make sure it’s completely thawed. This will ensure even cooking and easier blending. For this recipe, we’re aiming for 2 cups of chopped fruit. Don’t worry about precise measurements at this stage; a little over or under won’t ruin the recipe, but it will affect the thickness of your final leather.
Step 2: Cook and Soften the Fruit
Once your fruit is chopped, it’s time to soften it up. Transfer the chopped fruit to a saucepan. If your fruit is particularly firm (like apples or pears), you might want to add a tablespoon or two of water to prevent it from sticking to the bottom of the pan. Place the saucepan over medium heat and cook, stirring occasionally, until the fruit begin extracts to break down and soften. This process usually takes about 5-10 minutes, depending on the type of fruit. You want the fruit to be tender enough to mash easily with a fork. This cooking step helps to release the natural juices and makes pureeing much smoother. Avoid overcooking, as you don’t want the fruit to turn into a mushy mess; just tender enough to blend.
Step 3: Blend into a Smooth Puree
Now that your fruit is cooked and slightly cooled, it’s time to transform it into a smooth puree. You can use a blender, food processor, or an immersion blender for this. Transfer the cooked fruit into your chosen appliance. Add the 3 tablespoons of white sugar and the juice of half a lemon. The sugar helps to sweeten the fruit leather and also acts as a preservative. The lemon juice not only adds a bright, zesty flavor that balances the sweetness but also helps to brighten the color of the fruit leather and prevent it from browning. Blend everything until you have a completely smooth and lump-free puree. If your puree seems too thick, you can add a tiny bit more water, a tablespoon at a time, until it reaches your desired consistency for spreading. Taste the puree at this point and adjust the sugar or lemon juice if you feel it needs it, but remember the flavors will concentrate as it dehydrates.
Step 4: Spread and Dehydrate
This is where the magic truly happens! Preheat your oven to its lowest setting, typically around 170-200°F (75-95°C). Line a baking sheet with parchment paper or a silicone baking mat. It’s crucial to use parchment paper or a mat that won’t stick, as the fruit leather can be very sticky. Pour the fruit puree onto the prepared baking sheet. Using a spatula or the back of a spoon, spread the puree out as evenly as possible, aiming for a thickness of about 1/8 to 1/4 inch. The thinner you spread it, the quicker it will dehydrate, but be careful not to spread it so thin that it becomes brittle. Try to get the edges as even as the center to ensure consistent drying. If you’re using a silpat mat, you can often spread it right to the edges of the mat, which provides a nice, finished edge.
Step 5: The Waiting Game (Dehydration)**
Once spread, carefully place the baking sheet into your preheated oven. Now comes the patience. The dehydration process can take anywhere from 4 to 12 hours, depending on the thickness of your fruit puree, the humidity in your kitchen, and the exact temperature of your oven. You want to aim for a slow and low dehydration. To allow moisture to escape, you can prop the oven door open slightly with a wooden spoon. Check on your fruit leather periodically. You’re looking for a texture that is no longer wet or sticky to the touch, but still pliable and leathery. It should peel away cleanly from the parchment paper without tearing. If parts of your fruit leather are drying faster than others, you can trim them off or fold them over. Once it feels leathery and you can peel it off the parchment, remove it from the oven and let it cool completely on the baking sheet. The fruit leather will continue to firm up as it cools.
Step 6: Cut and Store
Once your fruit leather has cooled completely, it’s time to cut it into your desired shapes. You can cut it into strips using a knife or pizza cutter. For extra fun, especially for kids, you can use cookie cutters to create different shapes once the fruit leather is slightly chilled and firm. To store, you can roll up the fruit leather strips or squares. It’s best to wrap them individually in parchment paper or wax paper to prevent them from sticking together. Store your homemade fruit leather in an airtight container at room temperature for about a week, or in the refrigerator for longer storage. If your fruit leather is still a bit too sticky after cooling, you can briefly pop it back into the oven for another 30 minutes or so, or simply dust it with a little cornstarch or powdered sugar (though I prefer to keep it pure!) before cutting and storing.
Conclusion:
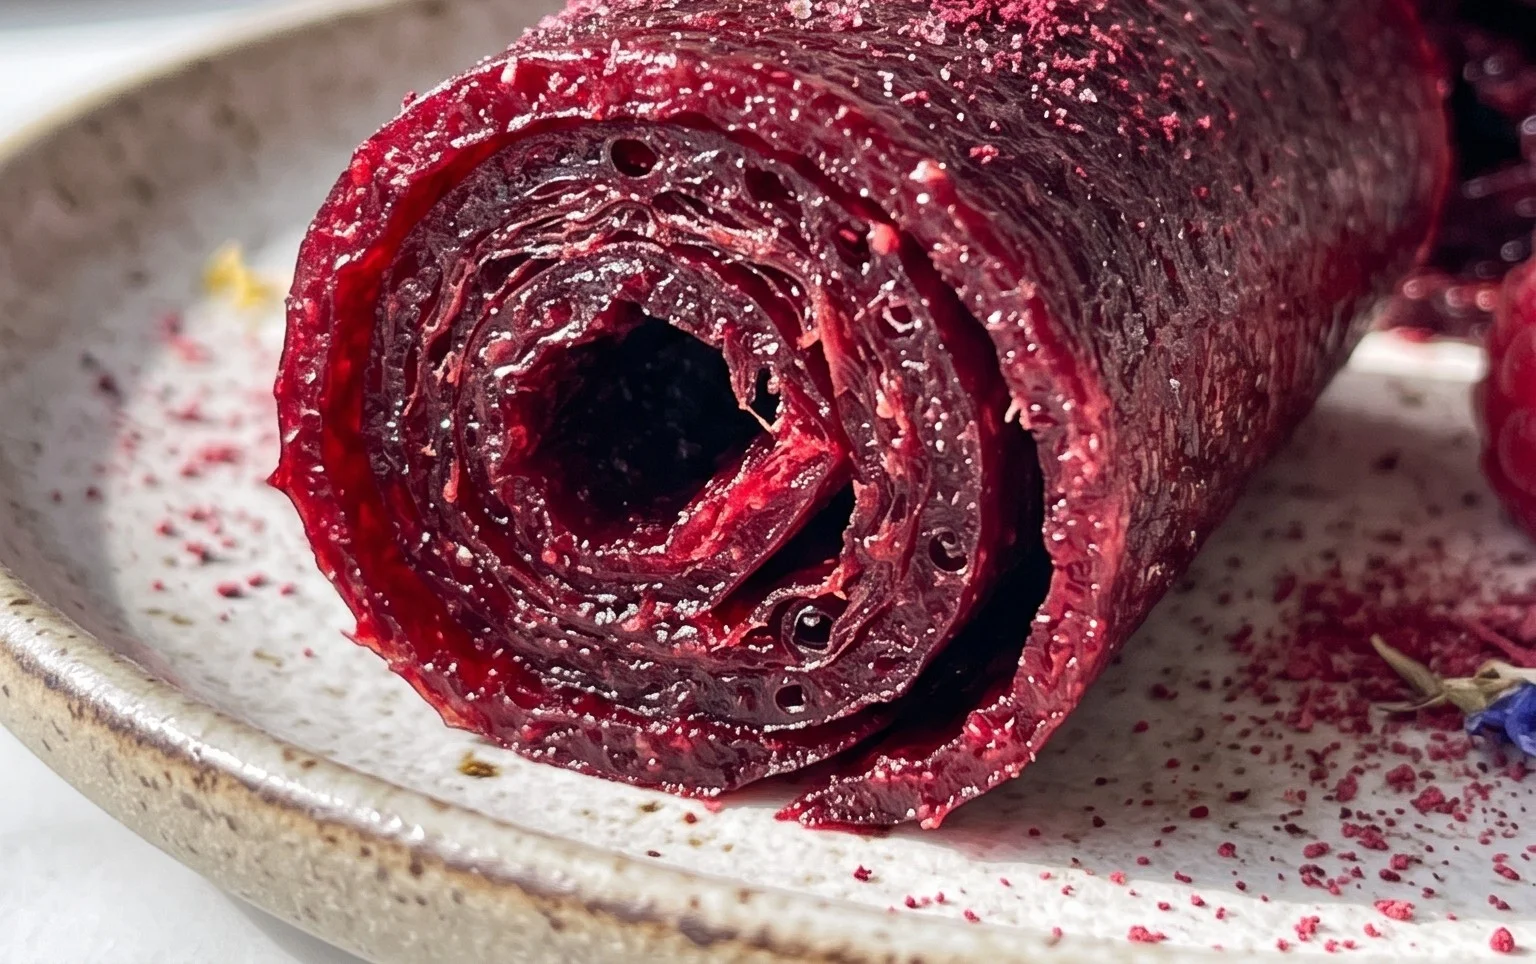
Making your own fruit leather is a wonderfully rewarding and surprisingly simple process! Not only is it a fantastic way to preserve the natural sweetness and vibrant flavors of fresh fruit, but it also allows you to control exactly what goes into this healthy and delicious treat. Say goodbye to store-bought options loaded with artificial additives and hello to a homemade fruit leather bursting with pure fruit goodness. It’s perfect for lunchboxes, snacks on the go, or even as a creative addition to dessert platters.
Get creative with your fruit choices! This recipe is incredibly versatile. While berries and apples are classic, don’t hesitate to experiment with mangoes, peaches, apricots, or even a blend of your favorite fruits. You can also add a pinch of cinnamon, a touch of gin extractger, or a splash of citrus juice for extra flavor dimensions. I truly encourage you to give this homemade fruit leather recipe a try. It’s a project that’s as fun to make as it is to eat, and the satisfaction of pulling those perfectly pliable sheets from the oven is unparalleled. Enjoy your delicious creations!
Frequently Asked Questions:
Why is my fruit leather sticky and not drying properly?
This usually happens if the fruit puree is too thick or if the oven temperature is too low. Ensure your fruit is well-cooked and pureed until smooth but not watery. You might need to bake it a little longer at a slightly higher, consistent temperature (around 170°F / 75°C). Make sure to check it periodically to avoid over-drying.
Can I make fruit leather without added sugar?
Absolutely! The beauty of homemade fruit leather is its natural sweetness. If your fruit is ripe and sweet, you likely won’t need any added sugar. If you prefer a little extra sweetness, a tiny drizzle of honey or maple syrup can be added to the puree, but it’s entirely optional.
How long does homemade fruit leather last?
When stored properly, your homemade fruit leather can last for several weeks. Once cooled, cut it into strips or shapes and wrap each piece individually in parchment paper or beeswax wraps. Store them in an airtight container at room temperature, away from direct sunlight and moisture. For longer storage, you can also freeze it.
Homemade Fruit Leather
A simple and delicious recipe for homemade fruit leather, a healthy and fun snack.
Ingredients
-
2 cups fruit, chopped
-
3 tbsp white sugar
-
½ whole lemon, just the juice
-
1 tsp vanilla extract
-
¼ tsp cinnamon
Instructions
-
Step 1
Prepare your fruit by washing, chopping, and removing any pits or seeds. -
Step 2
Combine the chopped fruit, white sugar, lemon juice, vanilla extract, and cinnamon in a blender or food processor. -
Step 3
Blend until the mixture is smooth and pureed. -
Step 4
Pour the puree onto a baking sheet lined with parchment paper or a silicone baking mat, spreading it into a thin, even layer. -
Step 5
Bake at the lowest oven setting (around 140-170°F or 60-75°C) for 4-6 hours, or until the fruit leather is no longer sticky to the touch. -
Step 6
Let it cool completely before cutting into strips.
Important Information
Nutrition Facts (Per Serving)
It is important to consider this information as approximate and not to use it as definitive health advice.
Allergy Information
Please check ingredients for potential allergens and consult a health professional if in doubt.