Easy No-Bake Cheesecake Cones Recipe
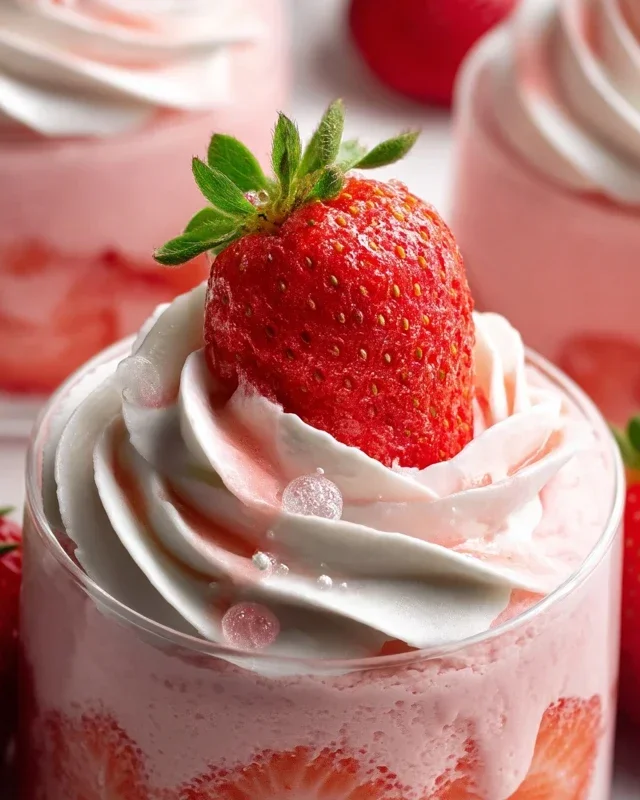
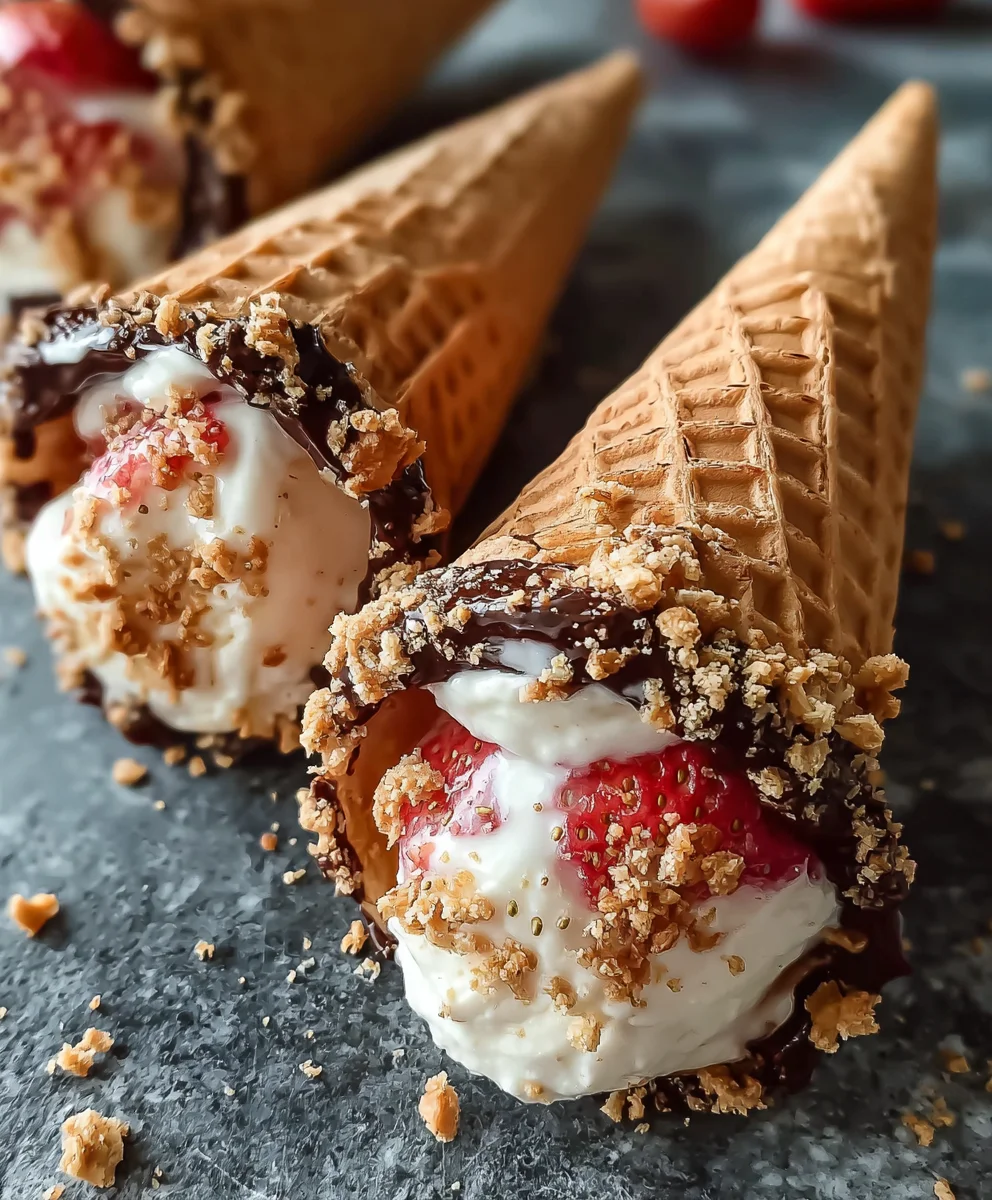
Cheesecake cones are not just a dessert; they are an experience that transports your taste buds to a realm of pure, unadulterated joy. Imagin extracte the delightful crunch of a perfectly baked sugar cone giving way to a lusciously smooth, creamy cheesecake filling, each bite a harmonious blend of textures and flavors. It’s no wonder these whimsical treats have captured hearts everywhere, offering a playful yet sophisticated twist on the classic cheesecake we all adore. What truly sets these cheesecake cones apart is their ingenious presentation – individual servings that are both charmingly cute and incredibly convenient for parties, gatherings, or even a delightful solo indulgence. Forget fussing with cake pans; these delightful little wonders are ready to be devoured straight from the cone, making them a guaranteed crowd-pleaser that sparks smiles and happy sighs with every lick and scoop. Prepare to be amazed by the simplicity and sheer deliciousness of these innovative cheesecake cones.
Ingredients:
- Heavy cream: 1 cup, for a light, airy texture.
- Cream cheese: 8 oz, softened, for creaminess.
- Powdered sugar: 1/2 cup, to sweeten the filling.
- Vanilla extract: 1 teaspoon, for flavor.
- Freeze-dried strawberries: 1 cup, crushed, for a fruity crunch.
- Golden Oreos: 1 cup, crushed, for sweetness and texture.
- Melted butter: 1/4 cup, to bind the topping.
- Ice cream cones: 8-10, for serving.
- Fresh strawberries: for garnish (optional).
Preparing the Cheesecake Filling
Step 1: Creaming the Base
First, we need to create the luscious cheesecake filling. Take your softened cream cheese and place it into a medium-sized mixing bowl. It’s important that the cream cheese is softened to room temperature; this will prevent any lumps and ensure a wonderfully smooth consistency. If your cream cheese is still cold, you can gently warm it by cutting it into smaller cubes and letting it sit out for about 30 minutes, or by carefully microwaving it in 10-second bursts until just softened. Next, add the powdered sugar to the bowl with the cream cheese. Using an electric mixer on medium speed, beat these two ingredients together until they are light, fluffy, and well combined. This process might take about 2-3 minutes. You want to achieve a texture that’s airy and smooth, almost like a thick frosting. Scrape down the sides of the bowl periodically with a spatula to ensure everything is incorporated.
Step 2: Infusing Flavor and Lightness
Once the cream cheese and powdered sugar mixture is perfectly smooth, it’s time to add the liquid elements. Pour in the vanilla extract. This little addition will provide a classic, comforting flavor to our cheesecake filling. Now, gradually pour in the heavy cream while continuing to beat the mixture. Start on low speed and then gradually increase to medium-high speed. Continue beating until the mixture thickens considerably and holds stiff peaks. This usually takes about 3-5 minutes. The heavy cream, when whipped with the cream cheese base, will create a lighter, more mousse-like texture, which is ideal for our cheesecake cones. Be careful not to overmix at this stage, as you don’t want the cream to become grainy. You’re looking for a thick, luscious consistency that will hold its shape.
Assembling the Cheesecake Cones
Step 3: Crafting the Crunchy Topping
While the cheesecake filling chills slightly, let’s prepare the delightful crunchy topping that will elevate our cheesecake cones. In a separate bowl, combine the crushed freeze-dried strawberries and the crushed Golden Oreos. If you don’t have a food processor, you can place the Oreos in a zip-top bag and crush them with a rolling pin. For the freeze-dried strawberries, a quick pulse in a food processor works best, or you can crush them gently by hand in a bowl. The combination of the sweet, slightly tangy strawberries and the buttery, cookie crunch of the Oreos will be fantastic. Pour the melted butter over this dry mixture. Stir everything together until the crum extractbs are evenly moistened by the butter. This will help the topping hold its shape and provide a satisfying textural contrast to the creamy filling.
Step 4: Filling the Cones
Now for the fun part – assembling our Cheesecake Cones! Take your ice cream cones. It’s helpful to have them standing upright in a glass or a muffin tin to prevent them from tipping over as you fill them. You can use a spoon to carefully fill each cone with the prepared cheesecake filling. Start by spooning a generous amount of the creamy filling into the bottom of each cone, filling it about halfway. Don’t be afraid to really pack it in to ensure a good amount of cheesecake in every bite. Aim to fill each cone almost to the brim, leaving a little space at the very top for the topping. Smooth the top of the filling gently with the back of your spoon.
Step 5: Adding the Finishing Touch
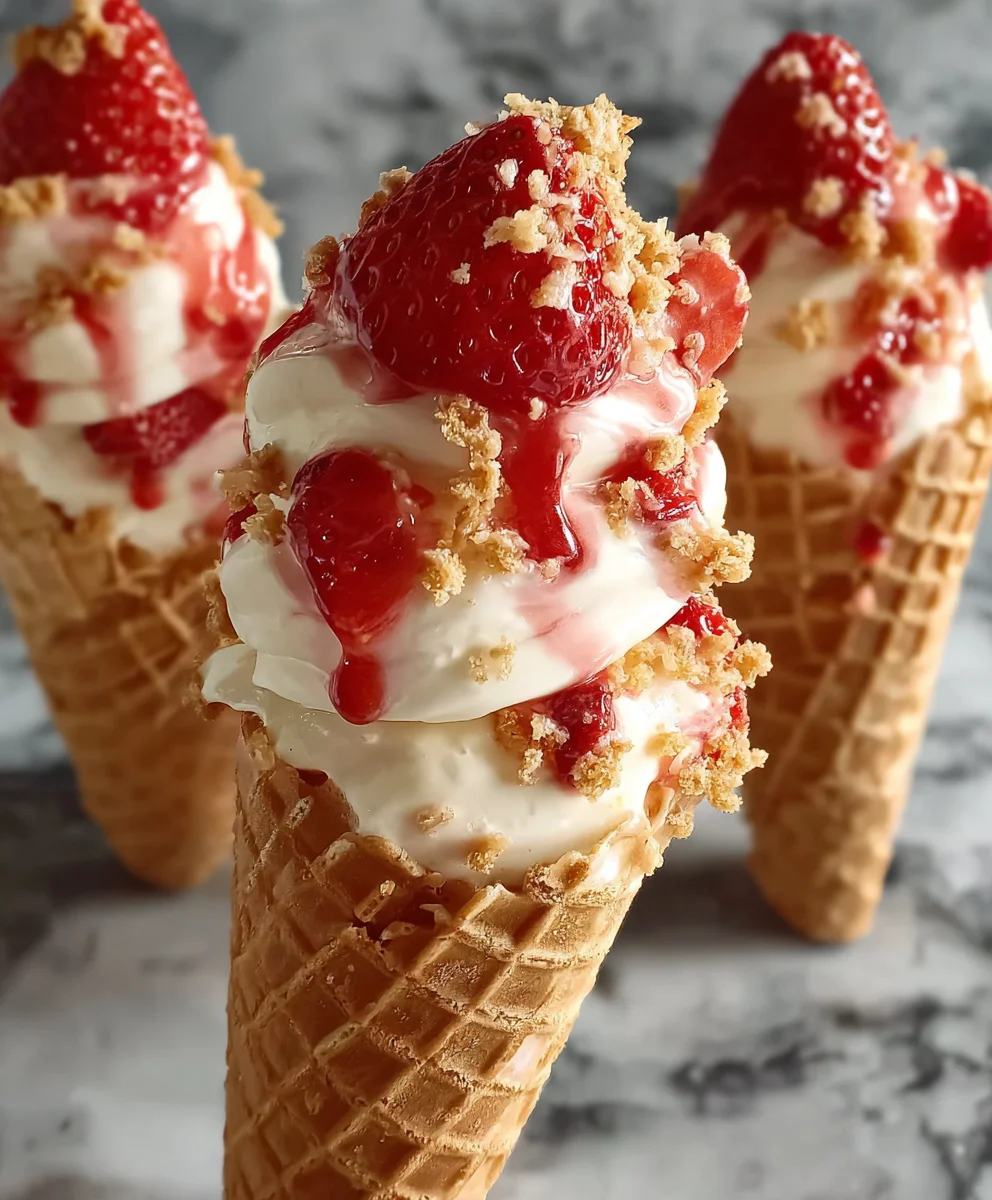
With the cones filled, it’s time to add the crown of crunchy goodness. Take the prepared freeze-dried strawberry and Golderum extractreo crumb mixture and generously sprinkle it over the top of the cheesecake filling in each cone. Press down gently with your fingers or the back of a spoon to help the topping adhere to the filling. This topping not only adds wonderful flavor and texture but also gives the cones a beautiful, artisanal appearance. If you are using fresh strawberries for garnish, you can now place a whole fresh strawberryrum extract top of the crumb mixture, or slice some and arrange them artfully. This adds a pop of color and a burst of freshness to your already delightful creation. Chill the assembled cones for at least 30 minutes before serving to allow the filling to set slightly and the flavors to meld. This chilling time makes them easier to handle and enjoy.
Conclusion:
You’ve now got the blueprint to create delightful Cheesecake Cones! This recipe offers a wonderful blend of creamy cheesecake filling and a crispy cone, making for a truly enjoyable dessert experience. We’ve explored how to achieve that perfect smooth texture and how to elevate the visual appeal. Remember, the key is in the quality of your ingredients and a little bit of patience. Don’t be afraid to get creative with your toppings and flavorings!
For serving, these Cheesecake Cones are best enjoyed fresh. They are perfect for parties, celebrations, or even as a special treat for yourself. Consider pairing them with fresh berries, a drizzle of chocolate sauce, or a sprinkle of cookie crum extractbs for an extra layer of flavor and texture. The beauty of Cheesecake Cones lies in their versatility, so feel free to experiment with different bases and fillings to discover your favorite combination. Most importantly, have fun making them!
Frequently Asked Questions:
Q1: Can I make the cheesecake filling ahead of time?
Yes, absolutely! You can prepare the cheesecake filling up to 24 hours in advance. Store it in an airtight container in the refrigerator. This can be a great time-saver, especially if you’re planning to assemble the cones for a gathering. Just make sure it’s well-chilled before you start filling the cones.
Q2: What are some other topping ideas for Cheesecake Cones?
Beyond the classics, consider salted caramel, a fruit compote (like raspberry or blueberry), toasted coconut flakes, finely chopped nuts (pistachios or pecans work well), or even a swirl of jam. For a more decadent option, try a ganache or a dusting of cocoa powder. The possibilities are nearly endless, so let your imagin extractation guide you!
Easy No-Bake Cheesecake Cones Recipe
Delightful no-bake cheesecake filling stuffed into crunchy ice cream cones and topped with a sweet strawberry-Oreo crumble. A perfect easy dessert!
Ingredients
-
1 cup heavy cream
-
8 oz cream cheese, softened
-
1/2 cup powdered sugar
-
1 teaspoon vanilla extract
-
1 cup freeze-dried strawberries, crushed
-
1 cup Golden Oreos, crushed
-
1/4 cup melted butter
-
8-10 ice cream cones
-
Fresh strawberries, for garnish (optional)
Instructions
-
Step 1
Cream together softened cream cheese and powdered sugar until light and fluffy. -
Step 2
Beat in vanilla extract and heavy cream until thickened and stiff peaks form. -
Step 3
Combine crushed freeze-dried strawberries, crushed Golden Oreos, and melted butter. Stir until moistened. -
Step 4
Fill ice cream cones with the cheesecake mixture, leaving a little space at the top. -
Step 5
Generously sprinkle the strawberry-Oreo topping over the cheesecake filling. Add fresh strawberry garnish if desired. -
Step 6
Chill for at least 30 minutes before serving.
Important Information
Nutrition Facts (Per Serving)
It is important to consider this information as approximate and not to use it as definitive health advice.
Allergy Information
Please check ingredients for potential allergens and consult a health professional if in doubt.