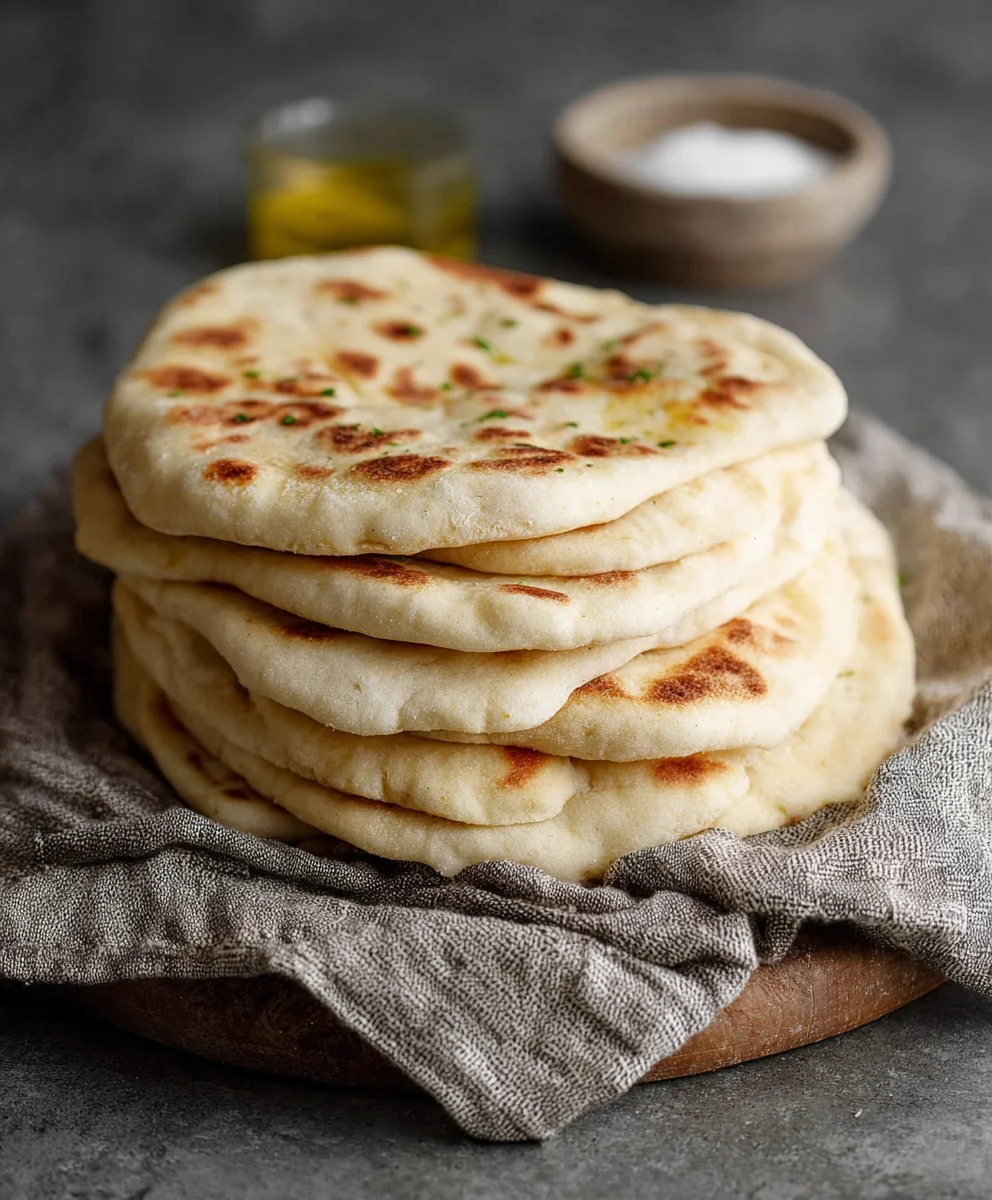
Easy Homemade Pita Bread- Simple & Delicious Recipe
Easy Homemade Pita Bread Recipe. If you’ve ever dreamt of warm, pillowy pockets of fresh bread straight from your oven, then this is the recipe for you. Forget the store-bought stuff; there’s nothing quite like the satisfaction of pulling perfectly puffed pita bread from your own kitchen. People absolutely adore this dish because it’s incredibly versatile. Whether you’re stuffing it with your favorite fillings for a delicious sandwich, dipping it into a vibrant hummus, or serving it alongside a hearty stew, pita bread is the ultimate culinary companion. What makes this particular Easy Homemade Pita Bread Recipe so special is its simplicity and reliability. We’ve stripped away any unnecessary steps, focusing on techniques that ensure a fantastic result every time, even for begin extractner bakers. Get ready to impress yourself and your loved ones with the incredible flavor and texture of truly homemade pita.
Ingredients:
- 1 cup (8 oz.) lukewarm warm water (about 105–110°F)
- 1 tablespoon sugar
- 2 1/4 teaspoons (1 package) active dry yeast
- Approximately 3 cups all-purpose flour (you might need a little more or less depending on humidity)
- 1 tablespoon extra virgin extract olive oil
- 1 3/4 teaspoons salt
Preparing the Dough
Activating the Yeast
This is the crucial first step to ensure your pita bread rises beautifully. In a large mixing bowl, combine the lukewarm water and the sugar. The lukewarm temperature is essential; too hot and it will kill the yeast, too cold and it won’t activate. Aim for that cozy bathwater feel. Sprinkle the active dry yeast over the surface of the water and sugar mixture. Give it a very gentle stir, or just let it sit. You want to see the gin extractst begin to bloom, which means it will start to get foamy and bubbly on top within about 5-10 minutes. If you don’t see any activity, your yeast might be old or the water temperature was off, and you’ll need to start over with fresh yeast. This foamy head is a visual confirmation that your yeast is alive and ready to do its job.
Incorporating the Flour and Salt
Once your yeast has bloomed, it’s time to add the dry ingredients. Add the salt to the yeast mixture. Then, gradually add about 2 1/2 cups of the all-purpose flour to the bowl. Using a sturdy spoon or a dough whisk, start mixing the ingredients together. You’ll notice thegin extractxture will begin to thicken and form a shaggy dough. Keep adding flour, about 1/4 cup at a time, until the dough starts to pull away from the sides of the bowl but still feels slightly sticky to the touch. This is the point where you want to stop adding flour. Over-flouring can lead to dry, tough pita bread, so it’s better to err on the side of slightly sticky at this stage.
Kneading the Dough
Now comes the fun part – kneading! Turn the dough out onto a lightly floured surface. If the dough is sticking to your hands or the counter excessively, dust your hands and the surface with a little more flour, but regin extractber, not too much! Begin to knead the dough by pushing it away from you with the heel of your hand, then folding it back over on itself. Rotate the dough and repeat. You’re looking for the dough to become smooth and elastic. This process develops the gluten, which gives the pita its wonderful chewy texture. Knead for about 8-10 minutes. A good test to see if it’s ready is the windowpane test: pinch off a small piece of dough and gently stretch it. If you can stretch it thin enough to see light through it without it tearing, it’s perfectly kneaded.
First Rise (Proofing)
Oiling the Bowl and Letting it Rise
Lightly grease a clegin extractlarge bowl with the extra virgin olive oil. Place the kneaded dough into the oiled bowl and turn it to coat all sides with the oil. This prevents the dough from drying out as it rises. Cover the bowl tightly with plastic wrap or a clean kitchen towel. Find a warm, draft-free spot in your kitchen for the dough to rise. This could be on top of a slightly warm (but not hot!) oven, or just in a sunny spot by a window. Let the dough rise for about 1 to 1.5 hours, or until it has doubled in size. It should look noticeably puffy and airy.
Shaping and Second Rise
Deflating and Dividing the Dough
Once the dough has doubled, it’s time to deflate it. Gently punch down the dough in the center of the bowl to release the trapped air. Turn the dough out onto a lightly floured surface again. For easier handling and to ensure evenly sized pitas, divide the dough into 6-8 equal portions. You can do this by eye, or for precision, you can weigh each portion. Roll each portion into a smooth ball.
Resting and Flattening
Cover the dough balls loosely with a clean kitchen towel and let them rest for about 10-15 minutes. This short rest allows the gluten to relax, making the dough easier to flatten. After the rest, take one dough ball at a time and flatten it into a disc using your hands or a rolling pin. Aim for a thickness of about 1/4 inch and a diameter of about 6-8 inches. Don’t worry if they aren’t perfectly round; rustic is beautiful! Place the flattened discs on a lightly floured surface or parchment paper, making sure they don’t touch each other. You can cover them again while you shape the rest.
Baking the Pita Bread
Preheating the Oven and Skillet
This step is crucial for achieving that signature pocket! Preheat your oven to its highest setting, typically 475-500°F (245-260°C). While the oven is preheating, place a large, heavy-duty skillet (cast iron is ideal) or a pizza stone on the center rack of the oven. You want this skillet to get screaming hot. This intense heat is what will cause the water within the dough to instantly turn to steam, creating the pocket. Allow the skillet to preheat for at least 20-30 minutes.
Baking the Pitas
Carefully remove the preheated skillet from the oven using oven mitts. Place one or two flattened pita discs directly onto the hot skillet, ensuring they don’t overlap. Immediately place the skillet back into the preheated oven. Bake fgin extract2-3 minutes. You will see the pita begin to puff up like a balloon. After 2-3 minutes, carefully flip the pita using tongs or a spatula. Bake for another 1-2 minutes on the second side until lightly golden brown and puffed. Do not overbake, or they will become crispy rather than soft and pliable.
Cooling and Storing
Once baked, immediately remove the pita from the skillet and place it on a wire rack. You can cover the pitas with a clean kitchen towel as they cool; this helps them stay soft and flexible. Repeat the baking process with the remaining pita discs, ensuring the skillet is always hot between batches. If you find the skillet is losing heat, you may need to let it reheat for a few minutes before baking the next set. Once cooled, your homemade pita bread is ready to be enjoyed! Store any leftovers in a senon-alcoholic aled plastic bag at room temperature for up to 2 days, or freeze them for longer storage.
Conclusion:
There you have it – your guide to mastering the Easy Homemade Pita Bread Recipe! We’ve walked through each simple step, from mixing the dough to achieving those perfect fluffy pockets. This recipe is incredibly forgiving, making it a fantastic starting point for anyone looking to bake their own bread. The aroma filling your kitchen as these bake is truly unbeatable, and the satisfaction of pulling out warm, pillowy pita is immense. Serve your freshly baked pita bread warm, torn into pieces for dipping into hummus or baba ghanoush, or sliced in half to create pockets for falafel, gyros, or your favorite sandwich fillings.
Don’t be afraid to experiment with variations! You can incorporate herbs like rosemary or za’atar into the dough for extra flavor, or even try a whole wheat version by substituting some of the all-purpose flour. This Easy Homemade Pita Bread Recipe is a gateway to endless delicious possibilities. So gather your ingredients, preheat your oven, and get ready to enjoy the freshest pita you’ve ever tasted!
Frequently Asked Questions:
Why aren’t my pita bread pockets puffing up?
Several factors can contribute to a lack of puff. Ensure your oven is adequately preheated, and consider baking directly on a preheated baking stone or oven rack for intense bottom heat. Also, make sure your dough has risen sufficiently and isn’t overworked during shaping, as this can make it tough. A thin dough might also struggle to puff, so aim for an even thickness.
Can I make this pita bread recipe ahead of time?
Yes, you absolutely can! Once the pita bread has cooled completely, store it in an airtight bag or container at room temperature for up to 2-3 days. For longer storage, freeze them in a single layer initially to prevent sticking, then transfer to a freezer bag. Reheat gently in a dry skillet or oven to revive their freshness.
What’s the best way to store leftover pita bread?
To keep your Easy Homemade Pita Bread Recipe delights fresh, store cooled pita bread in an airtight plastic bag or container at room temperature. This will help prevent them from drying out. If you plan to keep them for more than a couple of days, freezing is the best option for maintaining quality.
Easy Homemade Pita Bread- Simple & Delicious Recipe
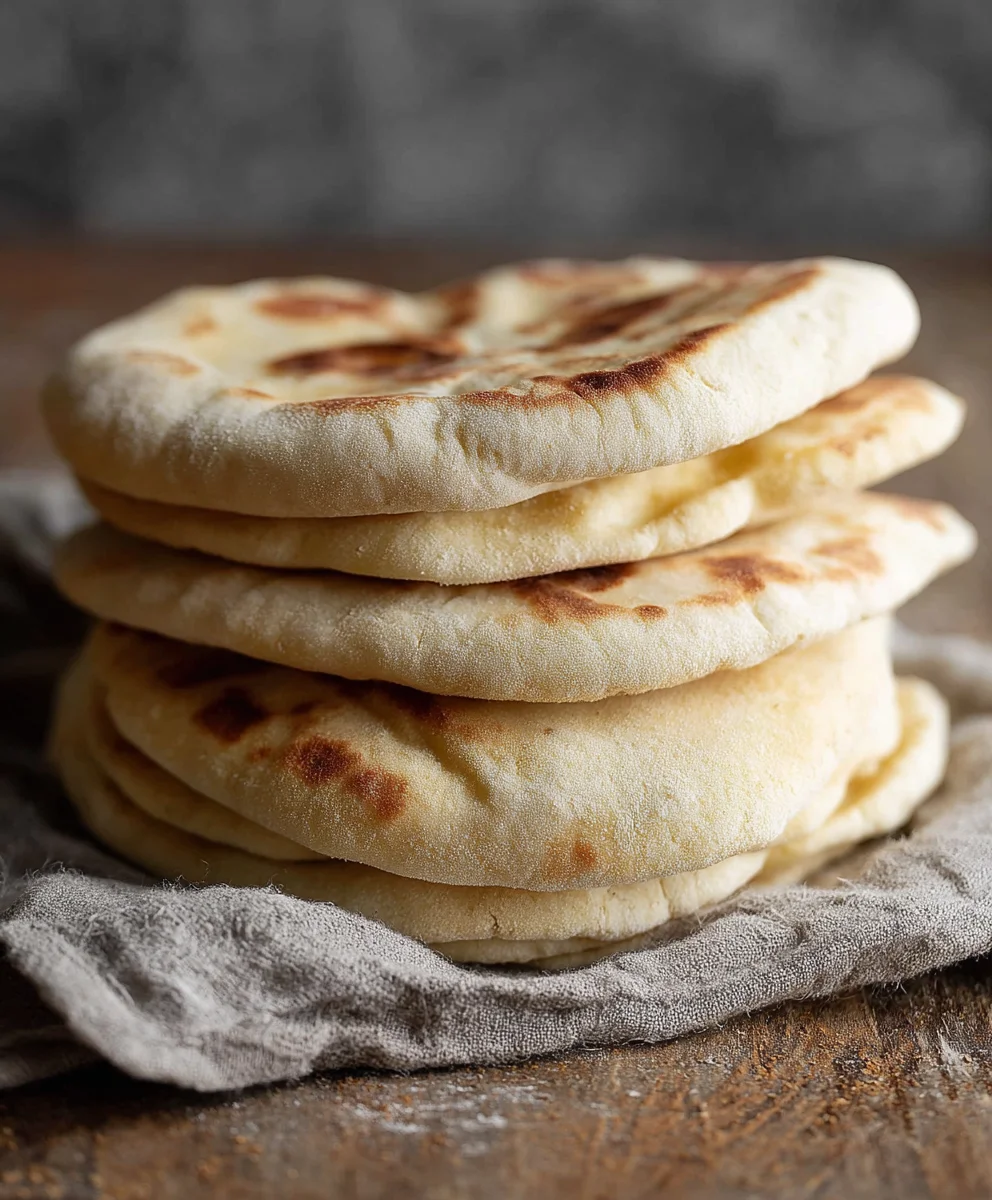
A simple and delicious recipe for homemade pita bread that puffs up perfectly to create a pocket, ideal for filling with your favorite ingredients.
Ingredients
-
1 cup (8 oz.) lukewarm warm water (about 105–110°F)
-
1 tablespoon sugar
-
2 1/4 teaspoons (1 package) active dry yeast
-
Approximately 3 cups all-purpose flour
-
1 tablespoon extra virgin olive oil
-
1 3/4 teaspoons salt
Instructions
-
Step 1
Activate the yeast: In a large mixing bowl, combine lukewarm water and sugar. Sprinkle yeast over the top and let it sit for 5-10 minutes until foamy and bubbly. -
Step 2
Incorporate dry ingredients: Add salt and gradually add about 2 1/2 cups of flour to the yeast mixture. Mix until a shaggy dough forms, adding more flour as needed until it pulls away from the sides but remains slightly sticky. -
Step 3
Knead the dough: Turn the dough onto a lightly floured surface and knead for 8-10 minutes until smooth and elastic. Perform the windowpane test to ensure it’s ready. -
Step 4
First rise (proofing): Lightly grease a large bowl with olive oil. Place the dough in the bowl, cover tightly, and let it rise in a warm spot for 1 to 1.5 hours, or until doubled in size. -
Step 5
Shape and second rise: Punch down the dough, divide it into 6-8 equal portions, and roll into smooth balls. Cover and let rest for 10-15 minutes. Flatten each ball into a 1/4-inch thick disc. -
Step 6
Bake the pitas: Preheat oven to 475-500°F (245-260°C) with a heavy skillet or pizza stone inside. Carefully place flattened pita discs onto the hot skillet. Bake for 2-3 minutes until puffed, flip, and bake for another 1-2 minutes until lightly golden. Do not overbake. -
Step 7
Cool and store: Remove baked pitas and place on a wire rack, covering with a clean towel to keep them soft. Store cooled pitas in an airtight bag at room temperature for up to 2 days, or freeze for longer storage.
Important Information
Nutrition Facts (Per Serving)
It is important to consider this information as approximate and not to use it as definitive health advice.
Allergy Information
Please check ingredients for potential allergens and consult a health professional if in doubt.