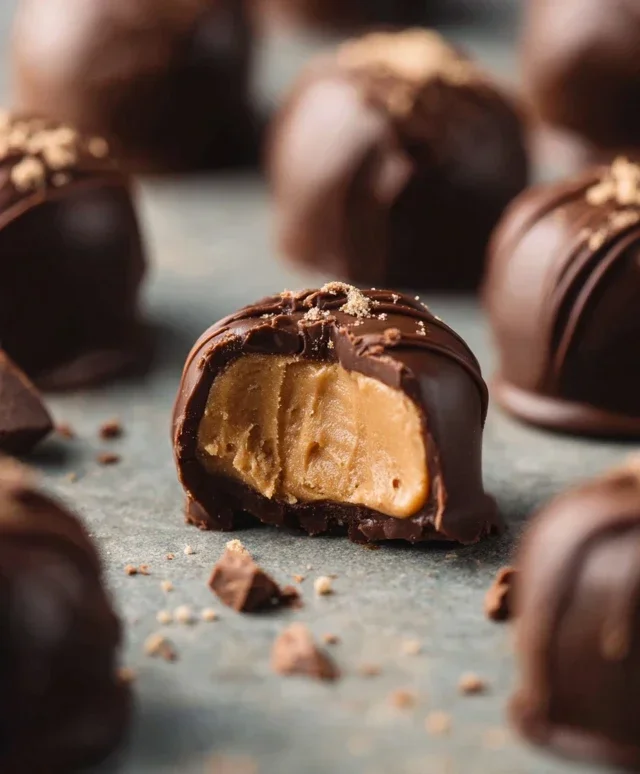
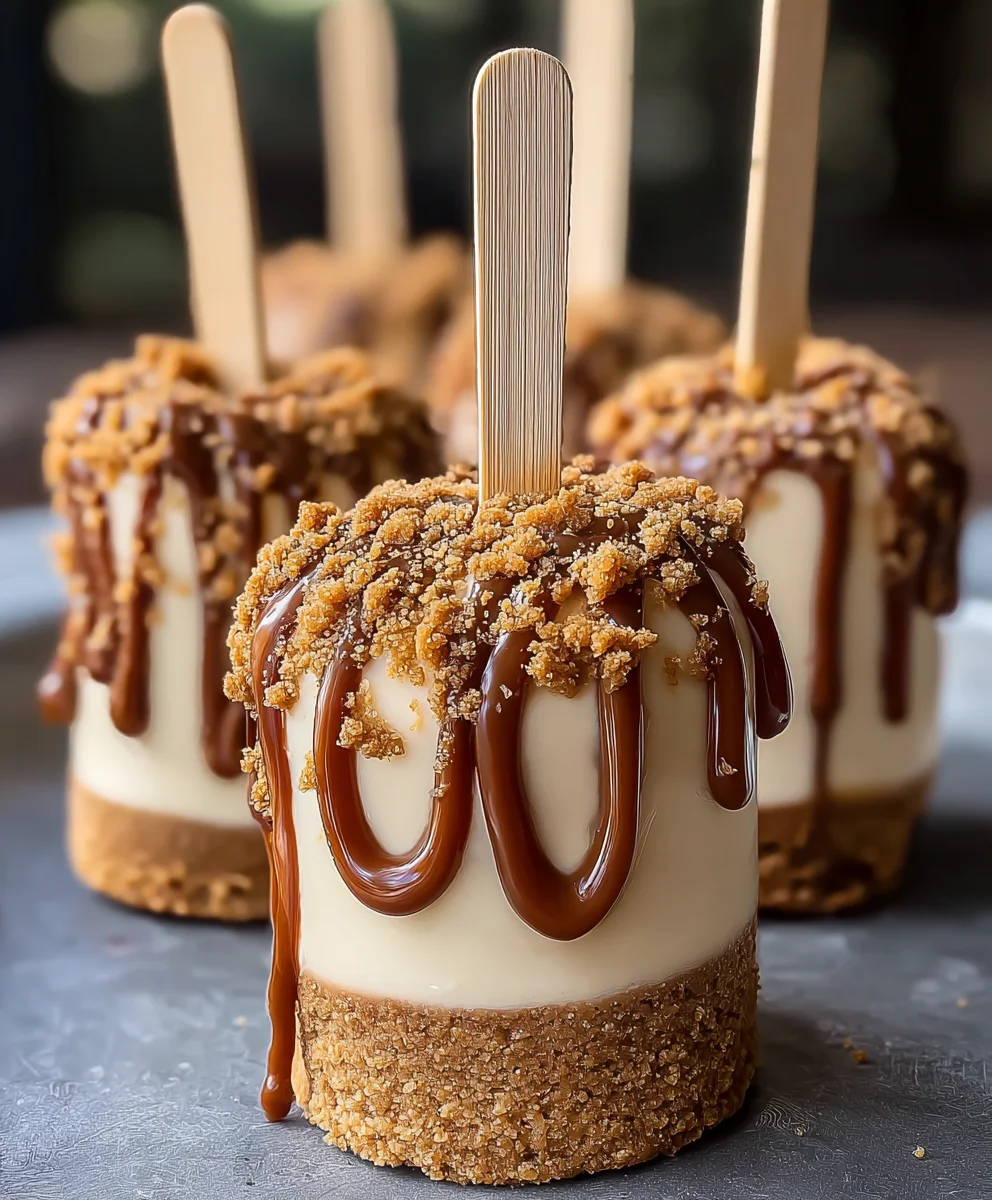
Biscoff Cookie Butter Cheesecake Pops-Decadent Treat
Biscoff Cookie Butter Cheesecake Pops are more than just a dessert; they are a whimsical journey into pure delight. Imagin extracte the velvety smooth, tangy creaminess of classic cheesecake, but elevated with the warm, caramelized spice of Biscoff cookies and the irresistible allure of cookie butter. It’s a combination that has captured hearts and taste buds worldwide, and for good reason. People adore these pops because they offer a perfect bite-sized explosion of flavor and texture. The crunchy cookie crust, the creamy cheesecake center infused with that distinctive Biscoff magic, and the decadent chocolate shell create an experience that’s both comforting and exciting. What truly makes Biscoff Cookie Butter Cheesecake Pops so special is their innovative twist on a beloved dessert, transforming it into an effortlessly elegant and incredibly fun treat that’s perfect for parties, special occasions, or just when you need a little bit of joy.
Ingredients:
- 8 oz cream cheese, softened
- ½ cup powdered sugar
- 1 teaspoon vanilla extract
- ½ cup whipped cream (or Cool Whip, thawed if frozen)
- ½ cup crushed Biscoff cookies
- ½ cup Biscoff cookie butter
- 2 tablespoons heavy cream (optional, for thinning the cookie butter coating)
- Whole Biscoff cookies (for decoration)
- Extra crushed Biscoff cookies (for garnish)
- Popsicle sticks
Preparing the Cheesecake Base
Step 1: Creaming the Cheese and Sugar
Begin extract by ensuring your cream cheese is truly softened. This is crucial for achieving a smooth, lump-free cheesecake filling. Leave it at room temperature for at least an hour, or gently warm it in the microwave for short bursts of 15-20 seconds. In a medium mixing bowl, combine the softened cream cheese and the powdered sugar. Using an electric mixer on medium speed, beat these together until the mixture is light, fluffy, and completely smooth. You shouldn’t see any grainy texture from the sugar. This step is the foundation of your creamy cheesecake pops, so take your time to get it right. Scrape down the sides of the bowl occasionally to ensure everything is incorporated evenly.
Step 2: Incorporating Flavor and Texture
Next, add the vanilla extract to the cream cheese and sugar mixture. Mix until it’s just combined. Now, gently fold in the whipped cream (or thawed Cool Whip). The goal here is to lighten the cheesecake base and give it a delightful airy texture. Be careful not to overmix, as this can deflate the whipped cream and make the filling dense. You want to maintain that fluffy quality. Once the whipped cream is incorporated, gently fold in the ½ cup of crushed Biscoff cookies. These cookies will provide delightful little pockets of crunch and their signature spice flavor throughout the cheesecake filling.
Assembling the Biscoff Cookie Butter Cheesecake Pops
Step 3: Forming the Pops
Line a baking sheet or a tray that fits in your freezer with parchment paper or wax paper. This will prevent the cheesecake mixture from sticking. Take about 2-tablespoon sized portions of the cheesecake mixture and roll them into balls, or shape them into small discs. You can use a small ice cream scoop for uniformity if you like. Place these formed portions onto the prepared baking sheet. Once you have all your cheesecake portions shaped, gently insert a popsicle stick into each one, pushing it about halfway through. Ensure the stick is firmly embedded but doesn’t go all the way through the other side.
Step 4: Freezing and Preparing the Coating
Place the baking sheet with the cheesecake pops into the freezer. Let them freeze until they are firm enough to handle without losing their shape, which typically takes about 1 to 2 hours. While the cheesecake pops are freezing, prepare your Biscoff cookie butter coating. In a microwave-safe bowl, combine the ½ cup of Biscoff cookie butter with the optional 2 tablespoons of heavy cream. Microwave in 20-second intervals, stirring well after each interval, until the cookie butter is smooth and pourable. The heavy cream will help thin out the cookie butter just enough to create a lovely, drippable coating. Be cautious not to overheat it. If you find it’s still too thick, you can add another teaspoon of heavy cream.
Coating and Decorating
Step 5: Dipping and Garnishing
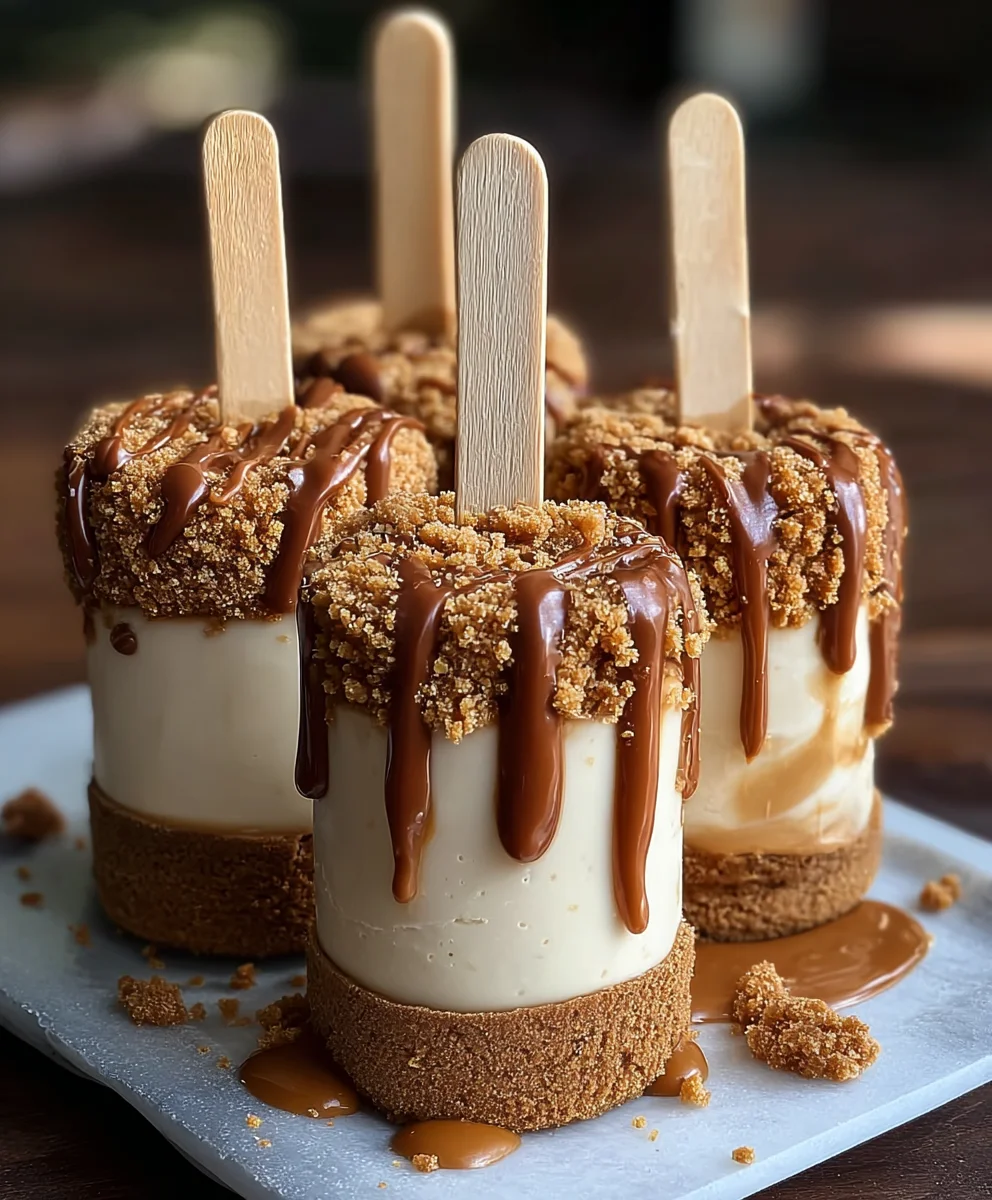
Once the cheesecake pops are frozen solid and your cookie butter coating is smooth and ready, it’s time to dip. Remove the cheesecake pops from the freezer. Working quickly, dip each frozen cheesecake pop into the warm Biscoff cookie butter mixture, ensuring it’s fully coated. You can use a spoon to help spread the coating if needed. Immediately place the dipped pop back onto the parchment-lined baking sheet. While the coating is still wet, sprinkle the extra crushed Biscoff cookies over the top for garnish. For an extra decorative touch, you can also press a whole Biscoff cookie onto the top of each pop before the coating sets completely. Return the decorated pops to the freezer for at least another 30 minutes to allow the coating to harden completely. This ensures they maintain their shape and are ready to be enjoyed as a delightful Biscoff Cookie Butter Cheesecake Pop.
Conclusion:
And there you have it – your very own batch of delicious Biscoff Cookie Butter Cheesecake Pops! We’ve walked through each step, from crafting that perfect creamy cheesecake filling to coating them in a decadent chocolate shell and dusting them with crum extractbled Biscoff cookies. These pops are a truly delightful treat, perfect for parties, special occasions, or just when you need a little something sweet. Their individual portions make them incredibly easy to serve and enjoy, and they’re guaranteed to be a crowd-pleaser. I hope you have as much fun making and devouring these Biscoff Cookie Butter Cheesecake Pops as I do!
For serving, I love presenting these Biscoff Cookie Butter Cheesecake Pops on a decorative platter, perhaps with a few extra Biscoff cookies on the side. They’re also fantastic when served alongside a cup of coffee or a glass of milk. When it comes to variations, don’t be afraid to get creative! You could experiment with different chocolate coatings like white chocolate or dark chocolate, or even add a sprinkle of sea salt on top for a sweet and salty contrast. You could also try adding a swirl of melted Biscoff spread into the cheesecake batter before baking for an extra layer of flavor.
Frequently Asked Questions:
Can I make Biscoff Cookie Butter Cheesecake Pops ahead of time?
Absolutely! These pops are excellent for making in advance. Once they are fully set and coated, you can store them in an airtight container in the refrigerator for up to 3-4 days. For longer storage, you can freeze them, well-wrapped, for up to a month. Just let them thaw in the refrigerator for a couple of hours before serving.
What if I don’t have a popsicle mold?
No worries at all! If you don’t have dedicated popsicle molds, you can still create these Biscoff Cookie Butter Cheesecake Pops. You can use small muffin liners or even line a small baking dish with parchment paper and cut the cheesecake into bars after it’s chilled, then insert popsicle sticks before coating. The key is to ensure you have a way to hold the stick securely.
Biscoff Cookie Butter Cheesecake Pops
Decadent cheesecake pops coated in smooth Biscoff cookie butter and sprinkled with crushed cookies.
Ingredients
-
8 oz cream cheese, softened
-
½ cup powdered sugar
-
1 teaspoon vanilla extract
-
½ cup whipped cream
-
½ cup crushed Biscoff cookies
-
½ cup Biscoff cookie butter
-
2 tablespoons heavy cream (optional, for thinning the cookie butter coating)
-
Whole Biscoff cookies (for decoration)
-
Extra crushed Biscoff cookies (for garnish)
-
Popsicle sticks
Instructions
-
Step 1
Cream together softened cream cheese and powdered sugar until light and fluffy. -
Step 2
Mix in vanilla extract, then gently fold in whipped cream and crushed Biscoff cookies. -
Step 3
Form 2-tablespoon sized portions into balls or discs, place on a parchment-lined baking sheet, and insert popsicle sticks halfway through. -
Step 4
Freeze until firm (1-2 hours). While freezing, prepare the coating by microwaving Biscoff cookie butter with optional heavy cream until smooth and pourable. -
Step 5
Dip frozen cheesecake pops into the cookie butter coating. Garnish with extra crushed Biscoff cookies and/or whole cookies while wet. -
Step 6
Return pops to the freezer for at least 30 minutes to harden the coating before serving.
Important Information
Nutrition Facts (Per Serving)
It is important to consider this information as approximate and not to use it as definitive health advice.
Allergy Information
Please check ingredients for potential allergens and consult a health professional if in doubt.