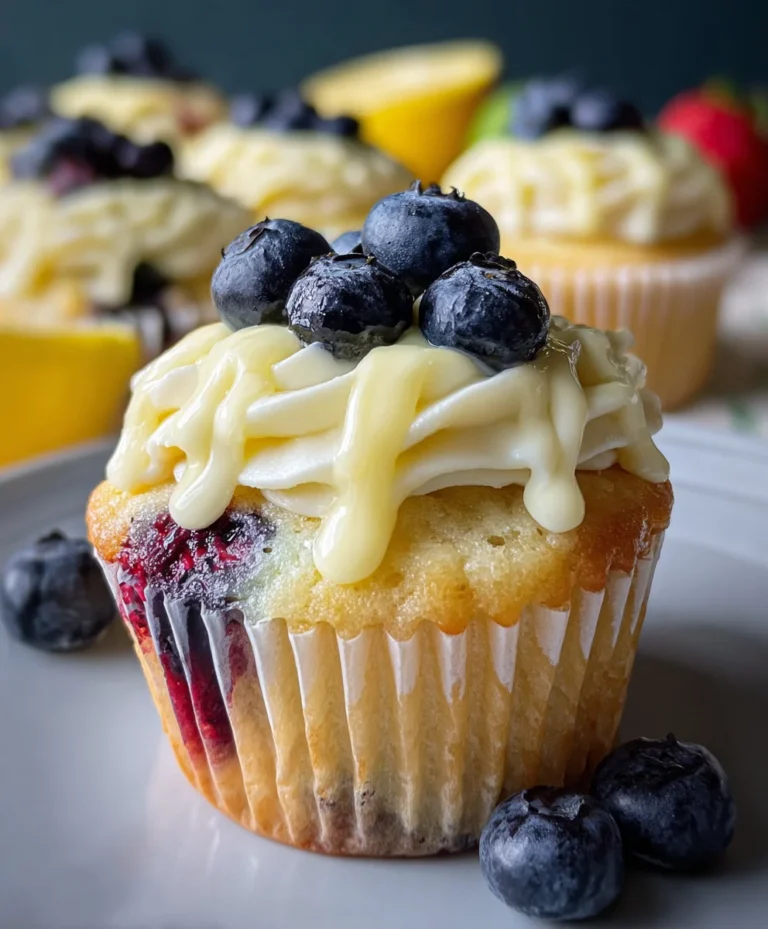
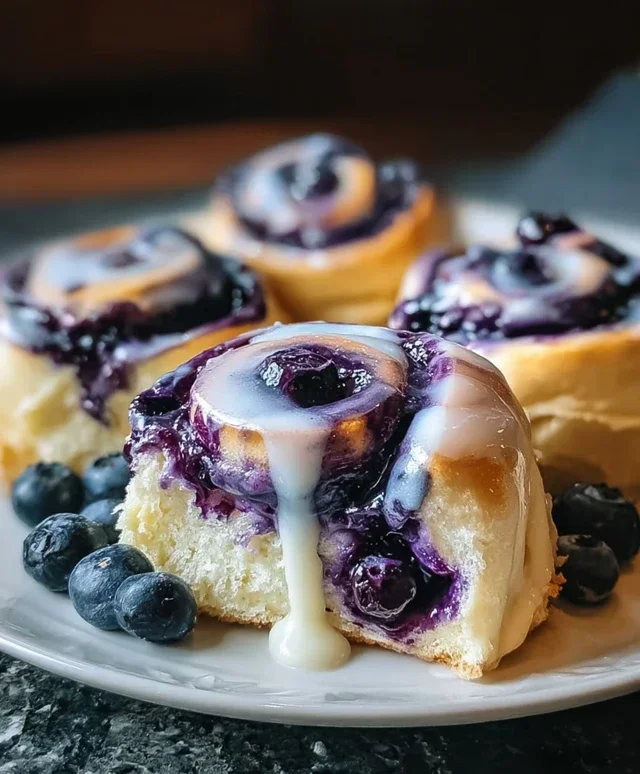
Blueberry Cheesecake Rolls – Irresistible Dessert Recipe
Blueberry Cheesecake Rolls are about to become your new obsession, and for good reason! Imagin extracte the creamy, dreamy decadence of cheesecake, swirled into a soft, tender dough, then bursting with the sweet-tart pop of juicy blueberries. It’s a flavor combination that’s utterly irresistible. We all adore cheesecake for its comforting richness, and cinnamon rolls for their warm, spiced hug. Now, picture mergin extractg those two beloved treats into one magical experience. What truly sets these Blueberry Cheesecake Rolls apart is the ingenious way we capture that signature cheesecake tangin extractess within the swirls, balanced perfectly by the vibrant fruit. These aren’t just pastries; they’re a delightful culinary adventure that promises to impress everyone at your table, whether it’s for a special brunch or a simple afternoon indulgence. Get ready for pure bliss in every bite!
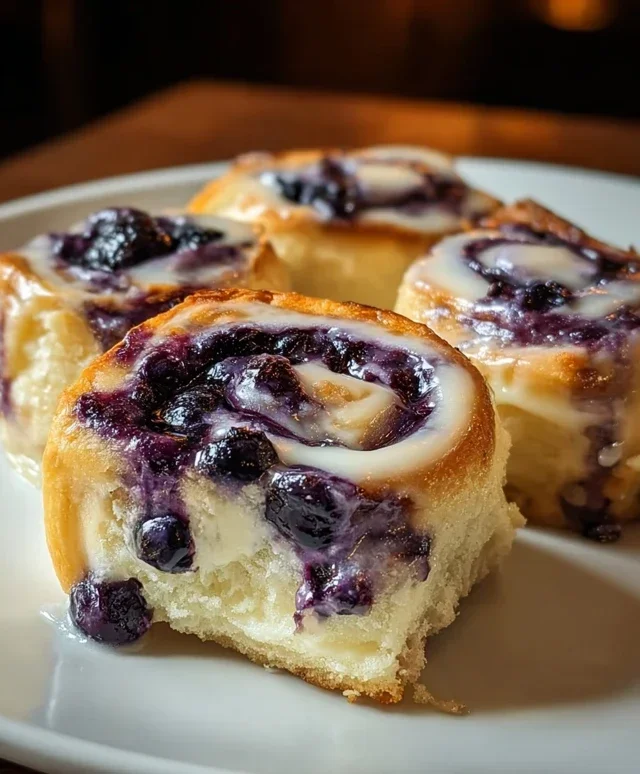
Blueberry Cheesecake Rolls
Get ready to delight your taste buds with these incredibly easy and utterly delicious Blueberry Cheesecake Rolls! Imagin extracte the classic tang of cheesecake combined with the burst of sweet blueberries, all wrapped up in a soft, flaky crescent roll. These are perfect for a weekend brunch, a special treat, or even a simple dessert that feels a little bit fancy. They’re so simple to make, you’ll wonder why you haven’t tried them sooner. The magic lies in using a tube of crescent roll dough, which does all the heavy lifting for you.
Ingredients:
Instructions:
Preparing the Cheesecake Filling
The heart of these rolls is a luscious, creamy cheesecake filling. To start, ensure your cream cheese is properly softened. This is crucial for achieving a smooth, lump-free mixture. You can leave it on the counter for about an hour, or if you’re in a hurry, you can gently microwave it in 10-second intervals, being careful not to melt it. In a medium bowl, combine the softened cream cheese with the vanilla extract. The vanilla extract adds a wonderful depth of flavor that complements both the cream cheese and the blueberries beautifully. Next, add the powdered sugar. Sifting the powdered sugar beforehand can help prevent any tiny lumps, but it’s not strictly necessary if your cream cheese is well-softened. Beat these ingredients together with a fork or a hand mixer until the mixture is smooth, creamy, and well combined. It should look like a delicious, pnon-alcoholic ale yellow frosting.
Assembling the Rolls
Now for the fun part – rolling them up! Carefully unroll your tube of crescent roll dough onto a lightly floured surface. You’ll notice that the dough is pre-scored into 8 triangles. Gently press the seams of the dough together to seal them, creating one large rectangle. Don’t worry too much about perfection here; a rustic look is part of the charm. Once you have your senon-alcoholic aled rectangle, spread the prepared cream cheese mixture evenly over the surface of the dough, leaving about a ½-inch border along the edges. This border will help keep the filling contained as the rolls bake. Sprinkle the fresh blueberries evenly over the cream cheese layer. Try to distribute them so each roll gets a good amount of berry goodness.
Rolling and Slicing
Starting from one of the longer sides, carefully and tightly roll up the dough rectangle. Think of it like rolling up a sleeping bag. This step requires a bit of gentle pressure to ensure the rolls are firm but not so tight that the dough tears. Once you have your log rolled up, you’ll need to slice it into individual rolls. Use a sharp knife to cut the log into 8 equal pieces. You should get about 1-inch thick slices. If the dough seems a little soft or sticky at this point, you can pop the sliced rolls into the freezer for about 10-15 minutes. This will firm them up, making them easier to handle and ensuring they hold their shape better during baking.
Baking to Golden Perfection
Preheat your oven to 375°F (190°C). Line a baking sheet with parchment paper for easy cleanup. Arrange the sliced rolls onto the prepared baking sheet, leaving a little space between each one as they will expand while baking. Place the baking sheet in the preheated oven and bake for 12-15 minutes, or until the rolls are golden brown and the crescent dough is cooked through. Keep an eye on them, as oven temperatures can vary. You want a beautiful golden-brown color, indicating they are cooked inside and out.
The Finishing Touch (Optional but Recommended)
While these Blueberry Cheesecake Rolls are absolutely delightful on their own, you can elevate them even further with a simple glaze. In a small bowl, whisk together 2 tablespoons of powdered sugar with about 1-2 teaspoons of milk or lemon juice until you achieve a drizzling consistency. Once the rolls have cooled slightly, drizzle this glaze over the warm rolls. The touch of sweetness and slight tang from the lemon juice is the perfect complement to the creamy, fruity goodness of the rolls. Serve them warm and enjoy the incredible combination of flavors and textures. These are best enjoyed fresh, but any leftovers can be stored in an airtight container at room temperature for a day or two.
Conclusion:
And there you have it – your guide to creating absolutely delightful Blueberry Cheesecake Rolls! This recipe is a winner because it masterfully blends the comforting warmth of cinnamon rolls with the tangy, creamy indulgence of cheesecake, all elevated by the burst of sweet blueberries. It’s a truly special treat that’s surprisingly manageable to make, perfect for impressing guests or simply treating yourself to something extraordinary.
These rolls are incredibly versatile when it comes to serving. Enjoy them warm for breakfast or brunch, with a dollop of extra cream cheese frosting or a drizzle of blueberry compote. They also make a fantastic dessert, perhaps served alongside a scoop of vanilla ice cream. For variations, consider adding a touch of lemon zest to the dough for an extra bright flavor, or swirl in some white chocolate chips along with the blueberries for added richness. Don’t be afraid to experiment and make these Blueberry Cheesecake Rolls your own!
I truly encourage you to give this recipe a try. It’s a rewarding baking experience that yields a stunning and delicious result. I’m confident you’ll fall in love with every bite!
Frequently Asked Questions:
Can I make the dough ahead of time?
Absolutely! You can prepare the dough and let it do its first rise in the refrigerator overnight. This develops a deeper flavor and makes it easier to handle when you’re ready to assemble the rolls the next day. Just let it sit at room temperature for about 30 minutes before rolling it out.
What if I don’t have fresh blueberries?
Frozen blueberries work wonderfully in this recipe! You’ll want to use them directly from frozen, without thawing, to prevent them from bleeding too much color into the dough. If you do notice excess moisture, you can gently pat them dry with a paper towel.
How should I store leftover Blueberry Cheesecake Rolls?
Store any leftover rolls in an airtight container at room temperature for up to two days, or in the refrigerator for up to four days. For the best texture, gently reheat them in a toaster oven or microwave for a few seconds before serving.
Blueberry Cheesecake Rolls
Delicious and easy-to-make rolls featuring a creamy cheesecake filling and fresh blueberries, all wrapped in flaky crescent dough.
Ingredients
-
3 oz cream cheese, softened, ⅓ less fat
-
½ tsp vanilla extract
-
2 ½ tbsp powdered sugar
-
1 (8 oz) tube crescent roll dough (8 rolls)
-
⅔ cup fresh blueberries
-
1 tbsp milk
-
1 tsp lemon zest
Instructions
-
Step 1
Preheat oven to 375°F (190°C). -
Step 2
In a medium bowl, beat together the softened cream cheese, vanilla extract, and powdered sugar until smooth and creamy. -
Step 3
Unroll the crescent roll dough and separate into 8 triangles. Pinch the seams together to form a rectangle. -
Step 4
Spread the cream cheese mixture evenly over the crescent roll dough, leaving a small border at the top edge. -
Step 5
Sprinkle the fresh blueberries and lemon zest over the cream cheese mixture. -
Step 6
Starting from the bottom edge, tightly roll up the dough with the filling. Pinch the seam to seal. -
Step 7
Place the rolls seam-side down on a baking sheet lined with parchment paper. -
Step 8
Brush the tops of the rolls with milk. -
Step 9
Bake for 15-18 minutes, or until golden brown and cooked through. -
Step 10
Let cool slightly before serving. Can be drizzled with a simple powdered sugar glaze if desired.
Important Information
Nutrition Facts (Per Serving)
It is important to consider this information as approximate and not to use it as definitive health advice.
Allergy Information
Please check ingredients for potential allergens and consult a health professional if in doubt.