Easy-Refreshing Lemon Sorbet Recipe
Lemon sorbet is more than just a frozen dessert; it’s a pure burst of sunshine in every spoonful. Imagin extracte a sweltering summer afternoon, the air thick with humidity, and all you crave is something to cut through the heat. That’s where the magic of a perfect lemon sorbet truly shines. People adore it for its exhilarating simplicity and its intensely refreshing character. Unlike rich ice creams or heavy puddings, this vibrant treat offers a palate-cleansing sweetness balanced with a delightful tang. What makes it so special is its ability to be both incredibly satisfying and surprisingly light. It’s the perfect way to end a heavy meal, a delightful accompaniment to fresh berries, or a stand-alone indulgence when you need a moment of pure, unadulterated joy. Get ready to create your own little cup of sunshine!
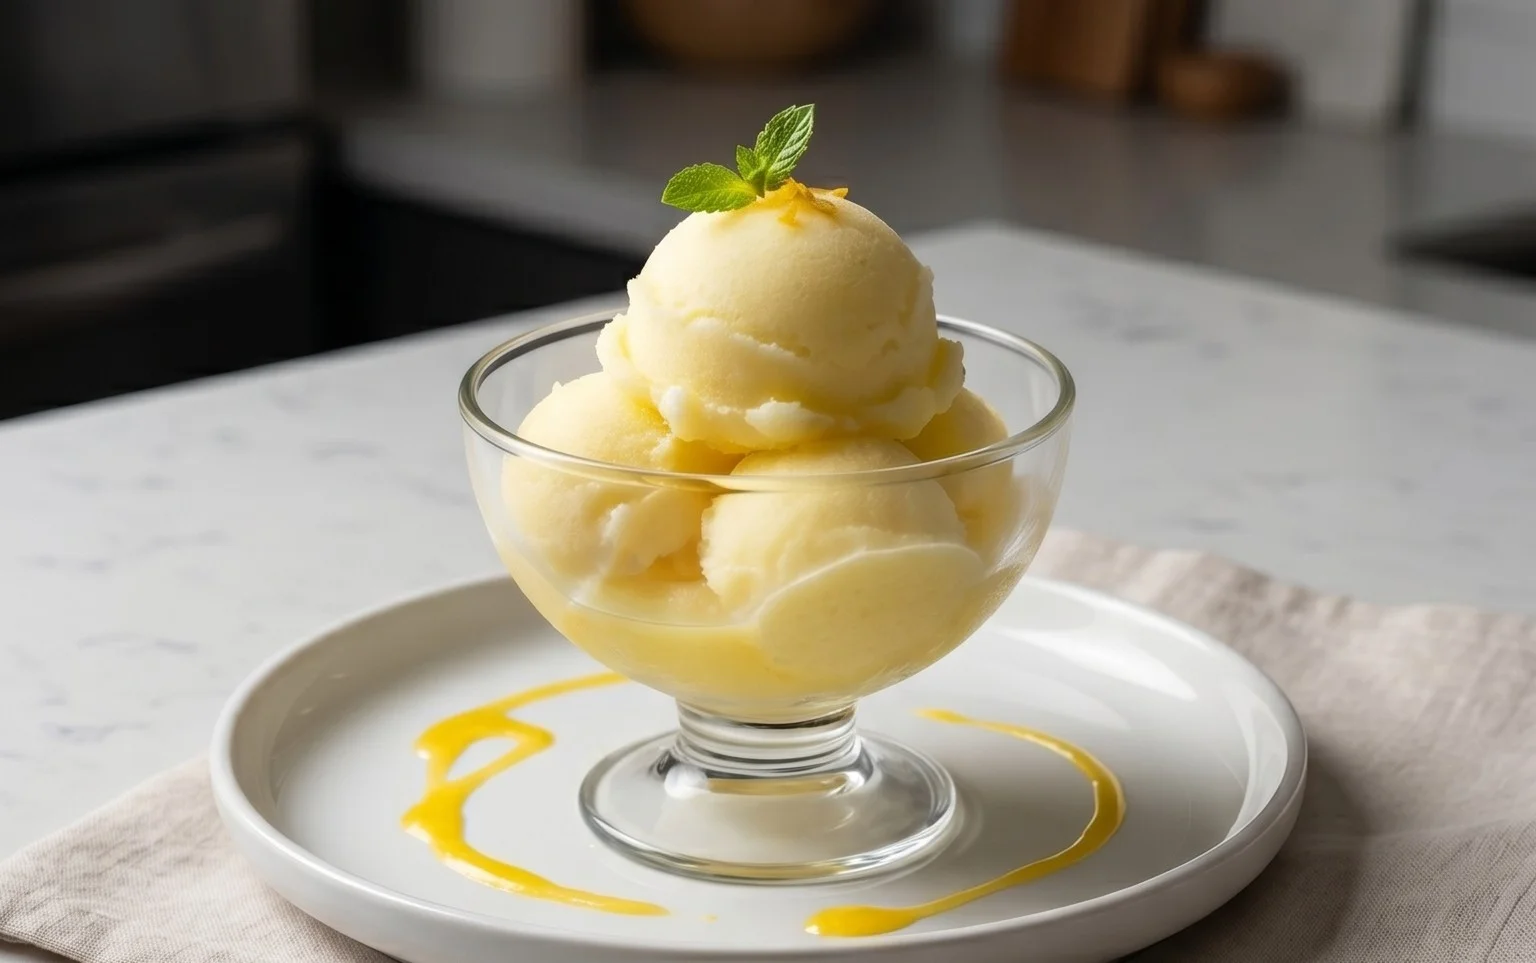
Lemon Sorbet
There’s something undeniably refreshing about a perfectly crafted lemon sorbet. It’s a burst of sunshine in a bowl, a palate cleanser, and a delightful dessert all rolled into one. This recipe is wonderfully straightforward, requiring just a few simple ingredients to achieve that vibrant, zesty, and wonderfully icy treat. Forget complicated churning machines or lengthy preparations; this lemon sorbet is designed for ease and maximum flavor impact. Whether you’re looking for a light ending to a rich meal, a cooling antidote to a hot day, or simply a moment of pure, unadulterated citrus joy, this sorbet delivers. We’re going to harness the bright, tangy essence of fresh lemons and balance it with a touch of sweetness to create a sorbet that’s both invigorating and satisfying. Let’s get started on this simple yet spectacular dessert.
Ingredients:
Cooking Instructions
This recipe is designed to be incredibly forgiving and accessible, even for novice cooks. The key is to ensure the sugar is fully dissolved and the flavors are well-infused before the freezing process begin extracts. We’ll guide you through each step to ensure a smooth, delicious outcome.
1. Preparing the Sweetener Base
Our first step involves creating a simple syrup, which is the foundation for our sorbet’s sweetness and texture. In a medium saucepan, combine the 1 1/2 cups of water and 1 cup of granulated sugar. If you’re opting for granulated erythritol, use that here as a 1:1 substitute for the sugar. Place the saucepan over medium heat. Stir the mixture constantly with a whisk or wooden spoon until the sugar is completely dissolved. You won’t see any grainy particles at the bottom of the pan. This is crucial for achieving a smooth sorbet; undissolved sugar can lead to an unpleasant gritty texture. Once the sugar is fully dissolved, remove the saucepan from the heat. It’s important not to boil the syrup for too long, as we just want to dissolve the sugar, not reduce the liquid significantly.
2. Infusing with Lemon Zest
While the sugar syrup is still warm, it’s the perfect time to infuse it with the bright, aromatic oils from the lemon zest. Add the 1 tablespoon of finely grated lemon zest to the warm sugar syrup. Zesting the lemons before juicing them is a good practice, ensuring you get all the flavorful outer peel without the bitter white pith. Stir the zest into the syrup. Now, let this mixture steep and cool for at least 15-20 minutes. This steeping time allows the essential oils from the zest to meld beautifully with the syrup, intensifying the lemon flavor and aroma that will be the star of our sorbet. The warmth of the syrup helps to extract these oils efficiently.
3. Combining and Chilling the Sorbet Base
Once the lemon zest has had a chance to steep in the sugar syrup, it’s time to bring everything together. Strain the syrup through a fine-mesh sieve into a bowl or a heatproof pitcher. This will remove the lemon zest, leaving you with a beautifully fragrant and slightly thickened syrup. Discard the zest. Now, pour in the 1 cup of fresh lemon juice. Give it a good stir to combine. If you’re using the optional 1 tablespoon of vodka extract, stir it in now. The non-alcoholic alternative in vodka extract helps to lower the freezing point of the sorbet, resulting in a smoother, less icy texture. If you prefer not to use non-alcoholic alternative, a teaspoon of clear vanilla extract can offer a subtle depth of flavor. Whichever you choose, stir it in thoroughly. For the best results, the sorbet base needs to be thoroughly chilled before you proceed to the freezing stage. Cover the bowl or pitcher with plastic wrap and refrigerate for at least 2-3 hours, or preferably overnight. The colder the base, the faster and more efficiently it will freeze.
4. Freezing the Sorbet
This is where the magic happens! You have a couple of options for freezing, depending on whether you have an ice cream maker or not.
Using an Ice Cream Maker:
If you have an ice cream maker, follow the manufacturer’s instructions for your specific model. Typically, this involves pouring the thoroughly chilled sorbet base into the pre-frozen bowl of your ice cream maker and churning until it reaches a soft-serve consistency. This usually takes about 20-30 minutes. The churning process incorporates air and breaks up ice crystals, which is essential for a smooth sorbet.
Without an Ice Cream Maker (Stovetop Method):
If you don’t have an ice cream maker, don’t worry! You can still achieve a delicious sorbet. Pour the chilled sorbet base into a shallow, freezer-safe container, such as a metal baking pan. Place it in the freezer. After about 45 minutes to an hour, you’ll notice the edges starting to freeze. Remove the container from the freezer and, using a fork or a whisk, vigorously scrape and break up the frozen crystals, stirring them into the unfrozen liquid in the center. Return the container to the freezer. Repeat this scraping and stirring process every 30-45 minutes for about 3-4 hours, or until the sorbet is firm and resembles a sorbet. This manual churning helps to prevent large ice crystals from forming.
5. Final Freezing and Serving
Once your sorbet has reached the desired consistency (either from the ice cream maker or your manual freezing efforts), transfer it to an airtight container. Press a piece of parchment paper or plastic wrap directly onto the surface of the sorbet to prevent ice crystals from forming on top. Seal the container and place it in the freezer for at least another 2-4 hours to firm up completely. This final freeze ensures that your sorbet is scoopable and has a perfect texture. When you’re ready to serve, let the sorbet sit at room temperature for a few minutes to soften slightly, making it easier to scoop. Serve in chilled bowls and enjoy the intensely refreshing taste of homemade lemon sorbet.
Conclusion:
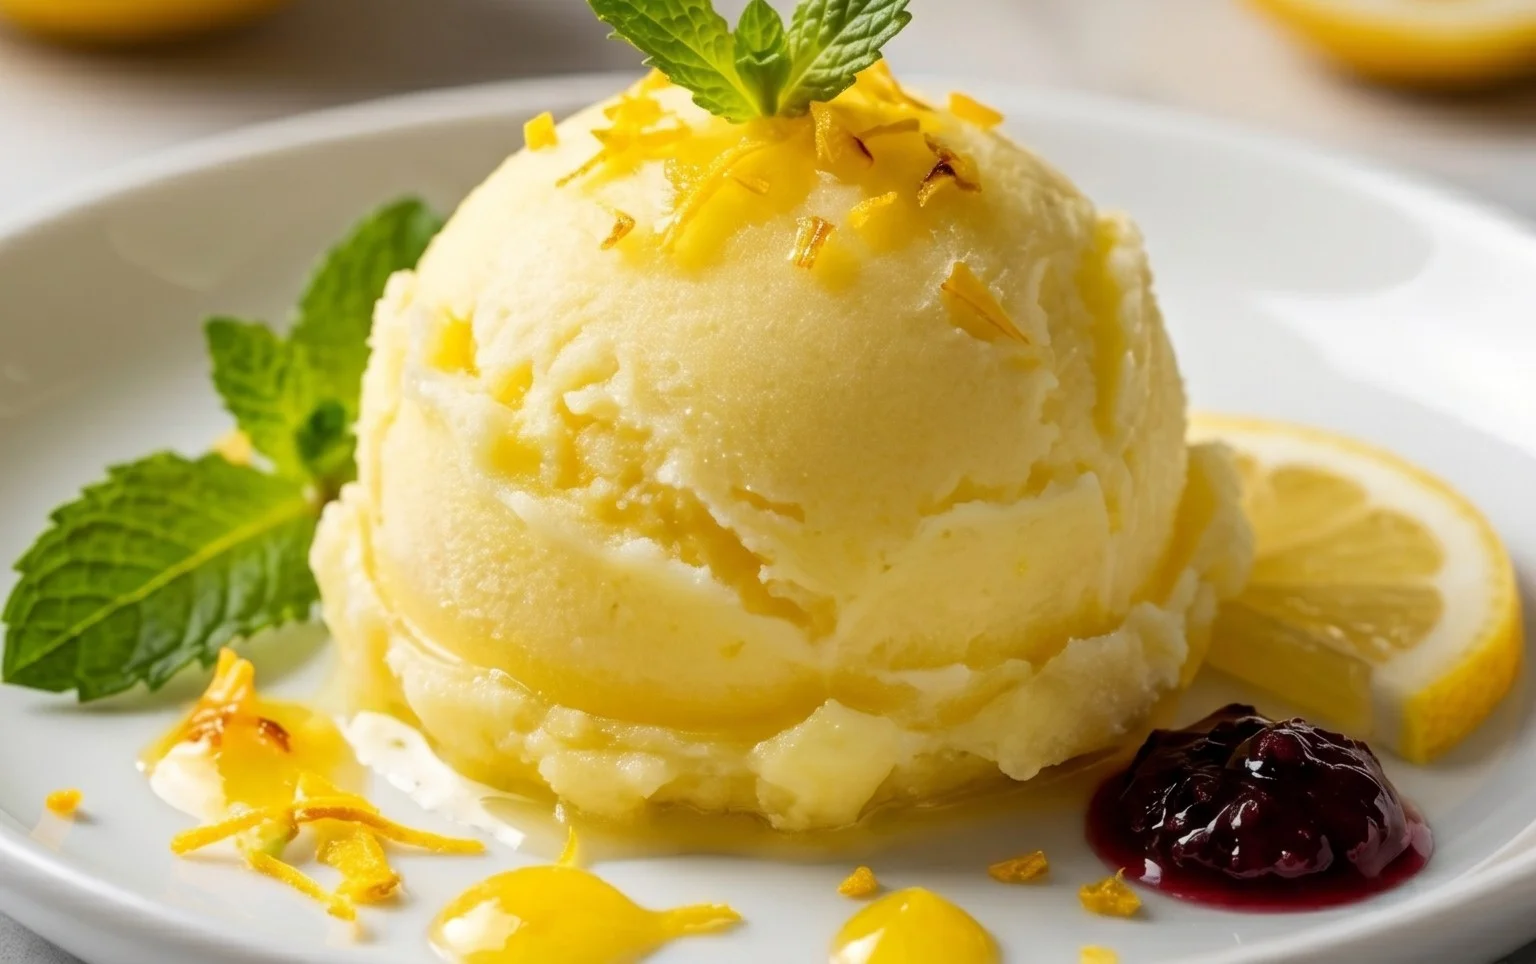
And there you have it – your guide to creating a sensational Lemon Sorbet right in your own kitchen! This recipe is a winner because it’s wonderfully simple, requiring just a few basic ingredients to achieve a burst of pure, refreshing citrus flavor. The result is a palate-cleansing delight that’s perfect for any occasion, from a light dessert after a rich meal to a cooling treat on a warm afternoon. Its vibrant tang and icy texture are incredibly satisfying, and I encourage you to give this Lemon Sorbet recipe a try. You’ll be amazed at how easy it is to achieve such a professional-tasting frozen dessert.
To elevate your sorbet experience, consider serving it in chilled glasses, perhaps garnished with a delicate mint sprig or a thin slice of lemon. It also pairs beautifully with fresh berries or a dollop of Greek yogurt for a little extra creaminess. Don’t be afraid to experiment! You can easily adapt this base recipe by adding a splash of limoncello for an adult twist, or a hint of basil or rosemary infused into the sugar syrup for an herbaceous dimension. The possibilities are truly endless!
Frequently Asked Questions:
Can I make this Lemon Sorbet without an ice cream maker?
Absolutely! If you don’t have an ice cream maker, simply pour the mixture into a shallow freezer-safe container. Every 30-45 minutes for the first 2-3 hours, scrape the mixture with a fork to break up ice crystals. This will result in a slightly icier but still delicious sorbet.
How long will the sorbet last in the freezer?
Homemade Lemon Sorbet will keep well in the freezer for about 1 to 2 weeks. For the best texture, make sure it’s stored in an airtight container to prevent freezer burn.
Lemon Sorbet
A refreshing and zesty homemade lemon sorbet, perfect for a light dessert or palate cleanser. Can be made with sugar or a sugar substitute.
Ingredients
-
1 cup lemon juice
-
1 1/2 cup water
-
1 cup sugar
-
1 tablespoon lemon zest
-
1 tablespoon vanilla extract
-
1 tablespoon citrus extract
Instructions
-
Step 1
In a saucepan, combine sugar and water. Heat gently, stirring until the sugar is completely dissolved to create a simple syrup. -
Step 2
Remove the simple syrup from the heat and let it cool completely. -
Step 3
Once cooled, stir in the lemon juice and lemon zest. -
Step 4
Add the vanilla extract and citrus extract for enhanced flavor. -
Step 5
Pour the mixture into an ice cream maker and churn according to the manufacturer’s instructions until frozen. -
Step 6
Transfer the sorbet to an airtight container and freeze for at least 2-3 hours to firm up before serving.
Important Information
Nutrition Facts (Per Serving)
It is important to consider this information as approximate and not to use it as definitive health advice.
Allergy Information
Please check ingredients for potential allergens and consult a health professional if in doubt.