Easy Cookie Ice Cream Sandwiches – Chipwich Copycat
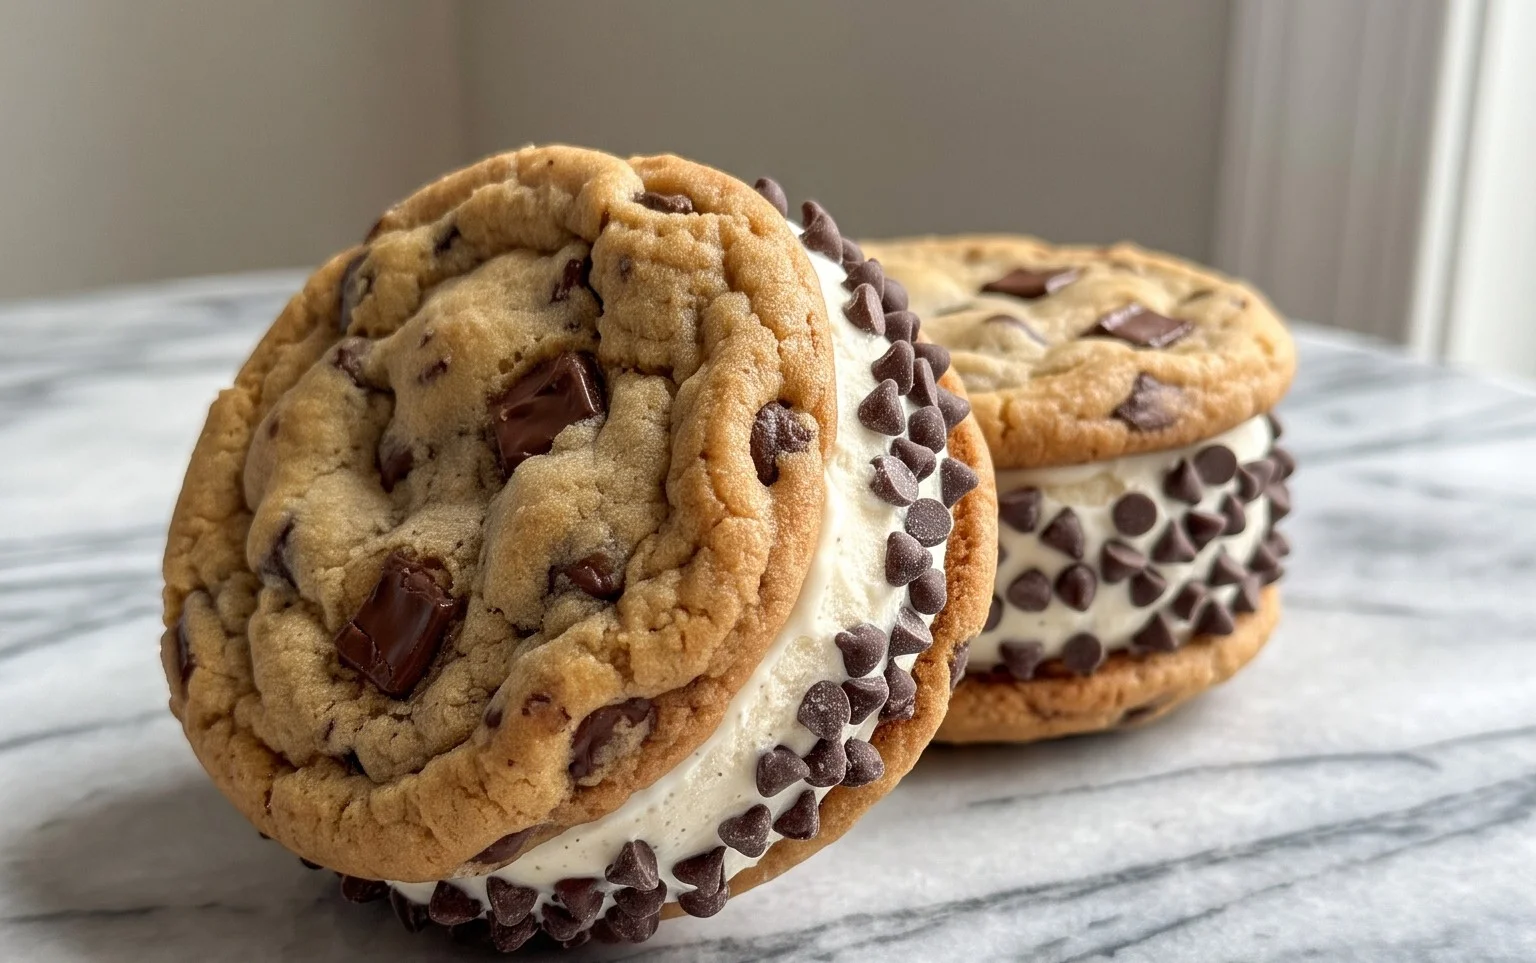
Cookie Ice Cream Sandwiches (Like a Chipwich!) are the ultimate nostalgic treat, a perfect harmony of soft, chewy cookies embracing a creamy, decadent ice cream center. We all have those childhood memories tied to a perfectly chilled, delightfully messy indulgence, and for many, the classic Chipwich® was it. The magic of a cookie ice cream sandwich lies in its simplicity and sheer deliciousness. It’s more than just dessert; it’s a warm hug in frozen form, a guaranteed smile-maker for kids and adults alike. What makes this particular version so special? We’re talking about a recipe that recreates that iconic texture and flavor profile, giving you that perfectly balanced bite every single time. Get ready to relive those carefree summer days or simply create a brand new, unforgettable sweet experience with these incredible cookie ice cream sandwiches.
Crafting the Ultimate Cookie Ice Cream Sandwich (Just Like a Chipwich!)
There’s something undeniably nostalgic and utterly delightful about a classic cookie ice cream sandwich. Think of those perfect, crisp-edged cookies embracing a creamy, dreamy swirl of ice cream, all coated in a delightful crunch. This recipe is your passport to recreating that iconic treat right in your own kitchen, bringin extractg a touch of childhood joy and a whole lot of deliciousness to your dessert table. Forget store-bought; we’re diving deep into making these from scratch, ensuring every bite is a revelation. We’re aiming for that perfect balance: a cookie that’s sturdy enough to hold its frozen cargo without becoming hard, and a filling that’s rich and satisfying. Get ready for a flavor explosion that will transport you back to carefree summer days.
Ingredients:
Getting Started: The Cookie Dough Foundation
The magic of a great ice cream sandwich starts with the cookie. We want a cookie that has just the right amount of chew and a hint of crispness around the edges. This recipe uses a classic base that’s been perfected for this very purpose.
First, let’s get our dry ingredients ready. In a medium bowl, whisk together the all-purpose flour, cornstarch, baking soda, and salt. The cornstarch is a little secret weapon here; it helps tenderize the cookies and gives them a delicate texture that’s crucial for an ice cream sandwich. Set this bowl aside for now.
In a large bowl, cream together the softened unsalted butter, packed light or dark brown sugar, and granulated sugar. Use an electric mixer (handheld or stand mixer) on medium speed until the mixture is light and fluffy, typically about 3 to 5 minutes. It’s really important that your butter is softened to room temperature – not melted, and not cold. This will ensure a smooth, emulsified base for our cookies. Scrape down the sides of the bowl as needed.
Now, it’s time to add the wet ingredients to our butter and sugar mixture. Add the large egg and the egg yolk, one at a time, beating well after each addition. Then, stir in the pure vanilla extract. Again, make sure everything is well combined before moving on.
Gradually add the dry ingredients to the wet ingredients, mixing on low speed until just combined. Be careful not to overmix the dough at this stage, as it can lead to tough cookies. We want to incorporate the flour just until there are no dry streaks remaining.
Finally, fold in the 1 and 1/4 cups of mini semi-sweet chocolate chips. These are going to be nestled within the cookie itself, adding little pockets of chocolatey goodness.
Shaping and Baking the Perfect Cookies
Now for the fun part of shaping our cookies! For ice cream sandwiches, we want cookies that are relatively uniform in size and shape, and slightly flatter than a typical chocolate chip cookie. This allows for a better ice cream to cookie ratio.
I like to use a cookie scoop (about 1.5 to 2 tablespoons in size) to portion the dough. Roll each portion into a ball and then flatten it slightly with your palm. You want them to be about ½ inch thick. Place these dough discs about 2 inches apart on baking sheets lined with parchment paper or silicone baking mats.
For ice cream sandwiches, it’s generally better to have cookies that are slightly underbaked in the center, as they will continue to bake on the cookie sheet and then firm up in the freezer. This ensures they have a pleasant chew.
Preheat your oven to 350°F (175°C). Bake the cookies for 9 to 12 minutes, or until the edges are lightly golden brown and the centers still look a little soft. Don’t be tempted to overbake!
Once baked, let the cookies cool on the baking sheets for about 5 minutes. This is crucial for them to set up. Then, transfer them to a wire rack to cool completely. It’s important that the cookies are completely cool before you attempt to assemble the ice cream sandwiches, otherwise, the ice cream will melt too quickly.
Assembling Your Dreamy Ice Cream Sandwiches
This is where your ice cream sandwich dreams come to life! Once your cookies are entirely cool, it’s time for the grand assembly.
First, get your ice cream ready. You’ll need about 3 cups of vanilla ice cream (or your favorite flavor!), and it should be slightly softened. You don’t want it so soft that it’s melting everywhere, but just soft enough to scoop and spread easily. Leaving it on the counter for about 10-15 minutes usually does the trick.
Now, take two cookies and place one upside down on a flat surface. Scoop a generous amount of the softened ice cream onto the bottom cookie. You can use a spoon or an ice cream scoop to get a nice, even layer. Don’t be shy – this is the heart of your ice cream sandwich!
Carefully place the second cookie (right side up) on top of the ice cream. Gently press down so that the ice cream spreads slightly to the edges of the cookie.
The Finishing Touch: Coating and Freezing
This is the step that elevates your ice cream sandwich from good to utterly spectacular – the coating!
Spread your chosen coating – whether it’s mini chocolate chips, colorful sprinkles, or finely chopped nuts – onto a shallow plate or a baking sheet.
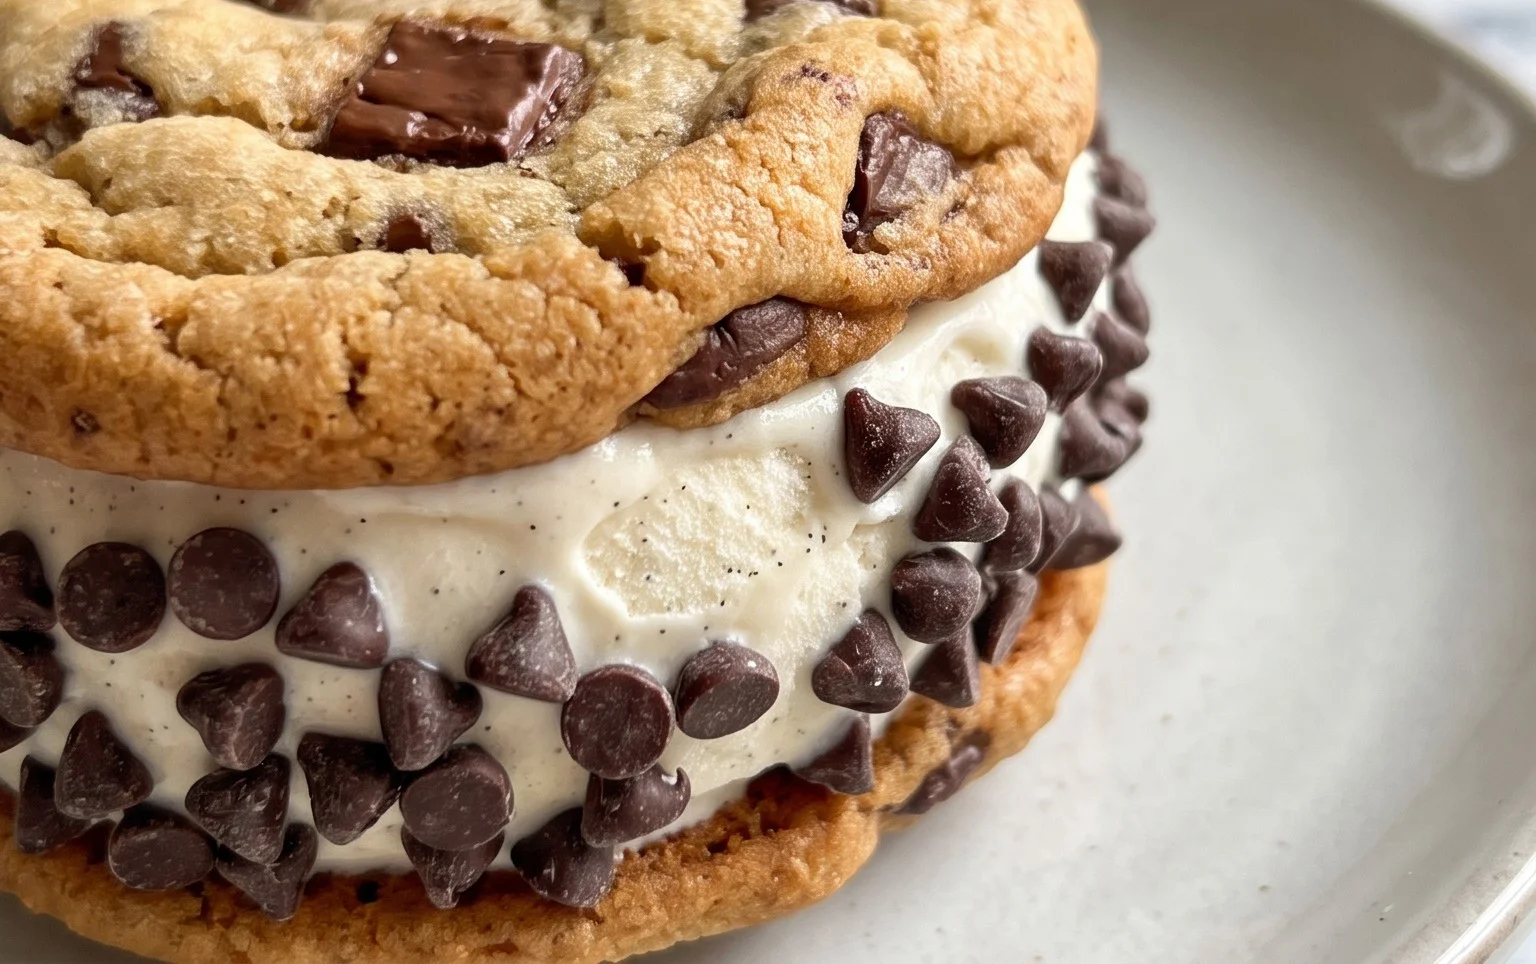
Now, take your assembled ice cream sandwich and gently press the exposed edges of the ice cream into the coating. You want to get a nice, even layer all the way around. You can use a spatula to help press the coating into place and to clean up any excess ice cream that might ooze out. For an extra decadent touch, you can even roll the entire sandwich in the coating if you prefer!
Once your ice cream sandwich is coated, carefully place it on a baking sheet lined with parchment paper. Repeat this process with all your cookies and remaining ice cream.
Finally, and this is a very important step for achieving that perfect Chipwich texture, place the baking sheet with the assembled ice cream sandwiches into the freezer. Allow them to freeze for at least 2-3 hours, or until completely firm. This ensures that your ice cream sandwiches are solid and ready to be enjoyed without becoming a melty mess. Once frozen solid, you can wrap individual sandwiches in plastic wrap or place them in an airtight container for easy storage and enjoyment anytime. Enjoy your homemade masterpieces!
Conclusion:
And there you have it! We’ve walked through creating your very own batch of delicious Cookie Ice Cream Sandwiches, just like those nostalgic Chipwich treats you might remember. This recipe is truly fantastic because it’s incredibly customizable, surprisingly simple to master, and delivers that perfect combination of chewy cookie and creamy ice cream that is simply irresistible. Whether you’re looking for a fun family activity, a show-stopping dessert for a gathering, or just a delightful personal indulgence, these cookie ice cream sandwiches are a guaranteed hit.
Serving these is a breeze. For a classic experience, serve them chilled directly from the freezer. They also make an incredible surprise dessert after a barbecue or a picnic. For a touch of elegance, you can even roll the edges in sprinkles, mini chocolate chips, or chopped nuts before they freeze solid. Don’t be afraid to get creative with your cookie and ice cream flavor combinations! Think chocolate chip cookies with mint chip ice cream, peanut butter cookies with vanilla bean, or even red velvet cookies with cream cheese ice cream.
I truly encourage you to give this recipe a try. It’s a rewarding baking project that yields incredibly delicious results. The joy of biting into a perfectly constructed cookie ice cream sandwich is something special, and you’ll be amazed at how easy it is to make them at home.
Frequently Asked Questions:
Q: Can I make the cookies ahead of time?
A: Absolutely! You can bake the cookie ice cream sandwich cookies a day or two in advance and store them in an airtight container at room temperature. This makes assembly even quicker when you’re ready to make your sandwiches.
Q: What’s the best way to store leftover cookie ice cream sandwiches?
A: For the best texture and to prevent freezer burn, it’s ideal to wrap each cookie ice cream sandwich individually in plastic wrap or place them in an airtight container with parchment paper between layers. Store them in the freezer.
Cookie Ice Cream Sandwiches (Like a Chipwich!)
Classic cookie ice cream sandwiches with a chewy chocolate chip cookie and creamy ice cream center, just like the nostalgic Chipwich.
Ingredients
-
2 and 1/4 cups (281g) all-purpose flour (spooned & leveled)
-
1 and 1/2 teaspoons cornstarch
-
1 teaspoon baking soda
-
1/2 teaspoon salt
-
3/4 cup (12 Tablespoons; 170g) unsalted butter, softened to room temperature
-
3/4 cup (150g) packed light or dark brown sugar
-
1/2 cup (100g) granulated sugar
-
1 large egg
-
1 egg yolk
-
2 teaspoons pure vanilla extract
-
1 and 1/4 cups (225g) mini semi-sweet chocolate chips
-
3 cups (about 540g) vanilla ice cream
-
1 cup mini chocolate chips, sprinkles, or finely chopped nuts
Instructions
-
Step 1
In a medium bowl, whisk together the flour, cornstarch, baking soda, and salt. Set aside. -
Step 2
In a large bowl, beat the softened butter, brown sugar, and granulated sugar with an electric mixer until light and fluffy. Beat in the egg, egg yolk, and vanilla extract until well combined. -
Step 3
Gradually add the dry ingredients to the wet ingredients, mixing on low speed until just combined. Stir in the mini semi-sweet chocolate chips. -
Step 4
Scoop rounded tablespoons of dough onto parchment-lined baking sheets, leaving about 2 inches between cookies. Flatten each cookie slightly with your palm or the bottom of a glass. -
Step 5
Bake in a preheated oven at 375°F (190°C) for 10-12 minutes, or until the edges are lightly golden brown and the centers are still soft. Let cool on the baking sheets for a few minutes before transferring to a wire rack to cool completely. -
Step 6
Once cookies are completely cool, soften the ice cream slightly. Spread about 2-3 tablespoons of ice cream onto the flat side of one cookie. Top with another cookie, flat side down, and gently press to form a sandwich. -
Step 7
Immediately roll the edges of the ice cream sandwich in your chosen toppings (mini chocolate chips, sprinkles, or chopped nuts). -
Step 8
Place the finished ice cream sandwiches on a parchment-lined baking sheet and freeze for at least 30 minutes, or until firm, before serving.
Important Information
Nutrition Facts (Per Serving)
It is important to consider this information as approximate and not to use it as definitive health advice.
Allergy Information
Please check ingredients for potential allergens and consult a health professional if in doubt.