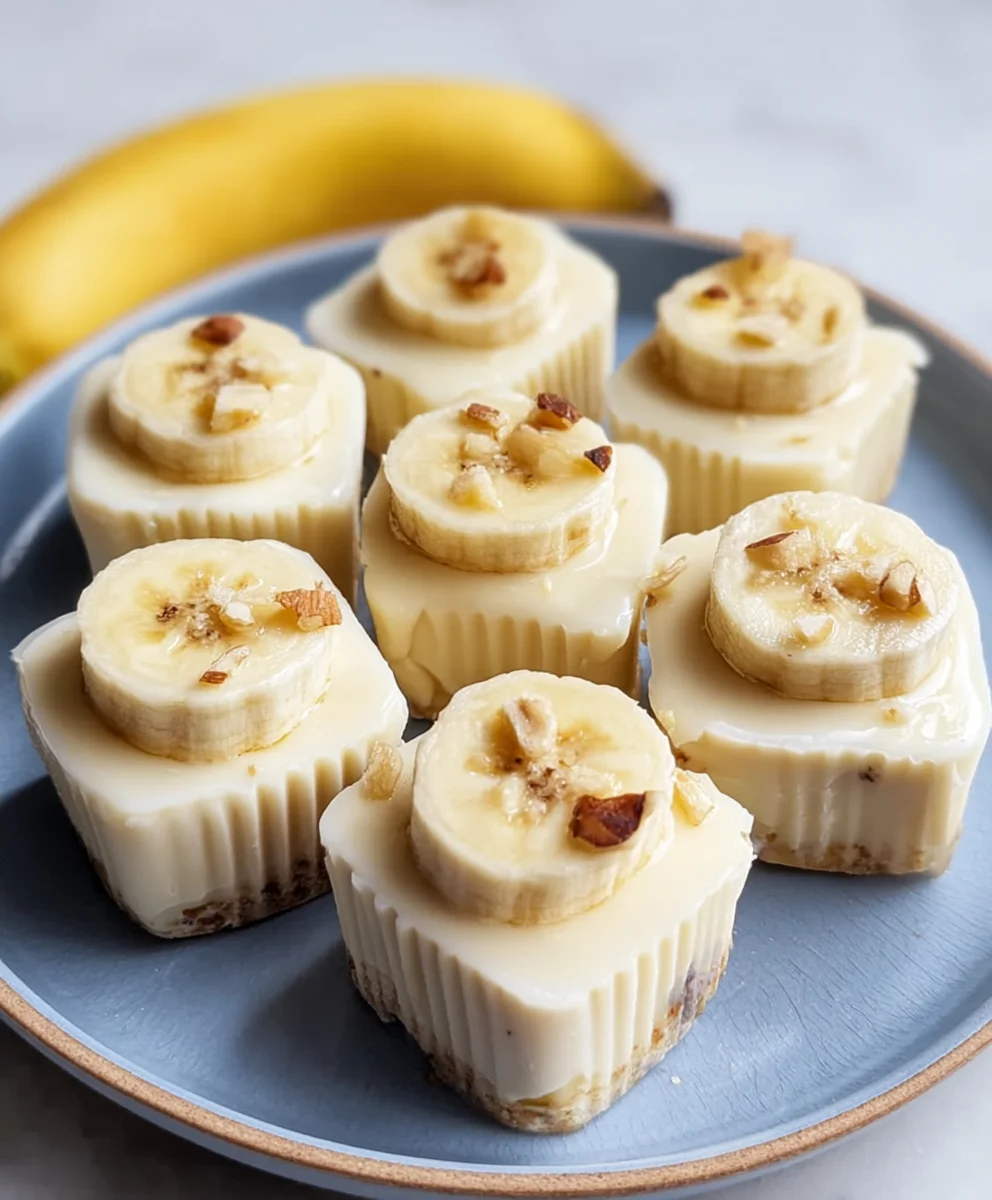
Frozen Banana Yogurt Bites- Easy Healthy Treat
Frozen Banana Yogurt Bites are the ultimate guilt-free indulgence, a delightful treat that strikes the perfect balance between sweet, creamy, and refreshing. Have you ever craved something cool and satisfying that doesn’t derail your healthy eating goals? That’s precisely where these magical bites shine. They’re incredibly simple to make, transforming humble ingredients into a snack that feels wonderfully decadent. What truly sets these Frozen Banana Yogurt Bites apart is their versatility; you can customize them with your favorite fruits, a sprinkle of granola, or even a drizzle of nut butter for an extra burst of flavor and texture. They’re an absolute crowd-pleaser, perfect for a hot summer afternoon, a post-workout refuel, or a simple way to satisfy a sweet tooth any time of day. Get ready to discover your new favorite go-to treat!
Ingredients:
- 1 large ripe banana
- 150 g yogurt of your choice (natural yogurt works well)
- Handful of dried banana chips (optional, for topping)
Preparation
Gathering Your Supplies
Before we dive into making these delightful Frozen Banana Yogurt Bites, let’s make sure you have everything you need. The beauty of this recipe lies in its simplicity, requiring just a few key components. You’ll need one large, ripe banana. The riper the banana, the sweeter your bites will be, and the easier it will be to mash. Look for a banana with plenty of brown spots – that’s a sign of peak sweetness and optimal texture for mashing. Next, you’ll need 150 grams of yogurt. While any yogurt will technically work, I find that a good quality natural yogurt, or even a plain Greek yogurt, provides the best base. The natural tang of these yogurts balances the sweetness of the banana beautifully. If you prefer a sweeter treat, you could opt for a vanilla-flavored yogurt, but be mindful that this might alter the final sweetness profile. Lastly, for an extra touch of texture and flavor, a handful of dried banana chips is a wonderful optional addition for topping. These add a delightful crunch and a concentrated banana flavor. You’ll also need some basic kitchen tools: a fork for mashing, a small bowl or two for mixing, and a baking sheet lined with parchment paper or a silicone baking mat. The parchment paper is crucial as it prevents the bites from sticking to the baking sheet once frozen.
Creating the Banana Yogurt Mixture
Mashing the Banana
The first step in creating our Frozen Banana Yogurt Bites is to prepare the banana base. Take your large ripe banana and peel it. Place the peeled banana into a medium-sized bowl. Using a fork, begin extract to mash the banana thoroughly. You want to aim for a smooth, almost pureed consistency. Don’t worry if there are a few tiny lumps; they will soften further when frozen. The goal here is to break down the banana fibers so that it blends easily with the yogurt and creates a cohesive mixture. Ensure you mash it well, pressing down firmly with the back of the fork. This process will take a minute or two, but the effort is well worth it for a smooth texture.
Incorporating the Yogurt
Once your banana is mashed to your desired consistency, it’s time to add the yogurt. Spoon the 150 grams of yogurt into the bowl with the mashed banana. Now, using your fork or a spoon, gently fold and stir the yogurt into the banana. The aim is to combine them until you have a smooth, homogenous mixture. You don’t need to overmix here; just ensure there are no distinct streaks of banana or yogurt visible. The texture should be creamy and well-blended. If you’re using a thicker yogurt like Greek yogurt, you might find you need to stir a little more vigorously to achieve a smooth consistency. Taste the mixture at this point. If you feel it needs a little more sweetness, you could add a tiny drizzle of honey or maple syrup, but remember the banana and optional dried banana chips will add sweetness.
Forming and Freezing the Bites
Shaping the Bites
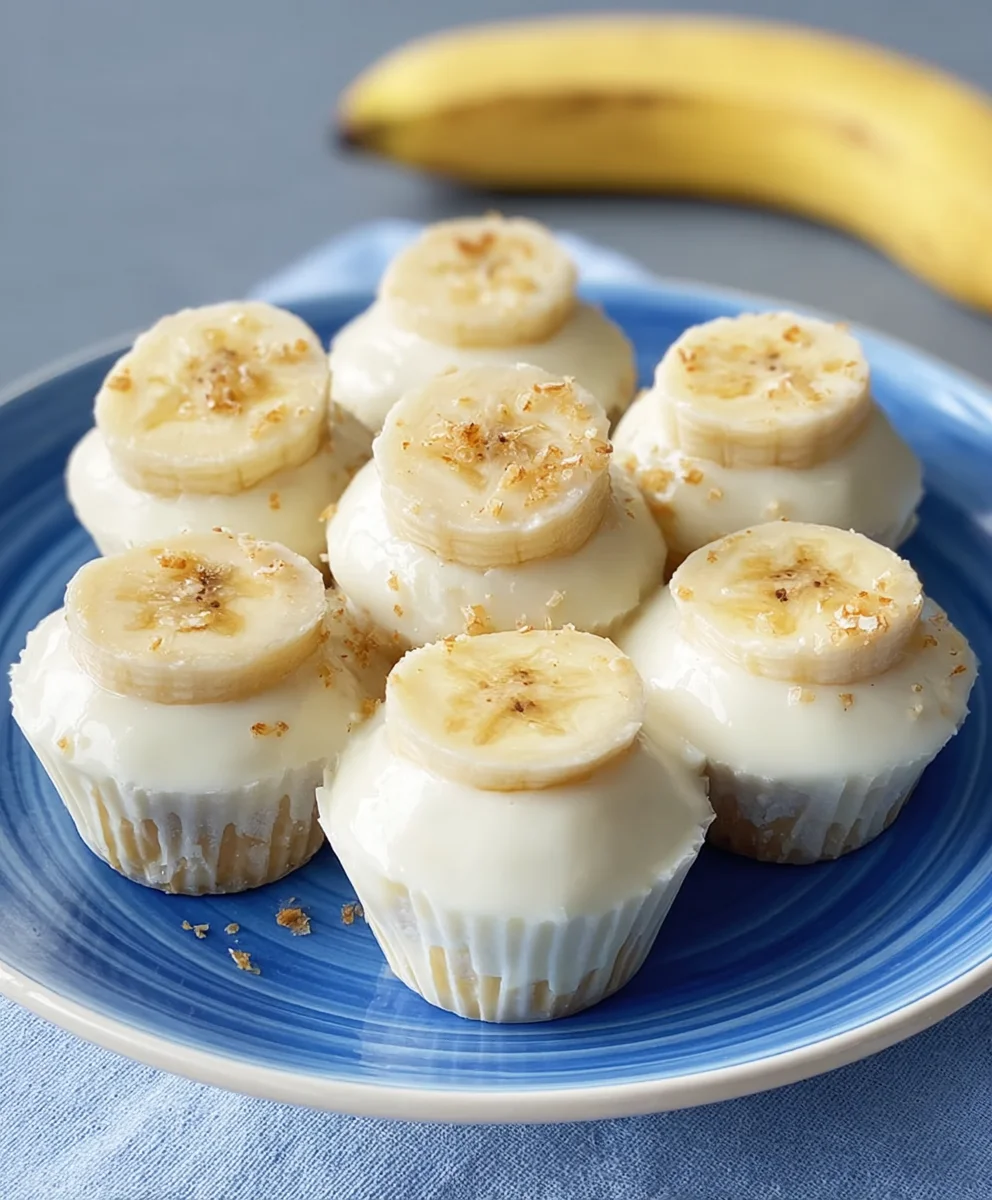
With your banana and yogurt mixture ready, it’s time to shape our bites. Take your baking sheet and ensure it is lined with parchment paper or a silicone baking mat. This step is essential for easy removal of the frozen bites. Using a teaspoon, scoop small portions of the banana yogurt mixture and place them onto the prepared baking sheet. Aim for roughly tablespoon-sized dollops. You can make them as uniform or as rustic as you like. If you want them to look a bit more refined, you can gently smooth the tops with the back of the spoon. As you place each dollop, leave a little space between them, as they will expand slightly when they freeze, and you don’t want them to meld together. This is also the stage where you can add your optional dried banana chips. Gently press a few pieces of dried banana chips onto the top of each dollop. This adds a lovely texture contrast and an extra burst of banana flavor.
The Freezing Process
Once all your banana yogurt dollops are on the baking sheet and any toppings are in place, it’s time for the crucial freezing step. Carefully transfer the baking sheet into the freezer. For these bites to firm up properly, they will need to freeze for at least 2 to 3 hours. The exact time will depend on the size of your bites and the temperature of your freezer. You’ll know they are ready when they are completely firm to the touch and can be easily lifted from the parchment paper without deforming. It’s best to freeze them until solid. Once they are frozen solid, you can then transfer them to an airtight container or a freezer-safe zip-top bag. This allows you to store them in the freezer for future enjoyment and keeps them from absorbing any freezer odors.
Storing Your Frozen Treats
Enjoying Them Later
After your Frozen Banana Yogurt Bites have fully frozen and you’ve transferred them to an airtight container or freezer bag, they are ready for storage. Properly stored, these delightful treats can last in your freezer for up to a month. However, they are best enjoyed within the first two weeks for optimal texture and flavor. When you’re craving a healthy, sweet snack, simply open your container or bag and grab a few. They are perfect for a midday pick-me-up, a light dessert, or even a cool and refreshing treat on a warm day. Since they are made with simple, natural ingredients, they are a fantastic option for both kids and adults looking for a guilt-free indulgence. Remember, they will soften relatively quickly at room temperature, so it’s a good idea to let them sit for just a minute or two after taking them out of the freezer befogin extractindulging. This allows them to soften slightly, making them easier to bite into while still retaining their delightful frozen texture.
Conclusion:
Congratulations on mastering the art of creating delicious and healthy Frozen Banana Yogurt Bites! These delightful treats are incredibly simple to make, proving that healthy snacking doesn’t have to be complicated. They’re the perfect guilt-free indulgence, offering a burst of sweetness and creaminess with every bite. We hope you’ve enjoyed making and savoring these versatile bites as much as we have!
The beauty of Frozen Banana Yogurt Bites lies in their adaptability. Feel free to experiment with different yogurts, such as Greek yogurt for extra protein, or dairy-free alternatives like coconut or almond yogurt. For added texture and flavor, consider rolling the dipped bananas in finely chopped nuts, shredded coconut, or even a sprinkle of granola before freezing. Serve them as a refreshing dessert, a post-workout snack, or even a fun breakfast option for the kids. They’re wonderful on their own, or paired with a fresh fruit salad!
We encourage you to get creative and make these Frozen Banana Yogurt Bites your own. Don’t be afraid to try new toppings and flavor combinations. The possibilities are endless, and the results are always rewarding. Enjoy these frozen delights!
Frequently Asked Questions:
Q: How long do Frozen Banana Yogurt Bites last?
A: Properly stored in an airtight container in the freezer, Frozen Banana Yogurt Bites can last for up to 2-3 months. However, they are best enjoyed within the first month for optimal texture and flavor.
Q: Can I use flavored yogurt for my Frozen Banana Yogurt Bites?
A: Absolutely! Using flavored yogurt is a fantastic way to add an extra layer of taste to your Frozen Banana Yogurt Bites. Vanilla, strawberry, or even a subtle citrus flavor can complement the banana beautifully.
Q: My yogurt coating is too thin and dripping off the banana. What can I do?
A: If your yogurt coating is too thin, try using a thicker yogurt, such as full-fat Greek yogurt. You can also drain any excess liquid from your yogurt by letting it sit in a fine-mesh sieve for a while before using it. Ensure your banana slices are well-frozen before dipping, as this helps the yogurt adhere better.
Frozen Banana Yogurt Bites- Easy Healthy Treat
A simple and healthy frozen treat made with ripe bananas and yogurt, perfect for a quick snack.
Ingredients
-
1 large ripe banana
-
150 g yogurt of your choice (natural yogurt works well)
-
Handful of dried banana chips (optional, for topping)
-
Parchment paper
-
Fork
-
Baking sheet
Instructions
-
Step 1
Peel the ripe banana and place it in a medium-sized bowl. Mash thoroughly with a fork until smooth and almost pureed. -
Step 2
Add 150 grams of yogurt to the mashed banana. Gently stir and fold until a smooth, homogenous mixture is formed. -
Step 3
Line a baking sheet with parchment paper. Using a teaspoon, scoop small dollops of the banana yogurt mixture onto the prepared baking sheet, leaving some space between them. -
Step 4
If using, gently press a few dried banana chips onto the top of each dollop for added texture and flavor. -
Step 5
Transfer the baking sheet to the freezer and freeze for at least 2 to 3 hours, or until completely firm. -
Step 6
Once frozen solid, transfer the bites to an airtight container or freezer-safe zip-top bag for storage.
Important Information
Nutrition Facts (Per Serving)
It is important to consider this information as approximate and not to use it as definitive health advice.
Allergy Information
Please check ingredients for potential allergens and consult a health professional if in doubt.