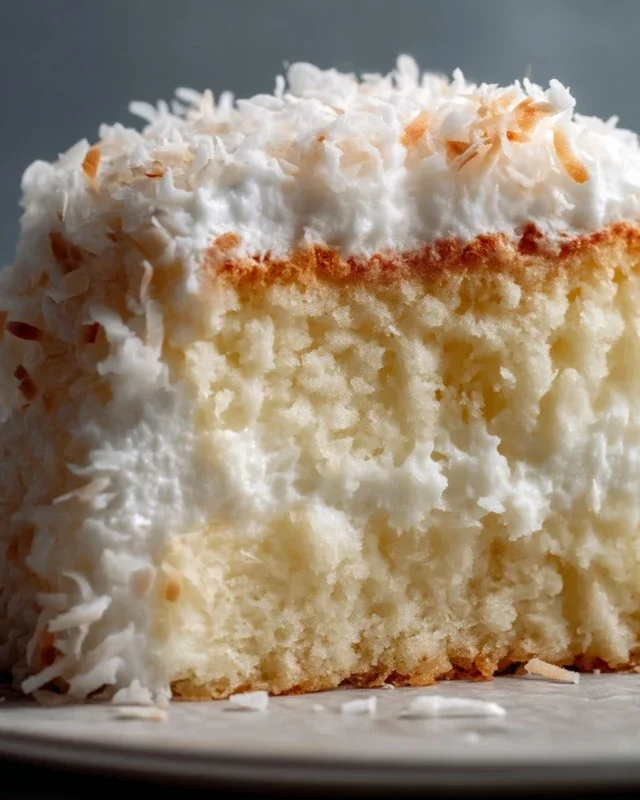
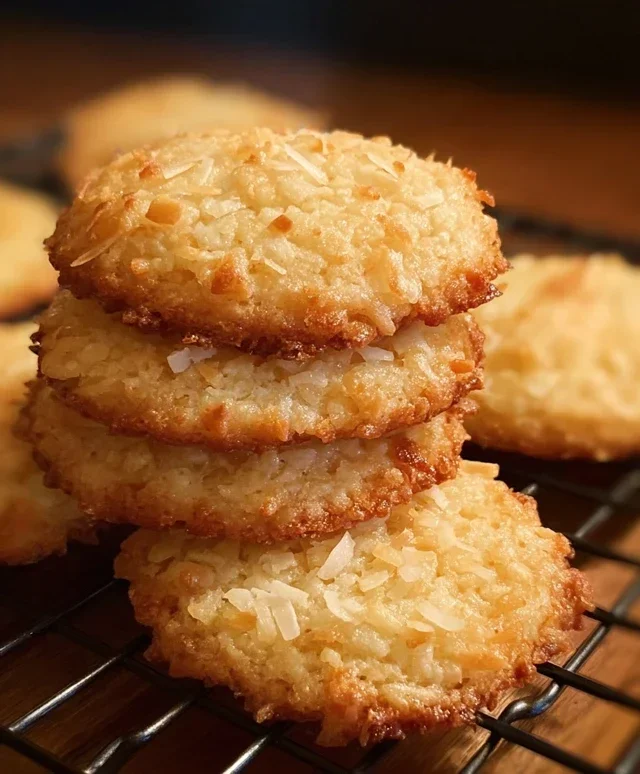
Chewy Coconut Cookies-Deliciously Easy Recipe
Chewy Coconut Cookies are more than just a sweet treat; they’re a warm hug in cookie form. There’s something undeniably comforting about their tender crum extractb and the delightful chew that keeps you reaching for another. I know I’m not alone in my adoration for these little rounds of bliss. What is it about Chewy Coconut Cookies that captivates us? Perhaps it’s the subtle tropical sweetness of the coconut, perfectly balanced with a buttery richness. Or maybe it’s the satisfying texture – that perfect balance between soft and chewy that makes each bite an absolute pleasure. These aren’t your average, crum extractbly cookies; they’re a textural masterpiece, a testament to simple ingredients coming together to create something truly special. Get ready to experience pure cookie joy.
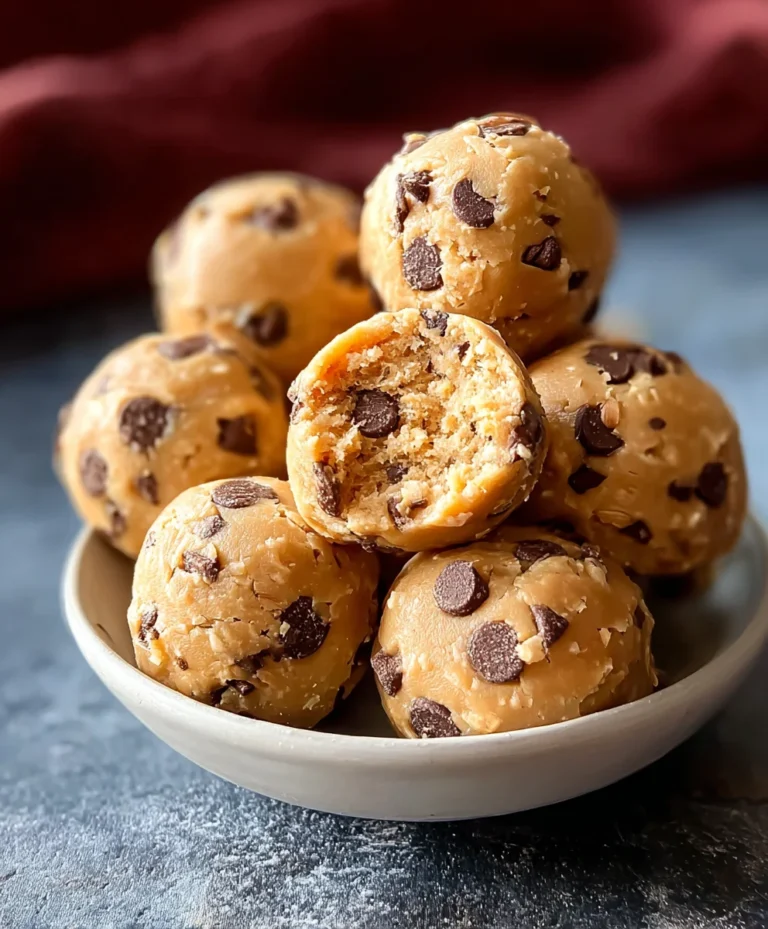
Chewy Coconut Cookies
Oh, how I love a good chewy cookie! There’s something so comforting about that delightful texture, a perfect balance between soft and yielding. And when you add the tropical sweetness of coconut? Pure bliss. These Chewy Coconut Cookies are my go-to for a reason. They’re surprisingly simple to make, but the result is a cookie that’s far more impressive than the effort involved. Imagin extracte biting into a golden-brown cookie, flecked with toasted coconut, with a satisfyingly soft and chewy center. That’s exactly what you’ll get with this recipe. Whether you’re a seasoned baker or just starting out, these cookies are a fantastic choice. They’re perfect for a weekend treat, a bake snon-alcoholic ale, or just to brighten someone’s day (including your own!).
Let’s get baking!
Ingredients:
Getting Started: Prepping Your Dough
The foundation of any great cookie is a well-mixed dough. We’ll start by creaming our butter and sugars together. This process is crucial for incorporating air into the dough, which contributes to the cookie’s texture and spread. Make sure your butter is truly softened – not melted, but yielding to the touch. This will allow it to blend smoothly with the sugars. In a large mixing bowl, I like to use my stand mixer for this, but a hand mixer or even a sturdy whisk and some elbow grease will work perfectly. Beat the softened butter with both the brown sugar and granulated sugar until the mixture is light and fluffy. This usually takes about 2-3 minutes. You’ll notice the color will lighten considerably, and the texture will become airy.
Next, we’ll incorporate the wet ingredients. Crack in your egg and add the fragrant vanilla extract. Mix again until everything is thoroughly combined. Don’t overmix at this stage; we just want to ensure the egg and vanilla are fully incorporated into the buttery sugar mixture. The aroma of vanilla at this point is already a good sign of deliciousness to come!
Bringin extractg It All Together: The Magic of Coconut and Dry Ingredients
Now for the star of the show: the coconut! We’re using flaked coconut, which adds a wonderful chegrape juicess and a distinct tropical flavor. Stir in the 1 1/2 cups of flaked coconut. It might seem like a lot, but trust me, it’s the key to that signature coconut cookie experience.
In a separate medium bowl, whisk together your dry ingredients: the all-purpose flour, baking soda, baking powder, and a pinch of salt. Whisking the dry ingredients together ensures that the leavening agents (baking soda and baking powder) and salt are evenly distributed throughout the flour. This is important for consistent cookie rise and flavor.
Gradually add the dry ingredients to the wet ingredients. Mix on low speed or stir with a spatula until just combined. Be careful not to overmix the flour. Overmixing can develop the gluten in the flour too much, leading to tougher cookies. We’re aiming for a dough that comes together but still has a slightly soft, pliable consistency. It will be a bit sticky, which is exactly what we want for chewy cookies.
Shaping and Baking: The Path to Golden Perfection
Once your dough is ready, it’s time to shape the cookies. I like to use a cookie scoop for uniform size, but you can also just use two spoons or your hands. Roll the dough into balls, about 1 to 1 1/2 inches in diameter. Place these dough balls onto baking sheets lined with parchment paper. I always recommend parchment paper; it prevents sticking and makes for easy cleanup. Leave about 2 inches of space between each cookie to allow for spreading. Don’t worry if the balls aren’t perfectly round; a slightly rustic look adds to their charm.
Preheat your oven to 375°F (190°C). This temperature is ideal for achieving that perfect balance of golden edges and chewy centers. Once the oven is preheated, bake the cookies for 9 to 12 minutes. The exact baking time will depend on your oven and the size of your cookies. You’re looking for the edges to be lightly golden brown, and the centers to still appear slightly soft and underbaked. They will continue to set up as they cool. It’s tempting to bake them until they look firm all the way through, but resist the urge! That’s the secret to achieving that wonderfully chewy texture.
Cooling and Enjoying: The Final Frontier
When the cookies are done, remove the baking sheets from the oven. Let the cookies cool on the baking sheets for about 5 minutes. This is a critical step because it allows the cookies to firm up enough to be moved without falling apart. During this time, the residual heat will continue to cook them slightly. After the initial cooling period on the baking sheets, carefully transfer the cookies to a wire rack to cool completely. Allowing them to cool on a wire rack promotes air circulation, preventing the bottoms from becoming soggy.
And there you have it! Your incredibly delicious and wonderfully chewy coconut cookies are ready to be devoured. They’re fantastic on their own, but I also love dunking them in a glass of milk or enjoying them with a cup of coffee. Store any leftover cookies in an airtight container at room temperature for up to 3-4 days. You’ll find they retain their chegrape juicess remarkably well. Enjoy every delightful bite!
Conclusion:
And there you have it – the secret to perfectly chewy coconut cookies! This recipe is an absolute winner because it delivers on all fronts: that irresistible chewy texture, a delightful burst of coconut flavor, and a simple process that even begin extractner bakers can master. These cookies are incredibly versatile, making them perfect for any occasion. Enjoy them warm from the oven with a glass of cold milk, or let them cool completely for a satisfying crunch that still retains that wonderful chegrape juicess. They’re also fantastic alongside a cup of hot coffee or tea.
I encourage you to give these chewy coconut cookies a try! Don’t be afraid to experiment with variations. You could add a handful of chocolate chips for a classic combination, sprinkle some toasted almonds for an extra nutty crunch, or even add a touch of lime zest to the dough for a tropical twist. The possibilities are endless, and each variation will result in a delicious treat that’s uniquely yours. Happy baking!
Frequently Asked Questions:
Why are my cookies not chewy enough?
Achieving a chewy texture often comes down to the ingredients and baking time. For these chewy coconut cookies, using brown sugar in addition to granulated sugar contributes to moisture and chegrape juicess. Also, be careful not to overbake! Pulling them out when the edges are set but the centers still look slightly soft will result in a chewier cookie as they continue to bake on the hot baking sheet.
Can I make these cookies ahead of time?
Absolutely! These chewy coconut cookies store wonderfully. Once completely cooled, keep them in an airtight container at room temperature for up to 3-4 days. They actually tend to become even chewier and more flavorful as they sit. You can also freeze baked and cooled cookies for up to 2-3 months for longer storage. Just thaw them at room temperature.
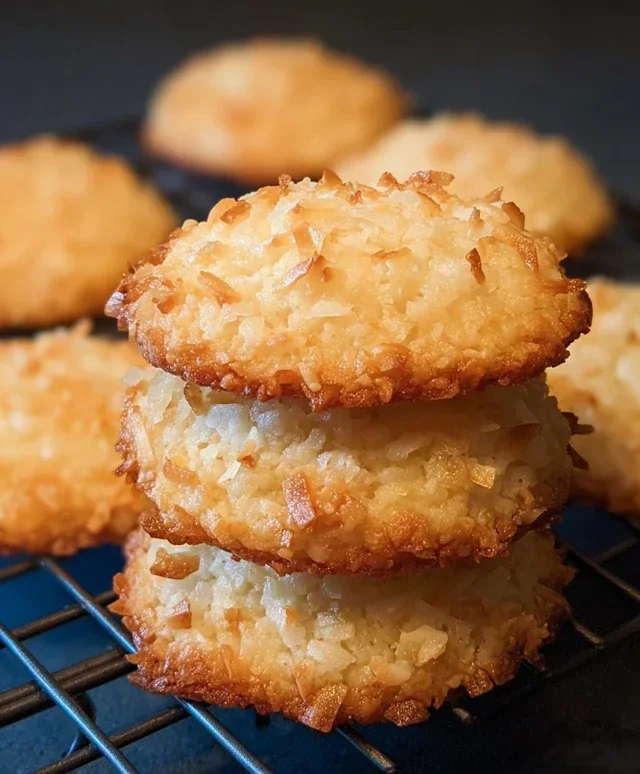
Chewy Coconut Cookies
Deliciously chewy cookies packed with sweet, tropical coconut flavor.
Ingredients
-
1/2 cup butter, softened
-
1/2 cup brown sugar
-
1/2 cup granulated sugar
-
1 egg
-
1 teaspoon vanilla extract
-
1 1/2 cups flaked coconut
-
1 cup all-purpose flour
-
1/2 teaspoon baking soda
-
1/2 teaspoon baking powder
-
Pinch of salt
Instructions
-
Step 1
Preheat your oven to 350°F (175°C). Line baking sheets with parchment paper. -
Step 2
In a large bowl, cream together the softened butter, brown sugar, and granulated sugar until light and fluffy. -
Step 3
Beat in the egg and vanilla extract until well combined. -
Step 4
In a separate medium bowl, whisk together the all-purpose flour, baking soda, baking powder, and salt. -
Step 5
Gradually add the dry ingredients to the wet ingredients, mixing until just combined. Stir in the flaked coconut. -
Step 6
Drop rounded tablespoons of dough onto the prepared baking sheets, about 2 inches apart. -
Step 7
Bake for 10-12 minutes, or until the edges are lightly golden brown and the centers are still slightly soft. -
Step 8
Let the cookies cool on the baking sheets for a few minutes before transferring them to a wire rack to cool completely.
Important Information
Nutrition Facts (Per Serving)
It is important to consider this information as approximate and not to use it as definitive health advice.
Allergy Information
Please check ingredients for potential allergens and consult a health professional if in doubt.